Marble Cookies
Featuring the best combination of vanilla and chocolate flavors, these marble cookies are pure perfection in every bite. Made with less than ten pantry staples, they’re soft, chewy, and unbelievably easy to whip up for holiday celebrations, bake sales, and more!
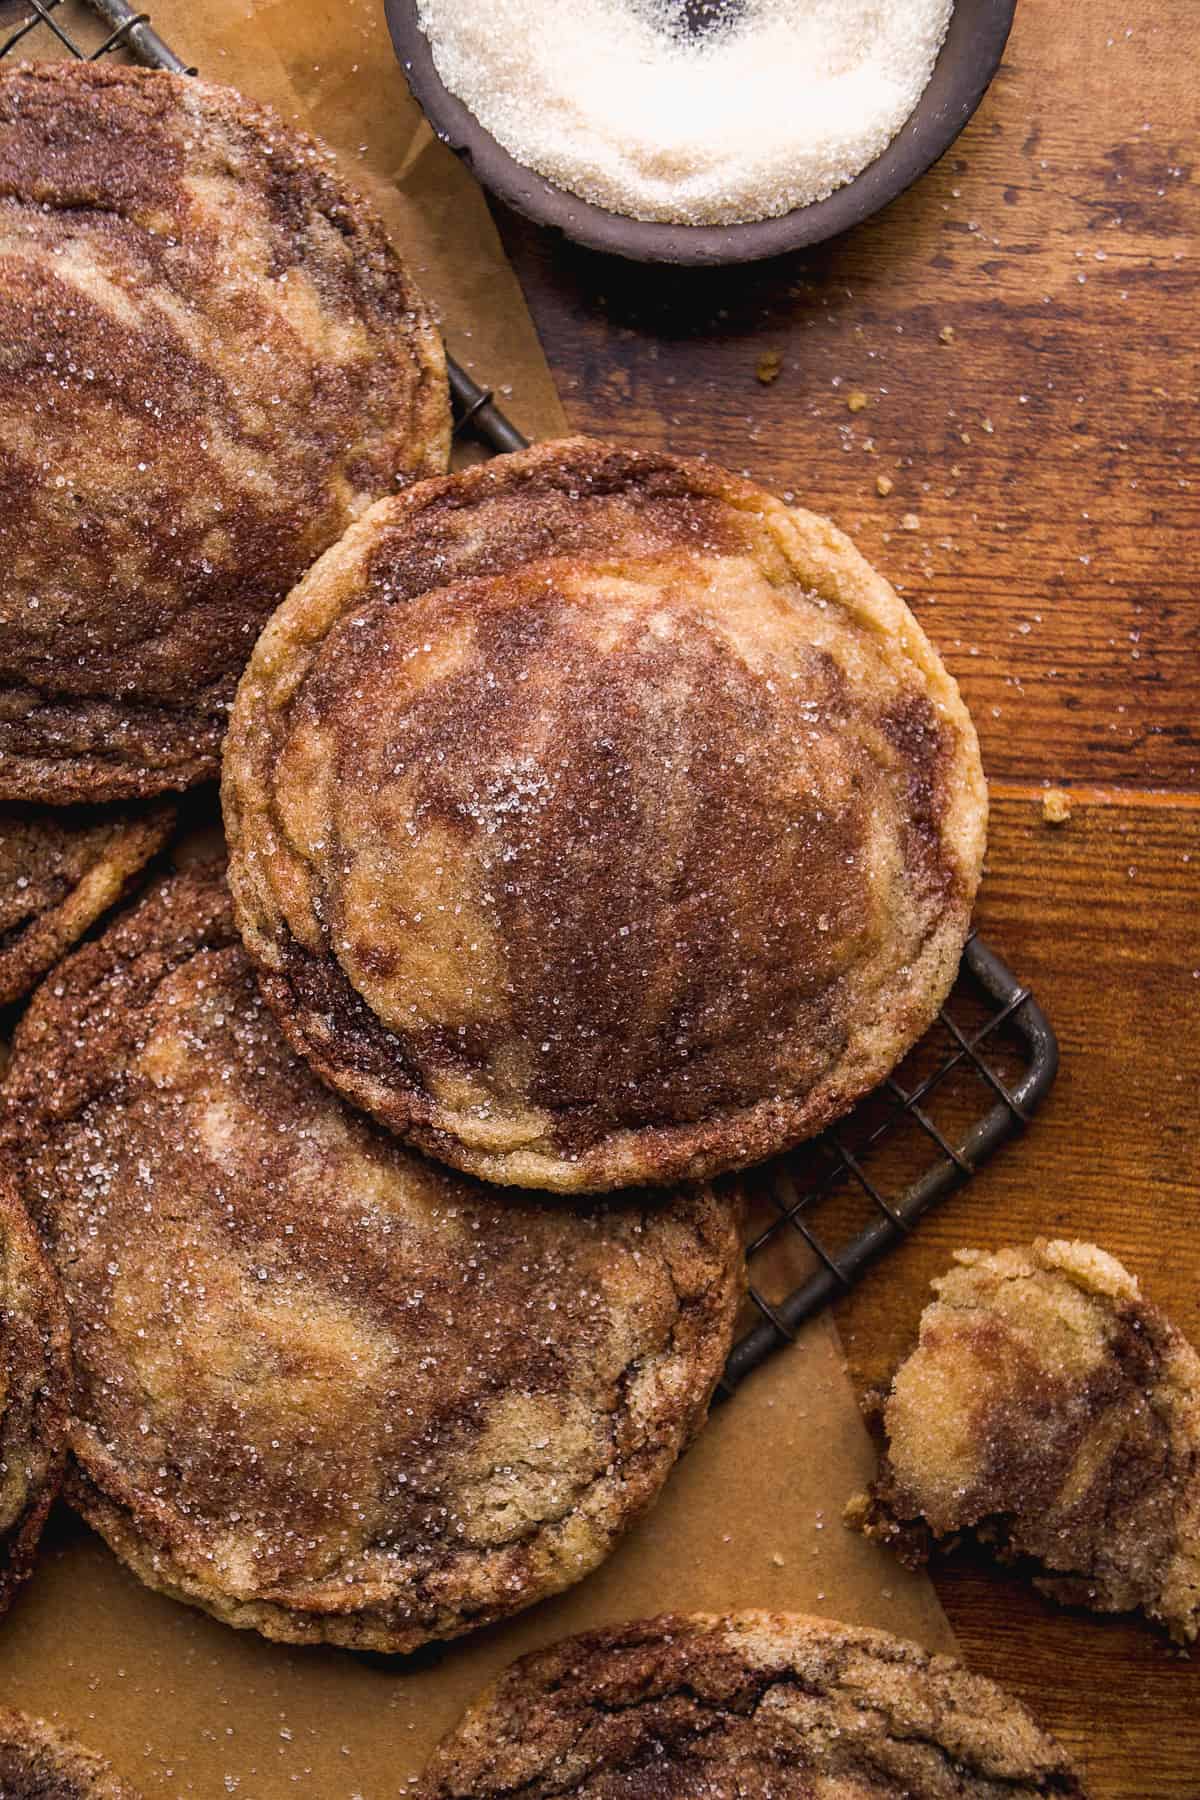
Does anyone else have trouble deciding between chocolate or vanilla when it comes to dessert? I know I do! So, rather than choose, I created these marble sugar cookies to satisfy my sweet tooth. Half sweet sugar cookie, half decadent chocolate, they’re unbelievably delicious and guaranteed to satisfy all your cravings. No decision making required!
If you’re looking for even more crowd-pleasing cookie recipes, check out my slice and bake cookies - made 6 ways and this Christmas cookie platter, too!
Jump to:
Why You’ll Love This Recipe
- Requires just 9 budget-friendly, pantry staple ingredients
- Combines two cookies into one irresistible treat
- Gluten free and dairy free friendly
- Bakes in less than 15 minutes
Ingredients and Substitutions
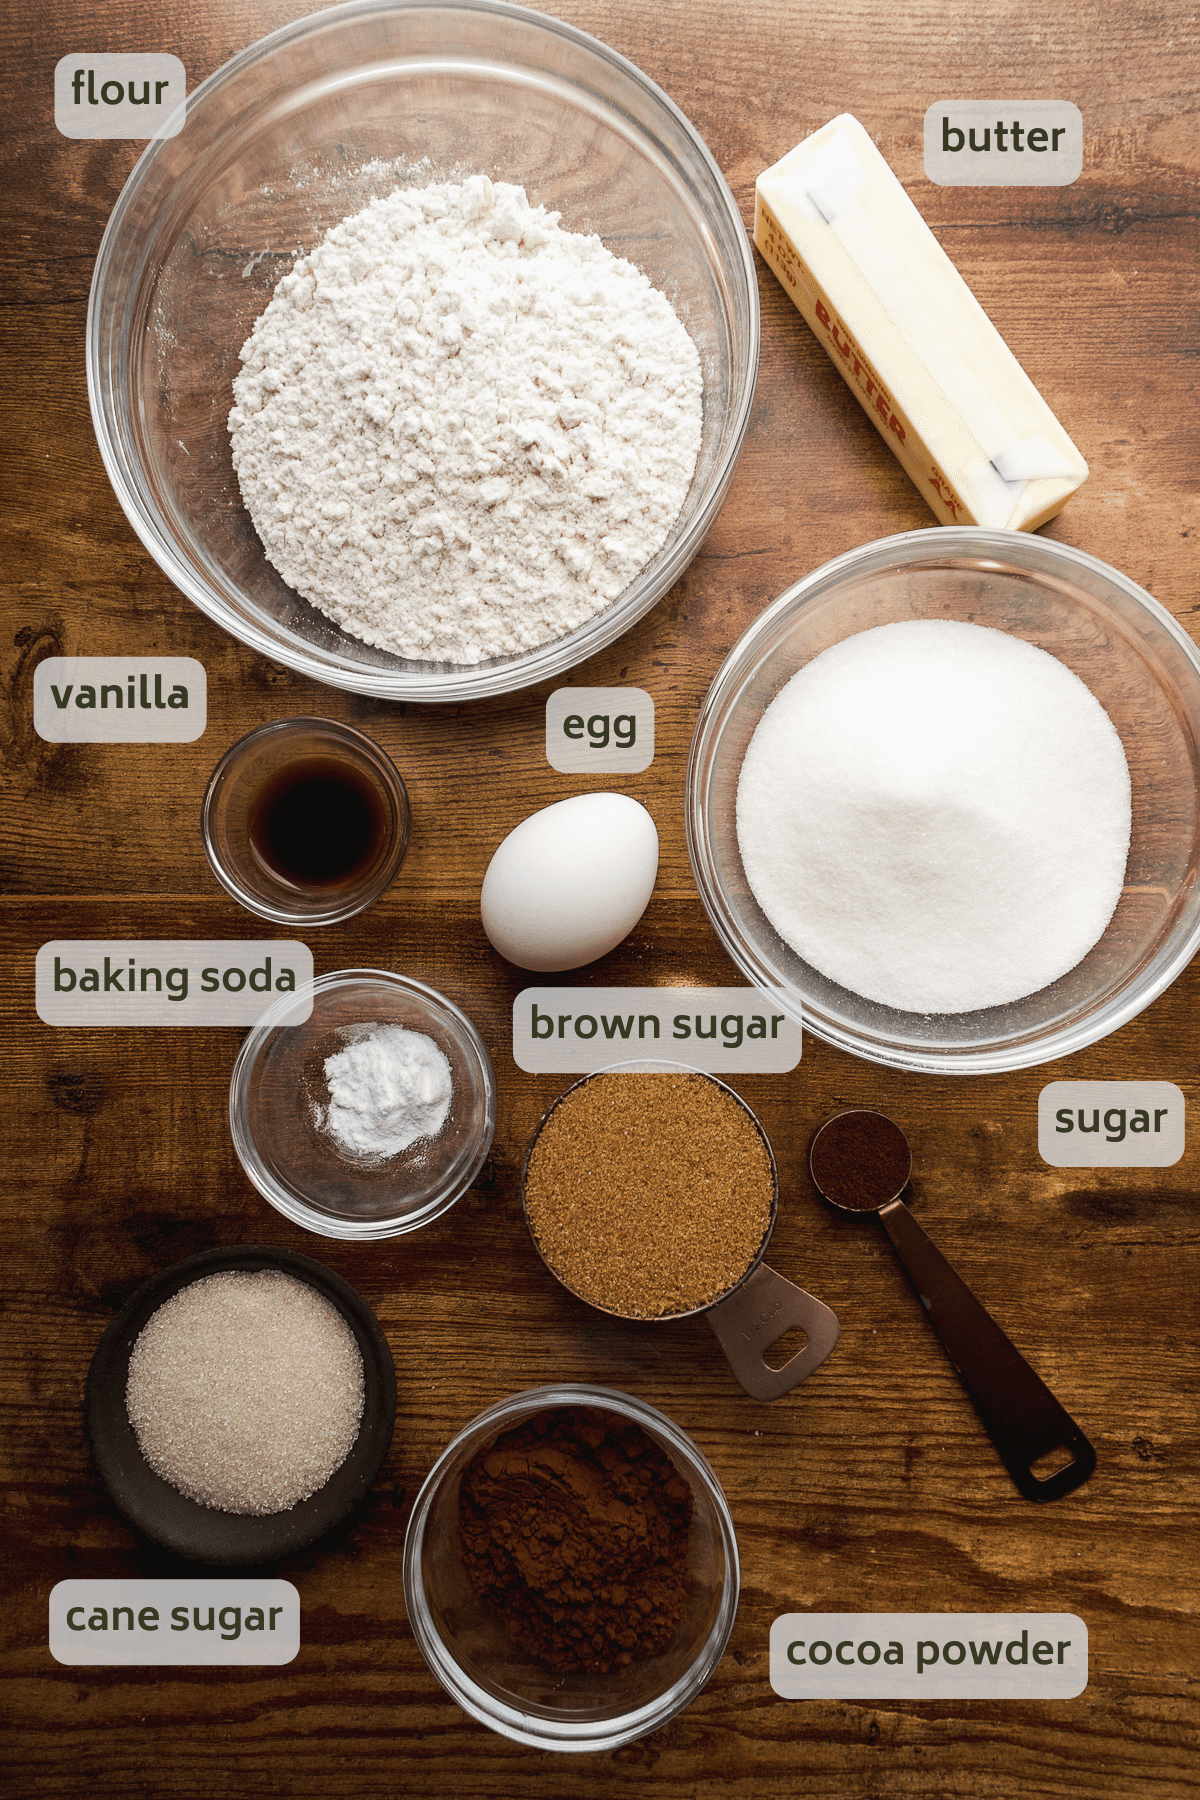
- Butter - This helps create tender, flavorful marbled cookies that keep their shape. If needed, dairy free butter can be used instead.
- Sugar - You’ll need a combination of brown and granulated sugar for these marbled sugar cookies! If preferred, coconut sugar works great in place of brown sugar. Then, don’t forget the coarse cane sugar for coating.
- Vanilla Extract - Make sure you use pure vanilla extract instead of imitation varieties.
- Egg - This helps provide structure to the cookies. I haven’t tested them with a flax or chia egg yet, but please let me know how it goes if you do!
- Flour - I kept things simple with plain all-purpose or a 1:1 gluten-free all-purpose flour for this marble cookies recipe.
- Baking Soda - For fluffy cookies, make sure it’s fresh!
- Cocoa Powder - Dutch pressed cocoa works best, but if you can’t find it, unsweetened cocoa powder will work, too.
How to Make Marbled Cookies
Although they look fancy, these marble sugar cookies are really simple to make! You’ll just need several bowls, a hand or stand mixer, a cookie scoop, and a baking sheet.
Step 1: Combine the wet ingredients. In a large bowl, add the softened butter along with the brown and granulated sugars. Use a hand or stand mixer to mix the ingredients until they are well blended. Then, add the egg and vanilla extract, and mix again.

Step 2: Add the dry ingredients. In the same bowl, gently fold in 1 ⅓ cups of flour and the baking soda, and mix until they are just combined.
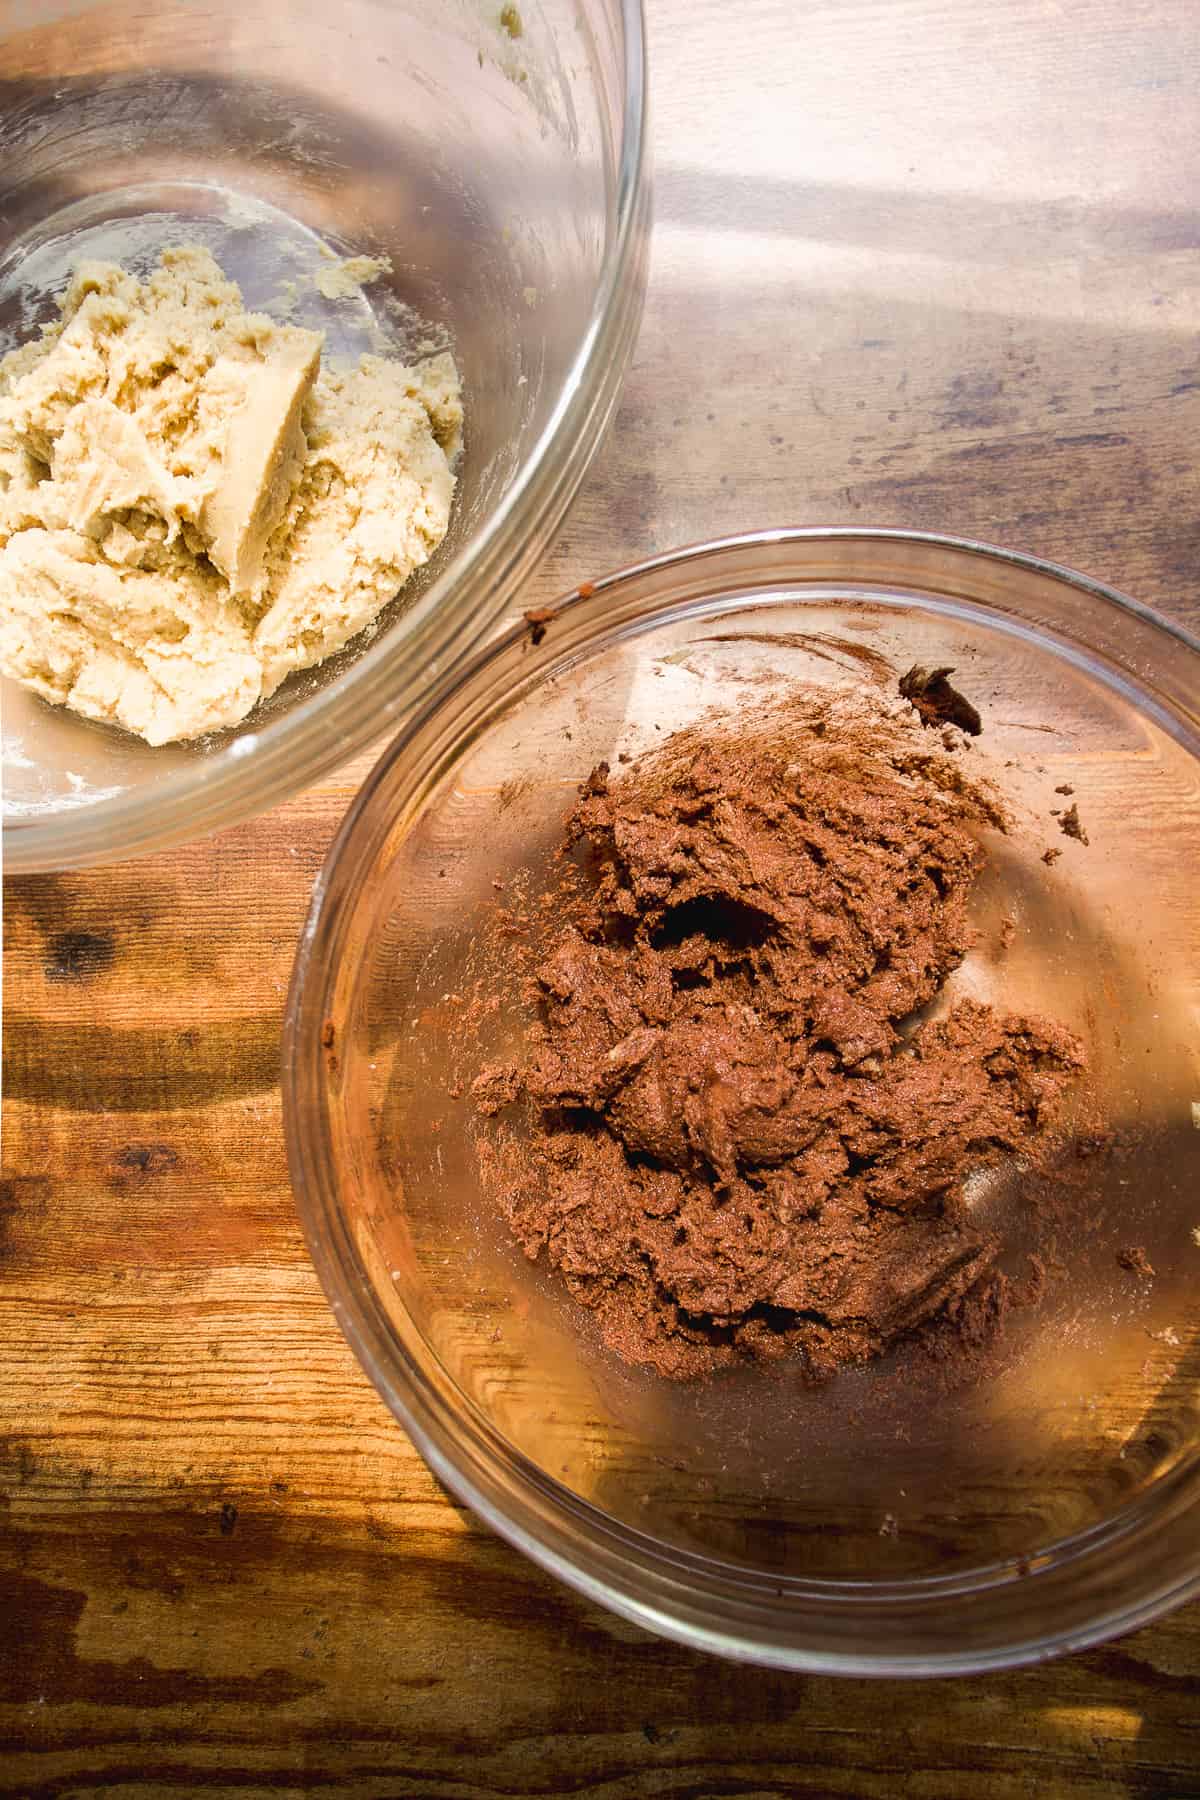
Step 3: Marble the dough. Divide the dough into two separate bowls. In the first bowl, mix in an extra tablespoon of flour. Meanwhile, in the second bowl, add the cocoa powder. Combine both portions into a single dough, and mix on low speed to combine until a marbled appearance is achieved.

Step 4: Bake the marbled cookies. Portion out the cookies, rolling the dough into balls. Then, roll each ball in cane sugar, making sure they are completely coated.
Arrange the cookies on a baking sheet, leaving space in between. Bake until the edges are golden brown and the center of the marbled cookies has set. Let them cool completely, and enjoy!

Expert Cookie Tips
- Make sure your butter is at room temperature before making your marble cookies. You should be able to press it with your finger and leave an indention. If you need to expedite warming it up, place the stick on a microwave-safe dish, and heat it up for 7 seconds. Then, flip the stick over onto its opposite side, and heat it for another 5 seconds. This should initiate the warming process, and your butter will be soft enough to use after it rests for another 2 - 3 minutes.
- Cream the butter and sugar together really well. This should take 3 - 5 minutes. You want the butter to be pillowy soft and airy. This is how you get chewy cookies!
- Use dutch process cocoa powder if you can for a deep chocolate flavor!
- Only mix the chocolate and plain dough together for a few seconds. This is how you get the marbled look! If you mix the two doughs together for too long the chocolate dough will bleed into the plain, and you won’t get those distinct marbled swirls.
- Separate the dough equally into two bowls using a kitchen scale.

Storing
Allow the marbled cookies to cool completely before storing them in an airtight container out on the counter for up to a week.
Can I Freeze the Dough?
Yes, I recommend going ahead and rolling the dough into balls and coating them with cane sugar. Then, place the cookie dough balls in a freezer-safe container or bag, and freeze them for up to 3 months. When ready to bake, let the dough thaw for an hour before baking the cookies in the oven as directed. Heads up, they will probably need an extra minute or two to bake!

Frequently Asked Questions
Yes, use dairy free butter to make these dairy free cookies.
Yes, use the same amount of gluten free 1:1 flour if desired.
While the cookies are still warm, use the back of a fork to press the edges of the cookies in towards the center. You can also use a circular cookie cutter, and place it over top of the warm cookie and gently spin it in a circle.
for more cookie recipes, check out my:
PS : If you make this recipe, be sure to leave a star review and comment below! Also be sure to follow along with me on Instagram and Pinterest to stay up to date on all tasty recipes here at The Fit Peach!
Recipe

Marble Cookies
Ingredients
- ½ cup butter
- ½ cup brown sugar - or coconut sugar
- ⅔ cup sugar
- 2 teaspoon vanilla extract
- 1 egg
- 1 ⅓ cup + 1 tablespoon flour - or gluten free 1:1 flour, divided
- ½ teaspoon baking soda
- 3 tablespoon cocoa powder - dutch-processed is best but unsweetened will work too!
- 1 tablespoon espresso powder - or instant coffee
- Coarse cane sugar
Instructions
- Preheat oven to 350 F. In a large bowl add the softened butter, brown sugar, and sugar. Mix well with a hand mixer or stand mixer until the sugar is well blended into the butter.
- Add the egg and vanilla extract to the bowl and mix well to incorporate.
- Fold in 1 ⅓ cup of the flour and the baking soda until just combined.
- Divide the dough into 2 separate bowls. In one bowl, add the extra 1 tablespoon of flour and mix until no flour clumps remain. In the second bowl, fold in the cocoa powder and espresso powder until the dough turns a deep chocolate color.
- Add both the chocolate dough and the plain dough back into the large mixing bowl and gently mix on low speed for a second or two to create a “marbled” look to the dough.
- Pour the coarse cane sugar into a shallow dish. Use a large cookie scoop to scoop the dough into balls. Roll the dough in between the palms of your hands and then coat in the coarse cane sugar. Place each cookie on a parchment paper lined baking sheet. Leave at least 2 inches between each cookie so they have room to spread in the oven. Bake for 11 - 13 minutes until the edges are golden brown and the centers of the cookies are slightly set.
- While the cookies are still warm, use a fork to gently press the edges of the cookie towards the center. This is optional but helps to create a perfectly circular shape. Allow them to cool completely on the baking sheet.
- Once cool, enjoy or store in an airtight container or cookie jar. They will keep for up to a week out on the counter.




Super easy and very tasty. Really enjoy the level of coffee/choc taste.
Yay I'm so glad you enjoyed the recipe!