


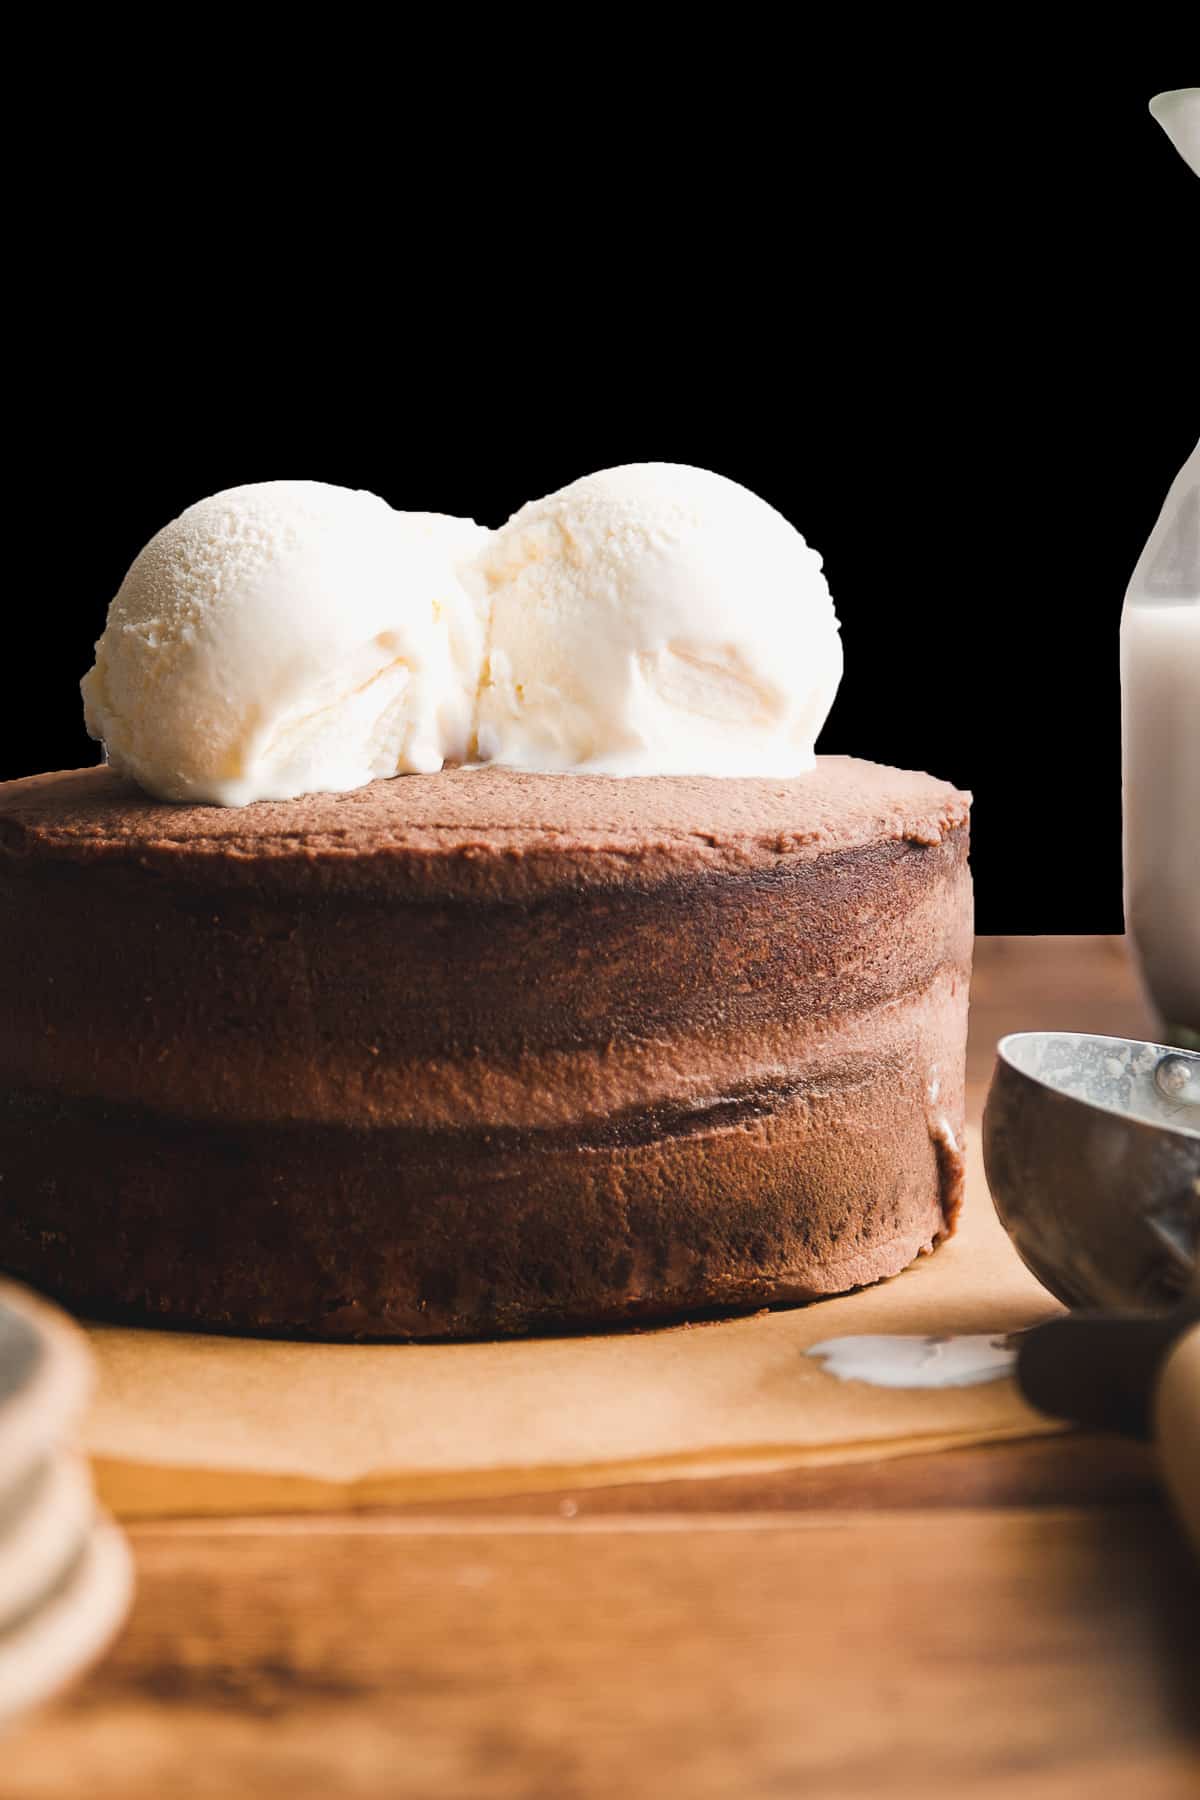
Brownie Birthday Cake
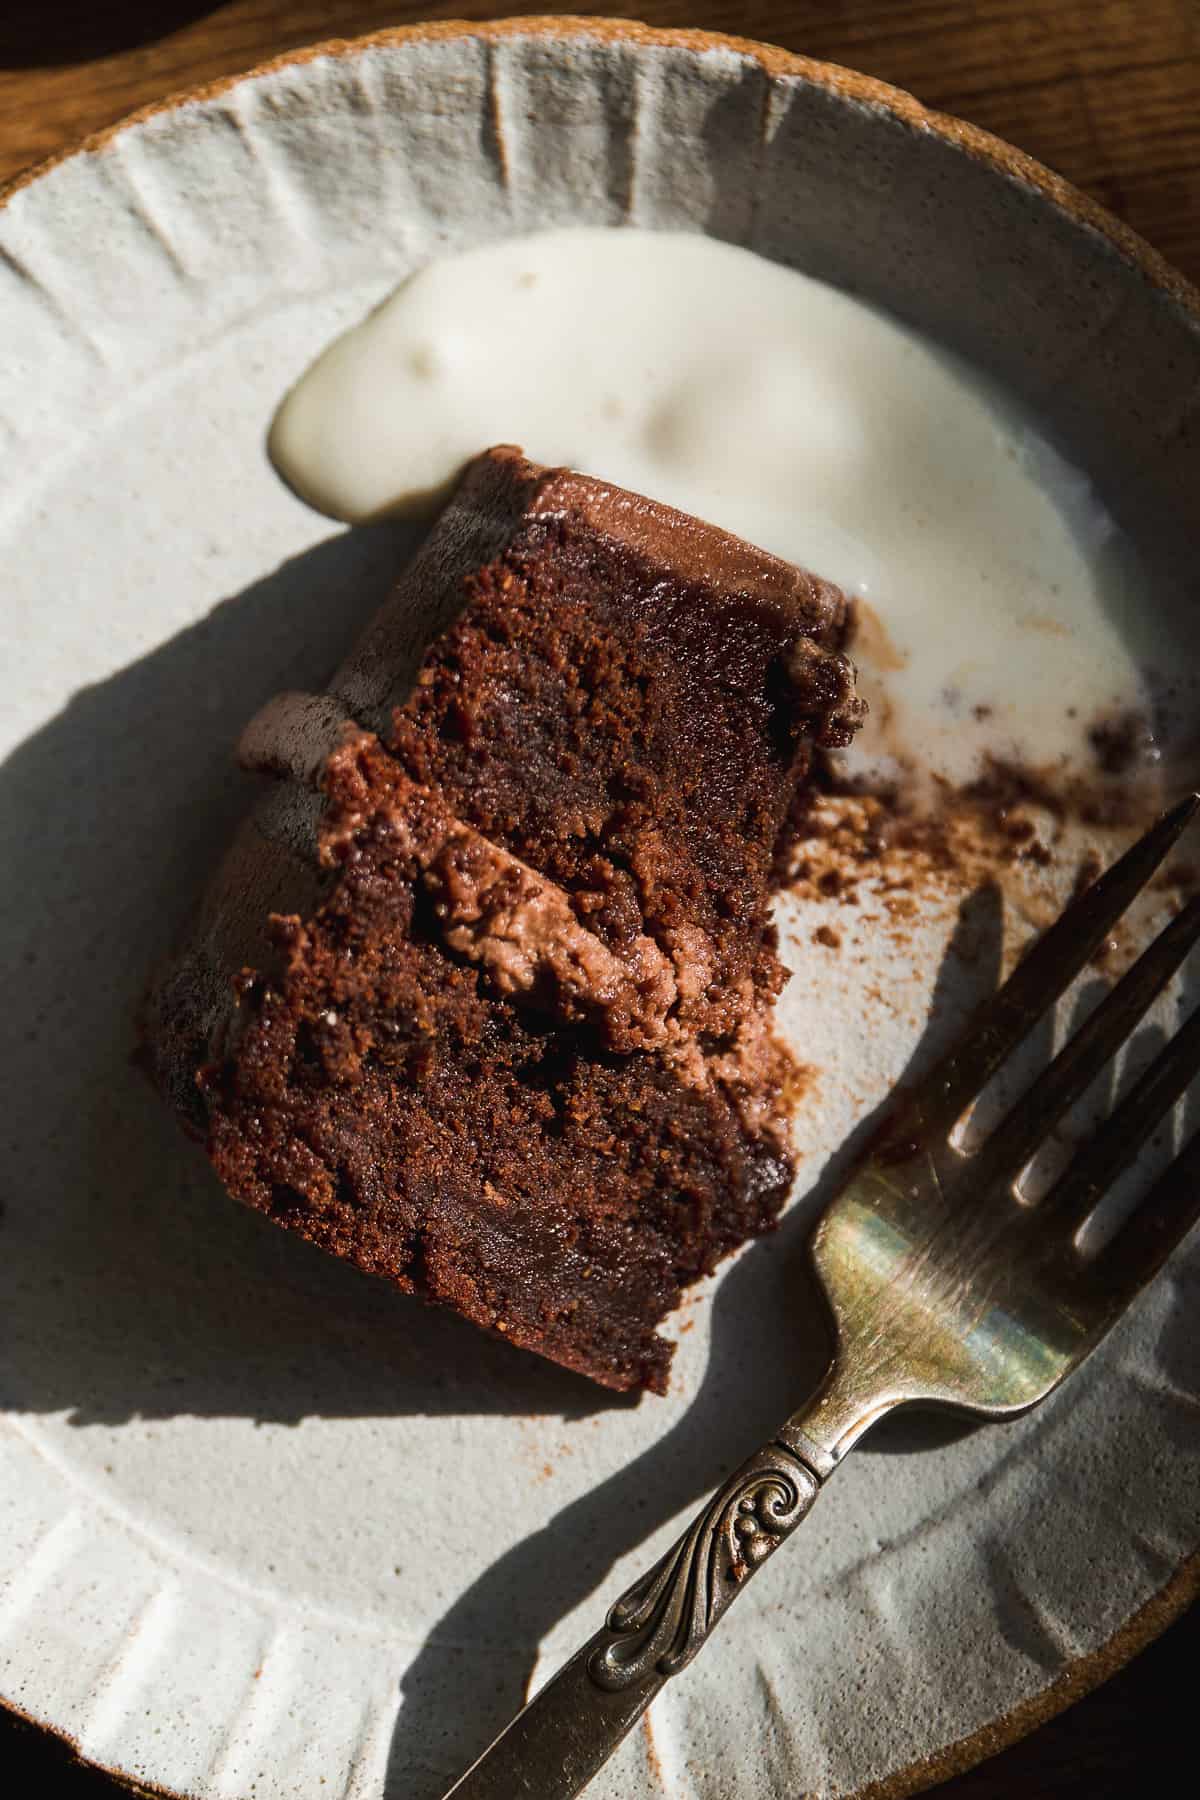
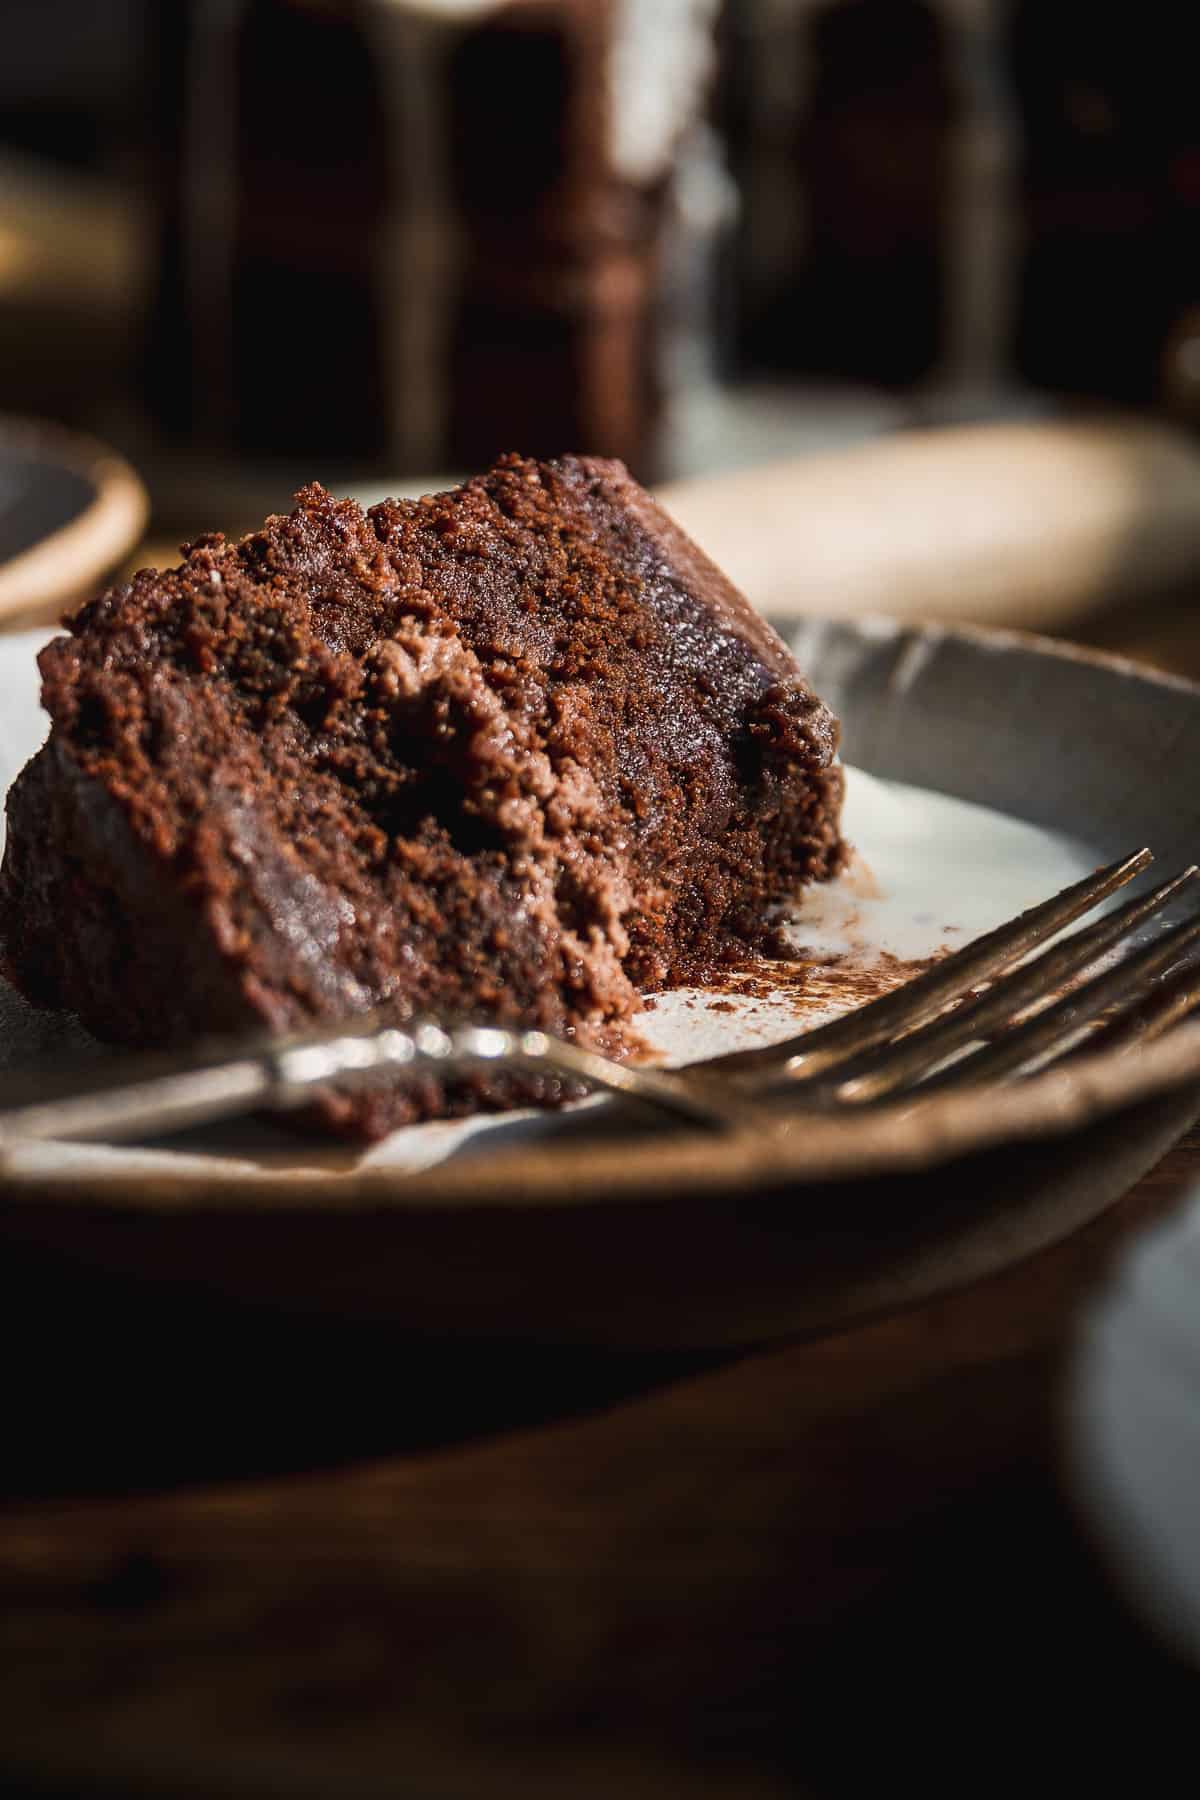
A cross between almond flour brownies and brownie pie, this chocolate brownie cake recipe is an easy, indulgent dessert that’s guaranteed to delight! Made with simple, gluten free ingredients, it’s rich, fudgy, and perfect for every occasion. Especially when topped with a big scoop of vanilla ice cream!
Jump to:
You will love this Brownie Cake Recipe
This brownie cake might be my best recipe yet. Bold statement, I know, but hear me out. A unique combination of ingredients, it’s decadent, chocolatey, and completely gluten free, making it suitable for even the strongest sweet tooth and a variety of diets. Plus, part brownie, part pie, part cookie, and even inspired by ice cream cake, it’s got everything you could ever need …and then some!
As if that weren’t enough, I finished it off with a chocolate whip “icing” that truly takes the flavor to the next level. It comes together with minimal ingredients for a light and fluffy texture that balances out the layers of gooey cake perfectly. Topped with a scoop of your favorite ice cream, it’s a showstopping dessert that all your guests will love!
Brownie Cake Recipe ingredients
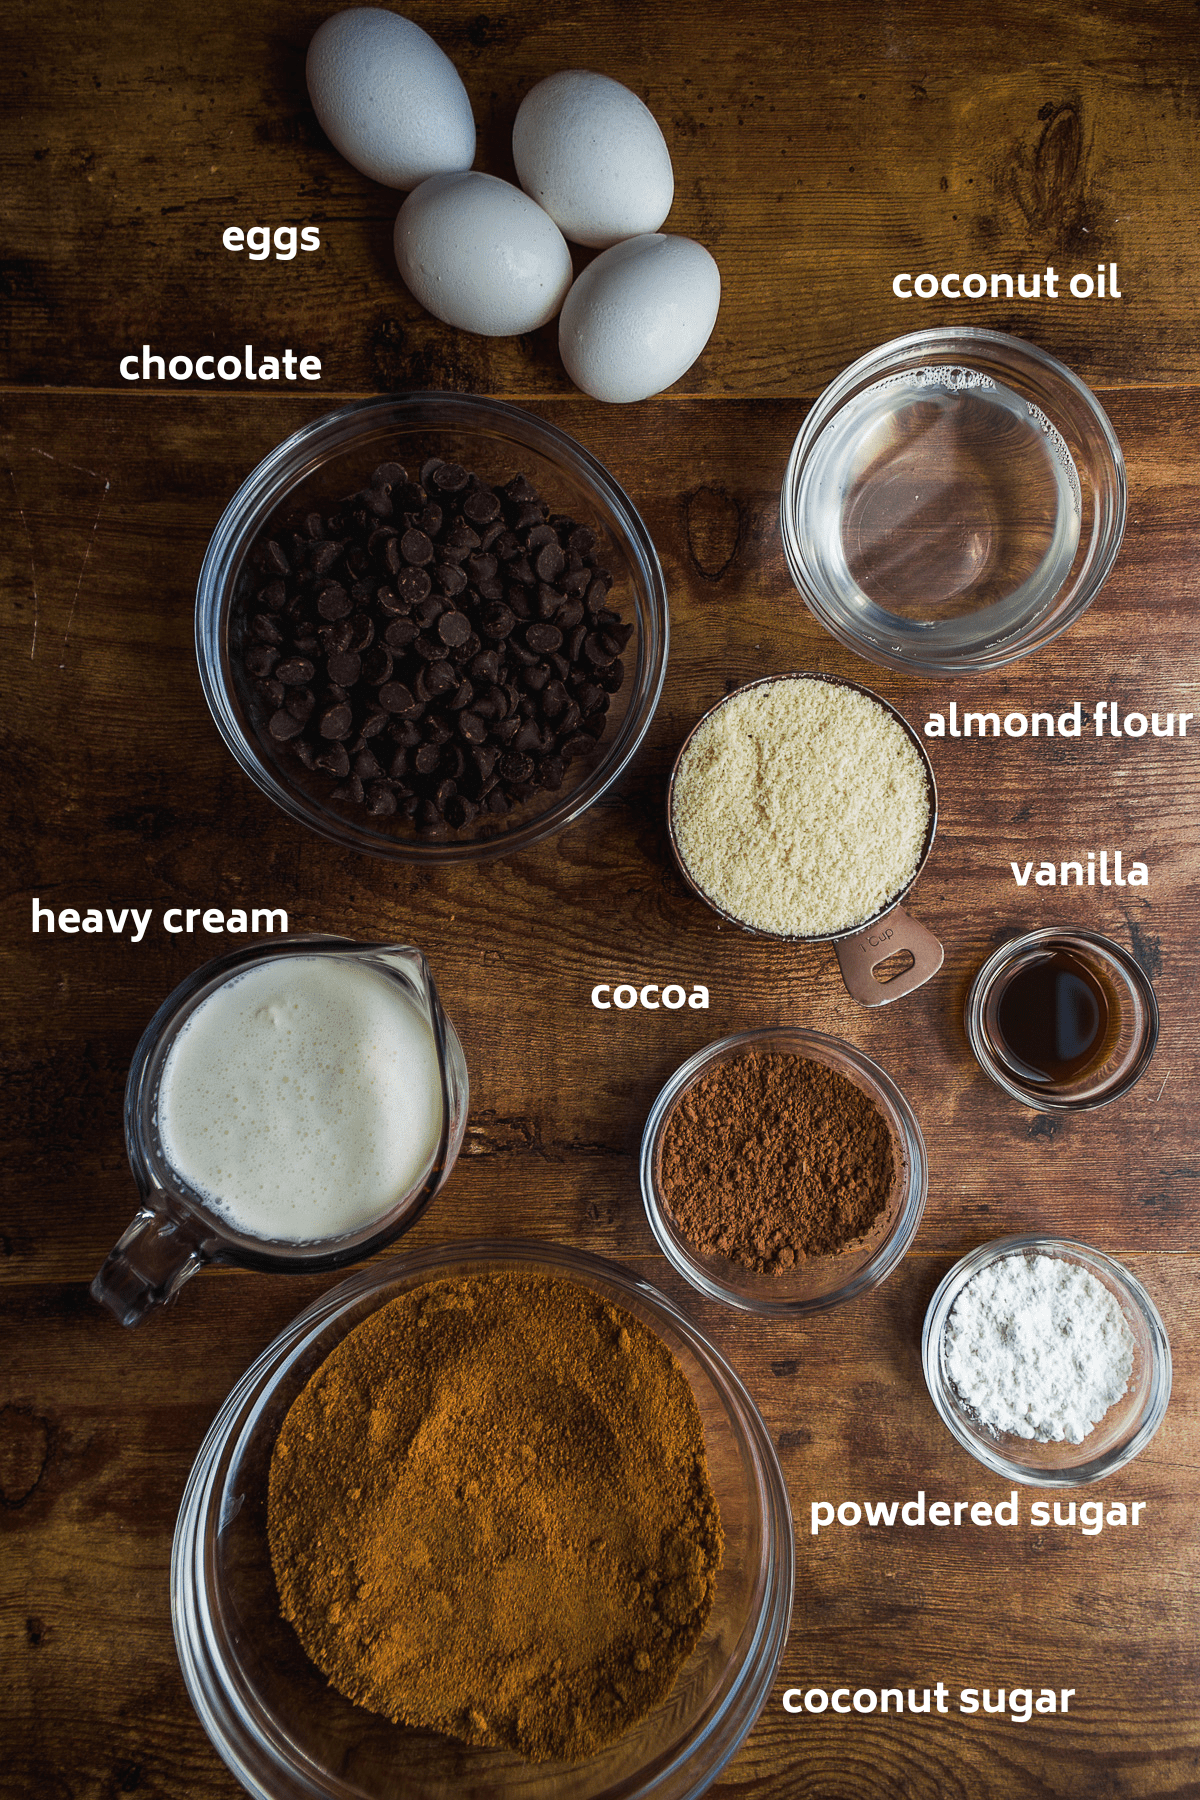
For the cake
- Chocolate chips - I prefer dairy-free dark chocolate chips, but semi-sweet or even white chocolate would work.
- Coconut oil - Melted into the matter to provide moisture, creating an extra soft texture. Swap it out with avocado oil or melted butter if preferred.
- Egg - Crucial to binding the ingredients and holding the cake together. I haven’t tested it yet, but you could try out a flax egg replacement to make this brownie ice cream cake vegan.
- Coconut sugar - Adds just the right amount of sweetness. Brown sugar makes for a great replacement as well.
- Vanilla - Enhances the rest of the ingredients for a bold cake. Whenever possible, use pure vanilla extract instead of imitation varieties.
- Almond flour - A great gluten free flour alternative that yields a similar texture and adds extra fiber and healthy fats.
- Cocoa powder - Used to add an even more intense chocolate flavor to this brownie cake. Make sure your cocoa powder is unsweetened, or swap it out with cacao powder instead.
- Ice cream - Technically optional, I’m pretty sure ice cream always makes everything better.
For the icing
- Heavy whipping cream - Forms the base of the icing. Just make sure it is cold!
- Vanilla - Adds depth to the flavor.
- Powdered sugar - Melts into the cream for extra sweetness and a smooth texture.
- Cocoa powder - Ties the cake layers into the icing for a dessert that is a chocolate lover’s dream.
How to make Brownie Cake
This brownie ice cream cake looks super extravagant and complicated, but it’s actually super simple to make! You’ll just need a hand mixer or stand mixer, two 6-inch cake pans, a turntable or cake stand, and an offset spatula.
Step 1: Melt the chocolate. To begin, preheat the oven to 350 F. Then, melt the chocolate and coconut oil in a pot on the stove over low heat. Stir consistently until the chocolate is thin and melted. Remove the pot from the heat and let the chocolate cool down slightly.
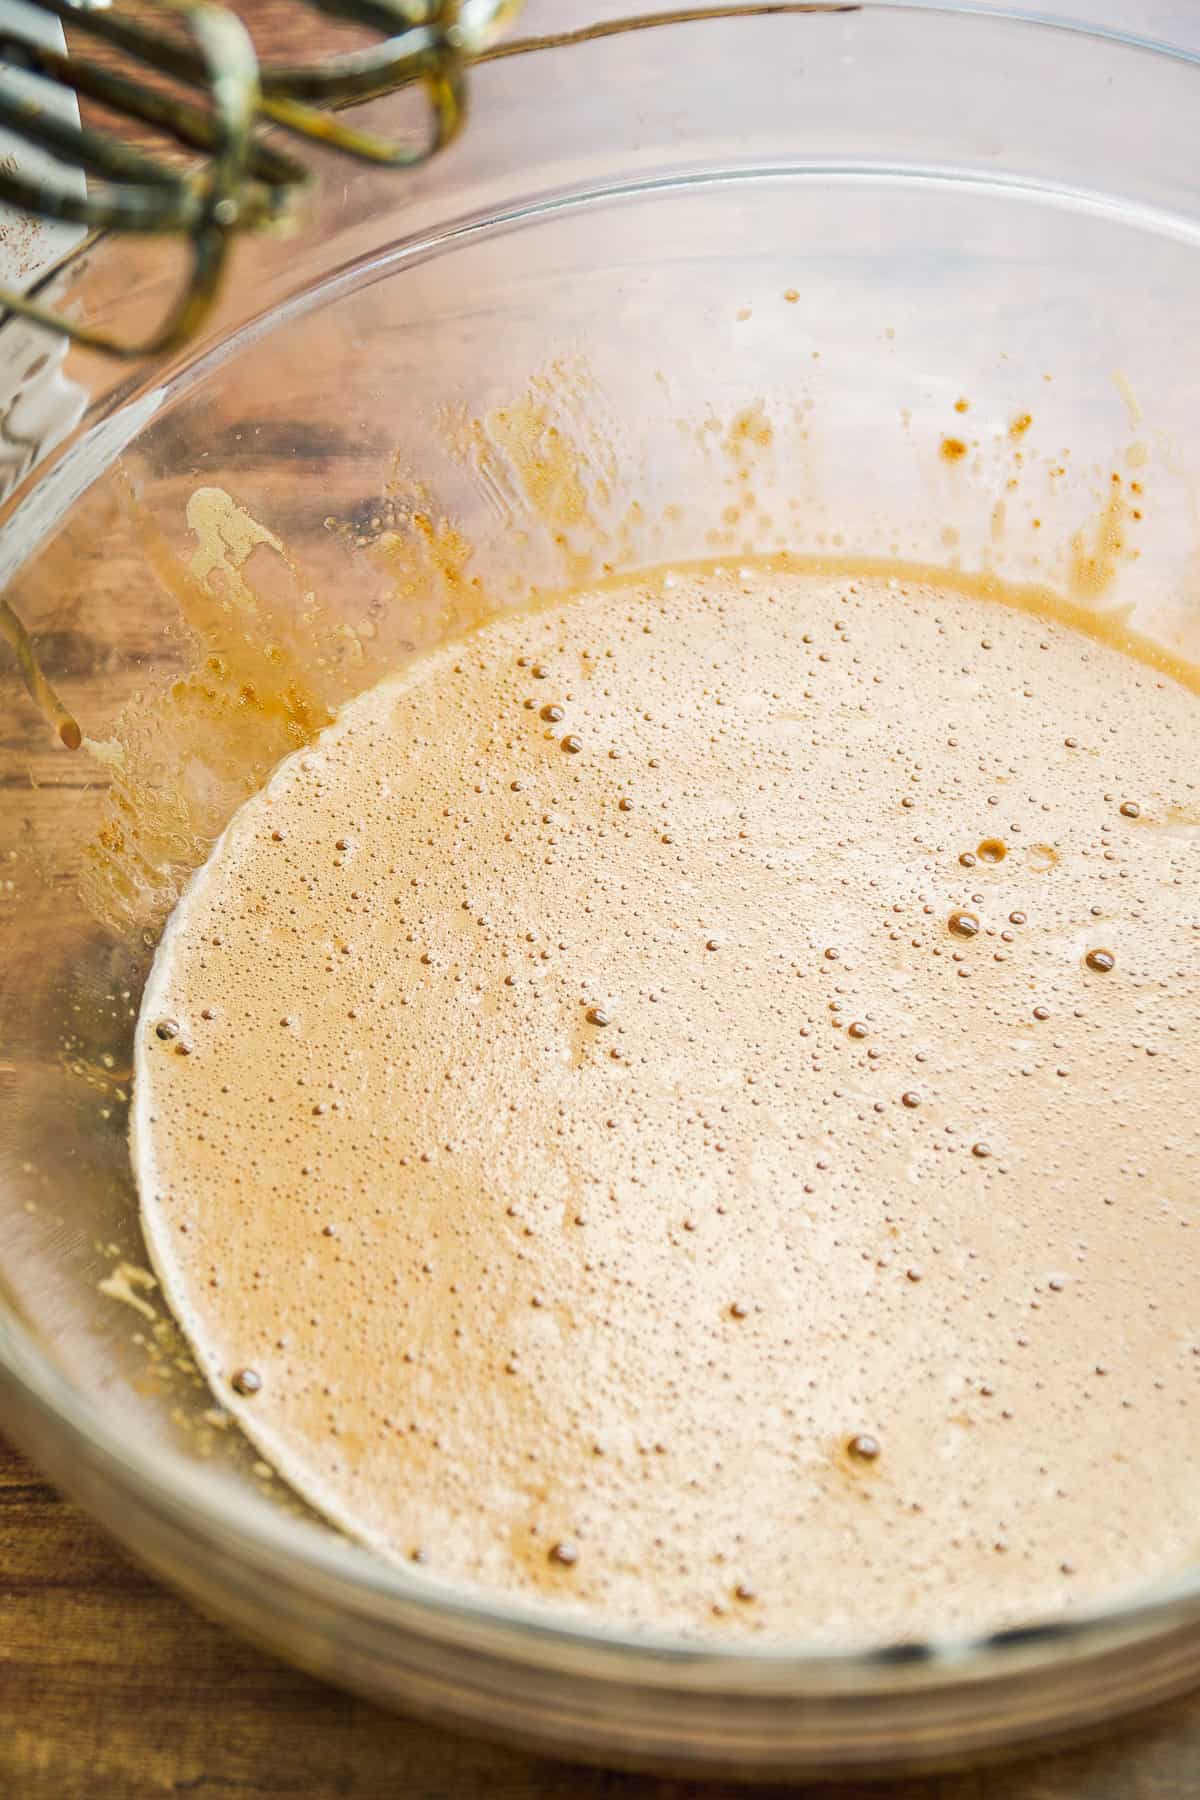
Step 2: Form the batter. While the chocolate is cooling, in a large bowl beat the eggs and coconut sugar really well. Add the vanilla extract and melted chocolate to the bowl, and continue to mix until the ingredients are well incorporated. The mixture should be slightly thick!
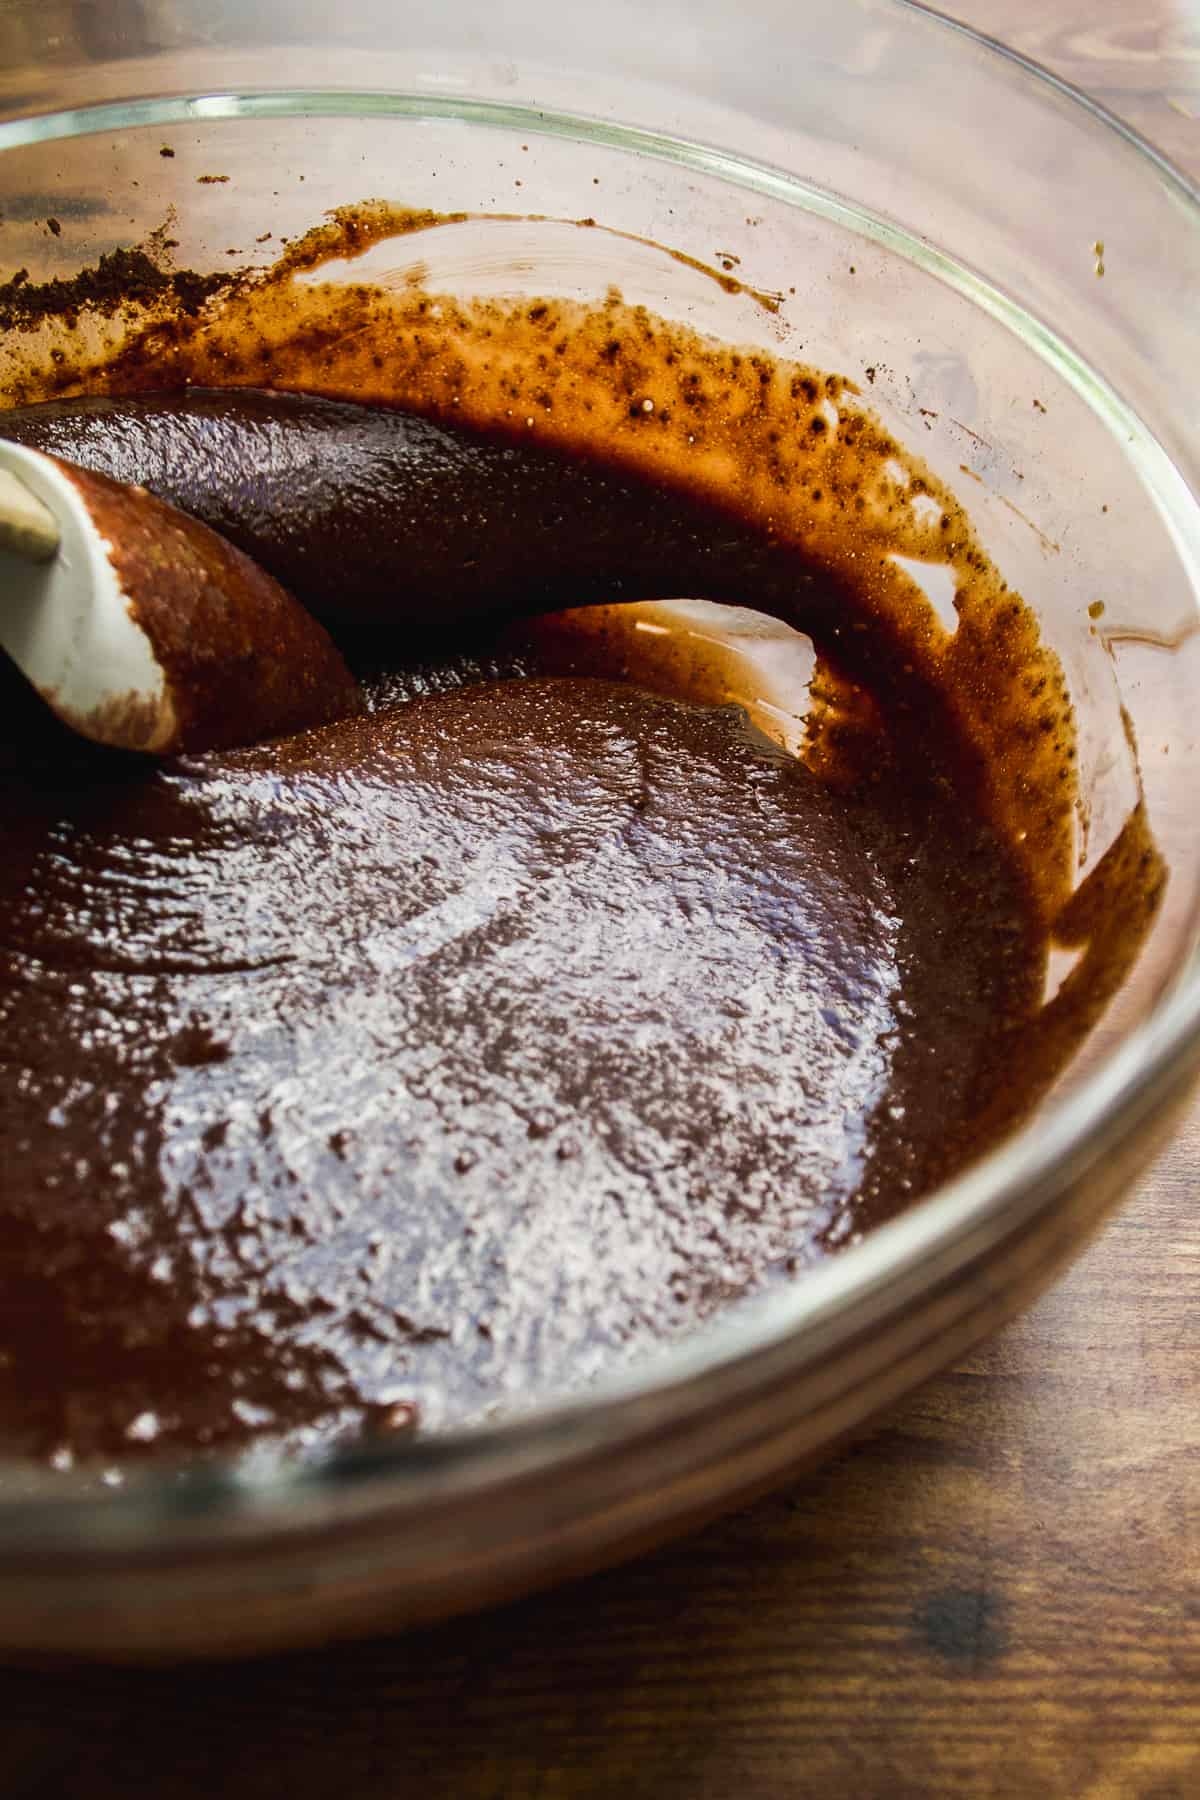
Fold the almond flour and cocoa powder into the batter with a rubber spatula until no flour clumps remain.
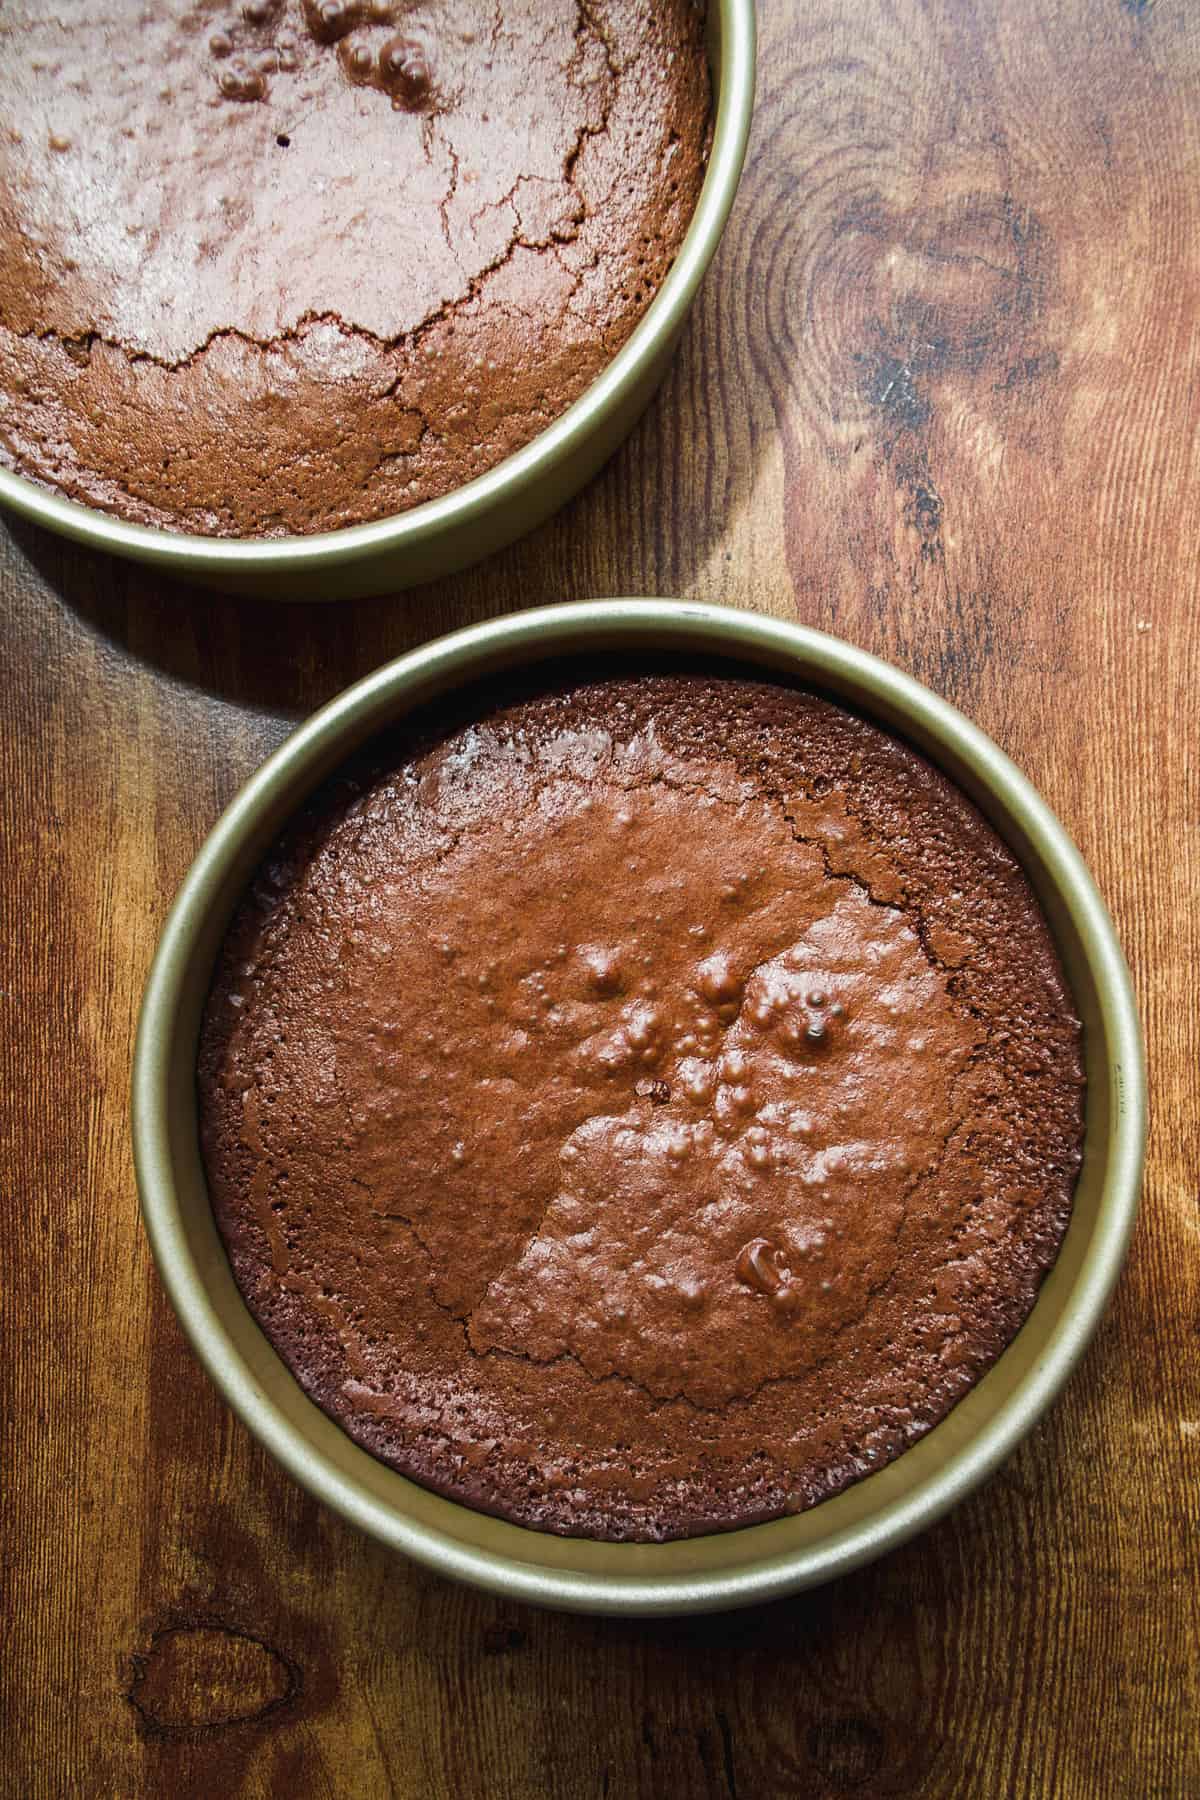
Step 3: Bake. Pour the cake batter evenly into two 6-inch cake pans that have been greased with oil. Tap the pans on the counter a few times to remove any air bubbles.
Bake in the preheated oven for 35 - 40 minutes or until you can insert a toothpick into the center and it comes out clean. Let the cakes cool completely before icing.
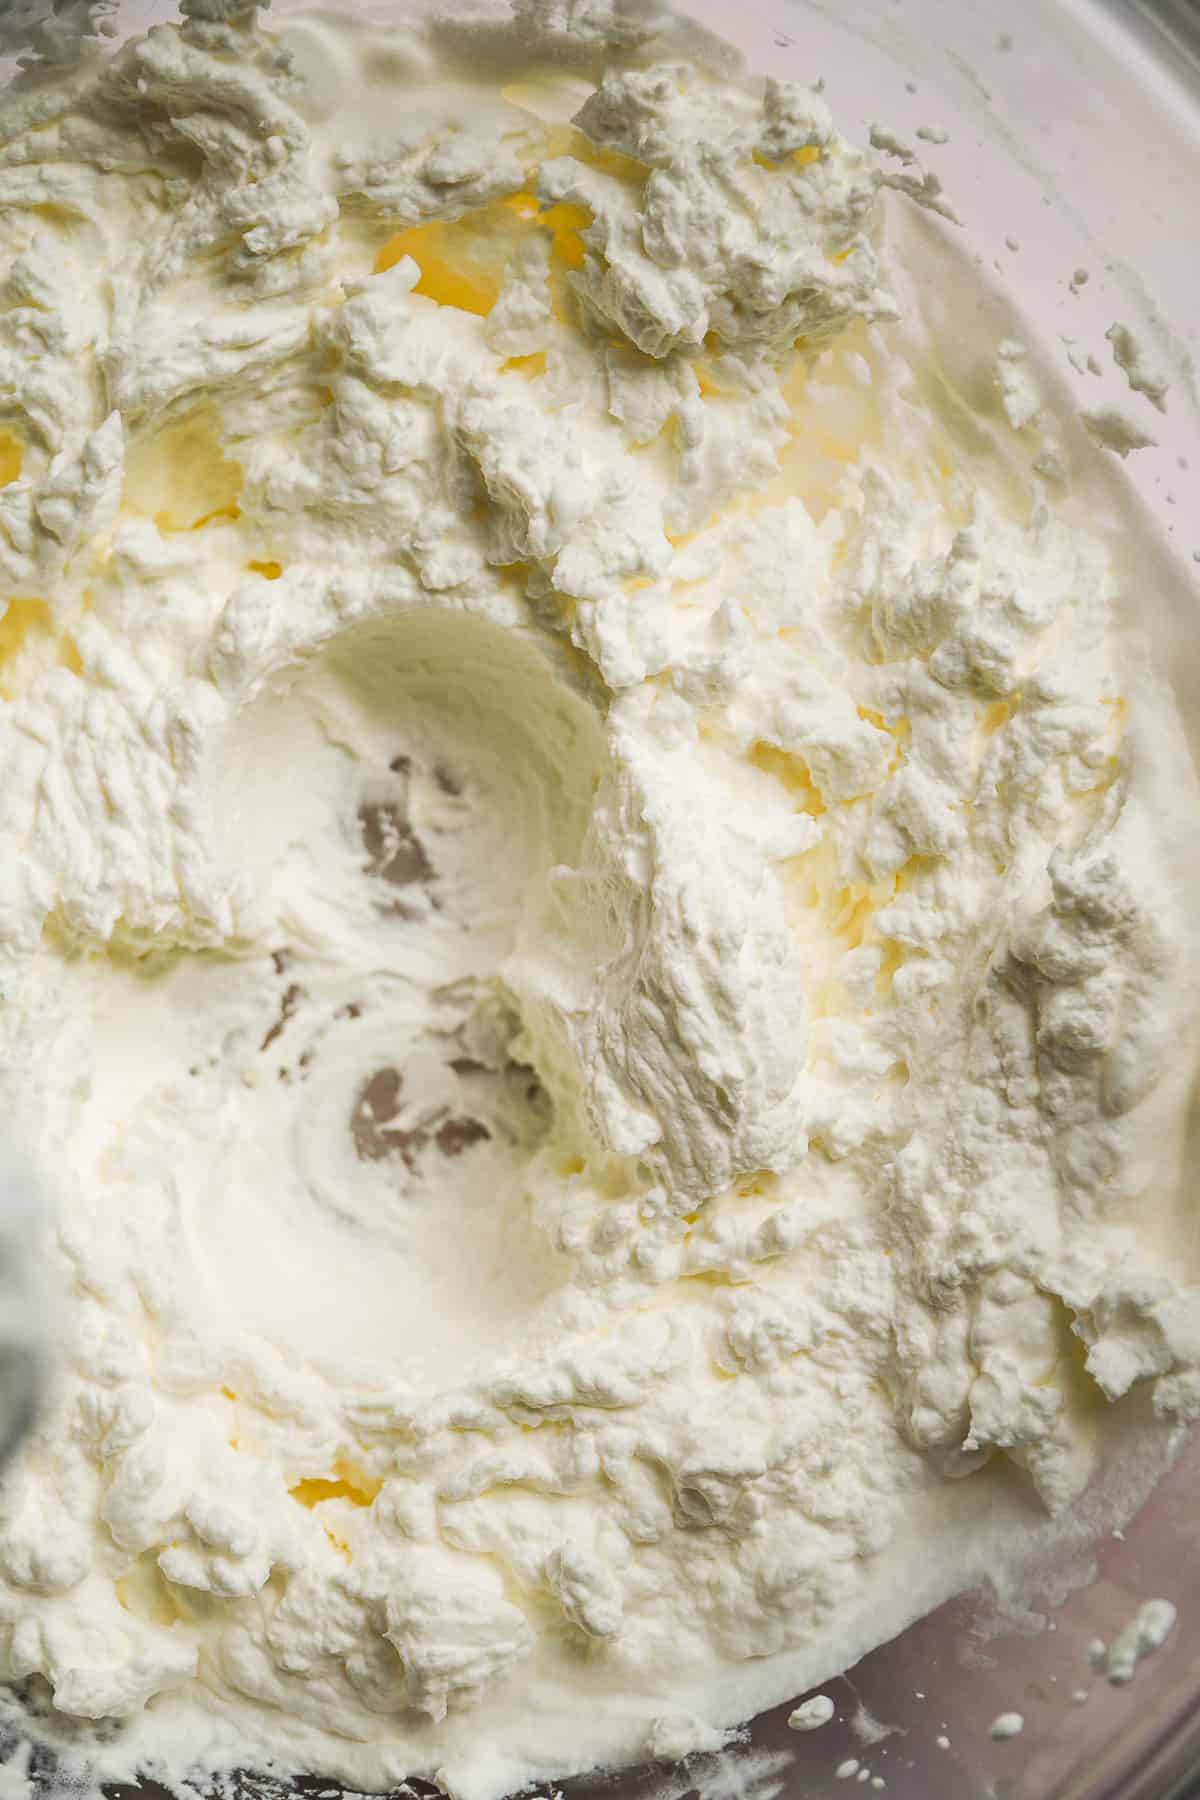
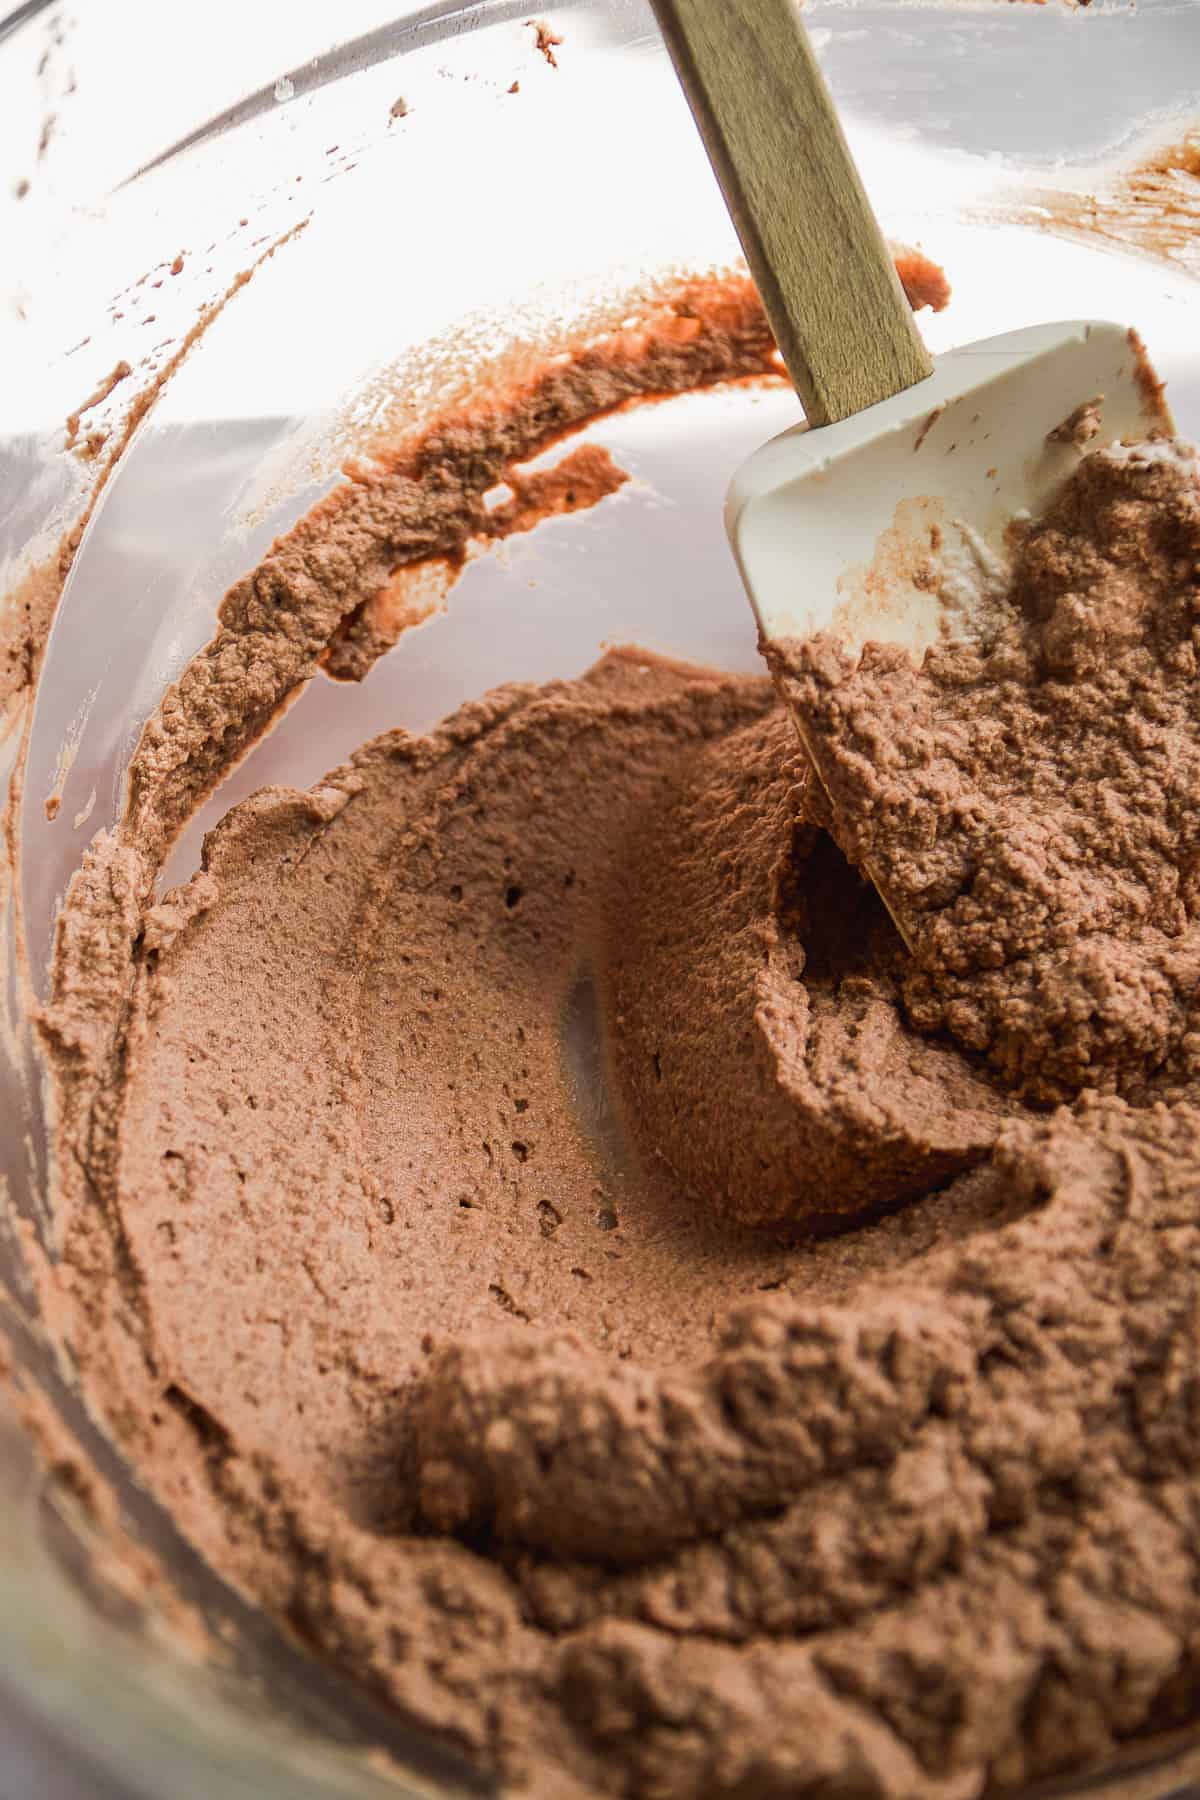
Step 4: Prepare the icing. Beat the heavy whipping cream in a mixer until stiff peaks form (this will take a few minutes). Add the vanilla extract, powdered sugar, and cocoa powder to the cream. Continue to mix until the ingredients are well combined, scraping down the sides of the bowl as needed with a rubber spatula.
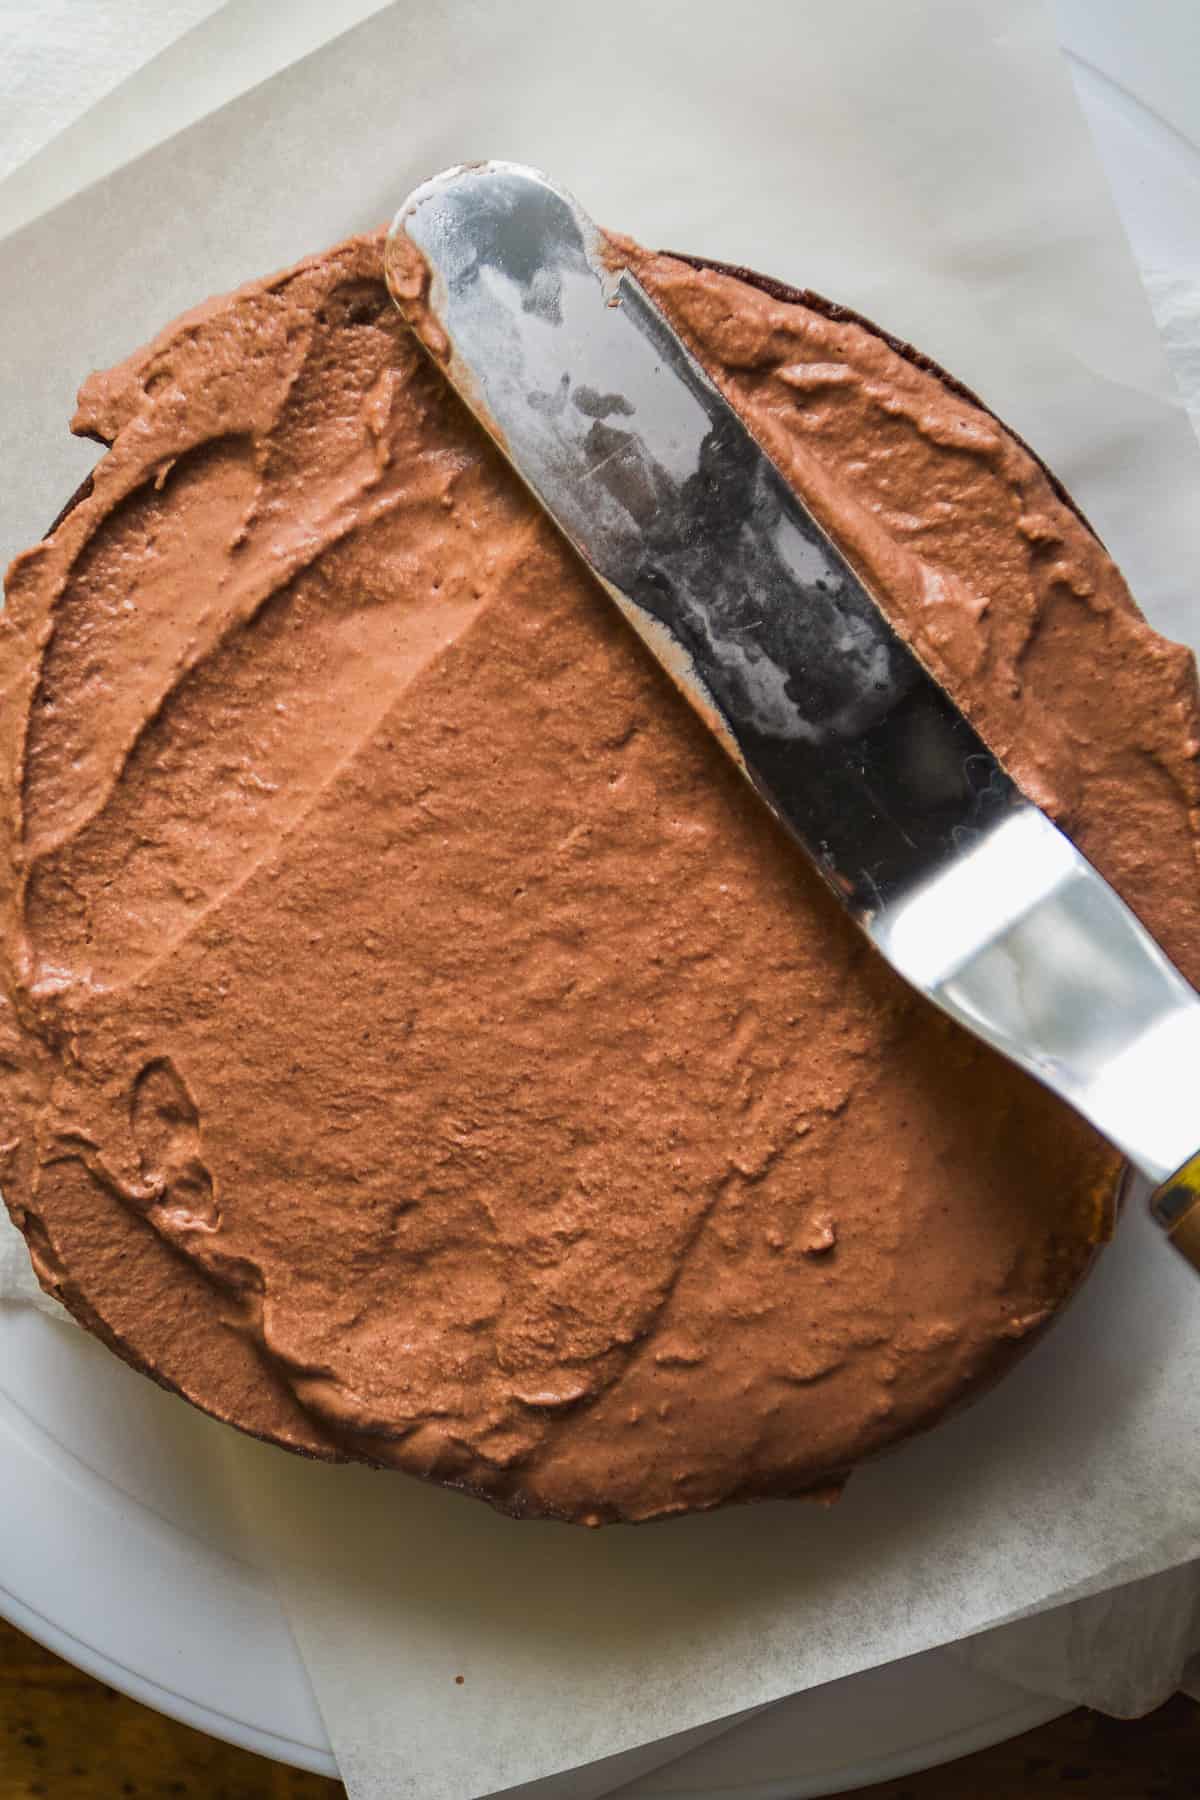
Step 5: Assemble the cake. Place one of the layers on a cake turntable or stand, and scoop about half of the icing on top. Next, use an offset spatula to spread the icing gently over the cake layer. Gently position the second cake layer on top of the first, and spread the remaining icing over the rest of the cake. There will be enough icing for a thicker “naked-style” cake. Transfer the cake to the fridge to allow the icing to set fully before serving.
Once chilled, slice, and serve your chocolate brownie cake with a scoop of ice cream!
Chocolate Brownie Cake Recipe tips
- Take your time, and beat the eggs and coconut sugar together well. This is what gives the cake an extra fudgy texture, just like your favorite brownie recipe!
- The cake layers should bake pretty flat on top. However, if they form a dome shape, be sure to shave the top of the layers so they’re flat before icing. This helps create a stable cake once it has been fully assembled and iced.
- The “icing” for this cake is actually a stabilized chocolate whipped cream. It will be soft and fluffy and needs to be cold in order to maintain its shape. Because of this, the cake needs to be stored in the fridge until you’re ready to serve. For the best results, I prefer to have the cake chill in the fridge for a few hours before serving to ensure the icing is firm enough to slice.
Storing Brownie Birthday Cake
Because this cake needs to be refrigerated, there are a few ways you can go about storing it.
If you’re making this cake for an event, you can do a little bit of prep ahead of time to make things easy. Bake the cake layers, let them cool completely, wrap them tightly in plastic wrap, and chill in the fridge. You can also go ahead and prepare the stabilized chocolate whipped cream, too. Just store it in the fridge in an airtight container or in a bowl with plastic wrap. Then, on the day of the event, or a few hours beforehand, assemble the cake as directed, and it will be ready in minutes!
To store leftover cake, you can either slice it, and keep the pieces in an airtight container or place the whole cake in a cake container, if there is room n your frige. Either way, leftovers will stay fresh for up to 4 days in the fridge.
Chocolate Brownie Cake FAQs
Yes, this cake is naturally gluten free using the ingredients shown in the recipe card.
Yes, I have tried this recipe with TruWhip in place of whipped cream and it works pretty well. You can use plain TruWhip to keep things easy or stabilize it by beating it in a bowl along with the powdered sugar, cocoa powder, and vanilla.
To achieve smooth, clean cuts use an extra sharp knife and wipe the blade clean after each cut.
As mentioned, this brownie cake is based on my popular almond flour brownies and uses basically the same ingredients. However, regular brownies tend to be a little fudgier and chewier than brownie cake. When testing my brownie cake recipe, I wanted to maintain that fudgy consistency yet still have the stability of cake layers. As a result, in this recipe, you will find a little more flour is used, and the cake layers are baked a tad longer to ensure they will hold their shape. That said, the texture is still soft and moist, and the flavor is loaded with chocolate!
For more brownie-inspired treats, check out my:


PS : If you make this recipe, be sure to leave a star review and comment below! Also be sure to follow along with me on Instagram and Pinterest to stay up to date on all tasty recipes here at The Fit Peach!
Recipe

Brownie Cake Recipe
Ingredients
For the cake
- 1 ⅓ cup chocolate chips
- ½ cup coconut oil - melted
- 4 eggs
- 1 ⅓ cup coconut sugar
- 2 teaspoon vanilla extract
- 1 cup almond flour
- ¼ cup cocoa powder
- Ice cream - to top, optional
For the icing
- 1 cup Heavy whipping cream - cold
- 1 teaspoon vanilla
- 2 tablespoon powdered sugar
- 2 tablespoon cocoa powder
Instructions
- Preheat oven to 350 F. Melt the chocolate and coconut oil in a pot on the stove over low heat. Stir consistently until the chocolate is thin and melted. Remove the pot from the heat and let the chocolate cool down slightly.
- While the chocolate is cooling, in a large bowl beat the eggs and coconut sugar really well.
- Add the vanilla extract and melted chocolate to the bowl and continue to mix until well incorporated. The mixture should be slightly thick.
- Fold the almond flour and cocoa powder into the batter with a rubber spatula until no flour clumps remain.
- Pour the cake batter evenly into two 6-inch cake pans that have been greased with oil. Tap the pans on the counter a few times to remove any air bubbles.
- Bake in the preheated oven for 35 - 40 minutes until you can insert a toothpick into the center and it comes out clean. Let the cakes cool completely before icing. For best results, chill the cake layers in the fridge before icing for at least an hour.
- To prepare the icing, beat the heavy whipping cream with a mixer until stiff peaks form (this will take a few minutes). Add the vanilla extract, powdered sugar, and cocoa powder and continue to mix until combined, scraping down the sides of the bowl as needed with a rubber spatula.
- To assemble the cake, place one of the layers on a cake turntable or stand and scoop about half of the icing on top. Use an offset spatula to spread the icing gently over the cake layer. Position the second cake layer on top gently and spread the remaining icing over the rest of the cake. There will be enough icing for a thicker “naked-style” cake. Transfer the cake to the fridge to allow the icing to set fully before serving.
- When ready to serve, Slice the cake with an extra sharp knife and be sure to wipe the knife clean after each cut. Serve with a scoop of ice cream for a brownies and ice cream feel!
- Store leftover cake in the fridge in an airtight container for up to 3 days or freeze for up to a month.

How long would you whisk the eggs and sugar? Or what color or consistency are we looking for? I usually do 7 min for eggs, sugar and butter for a light yellow, fluffy consistency. But I haven’t worked with coconut sugar or oil before.