Gluten free Blondies
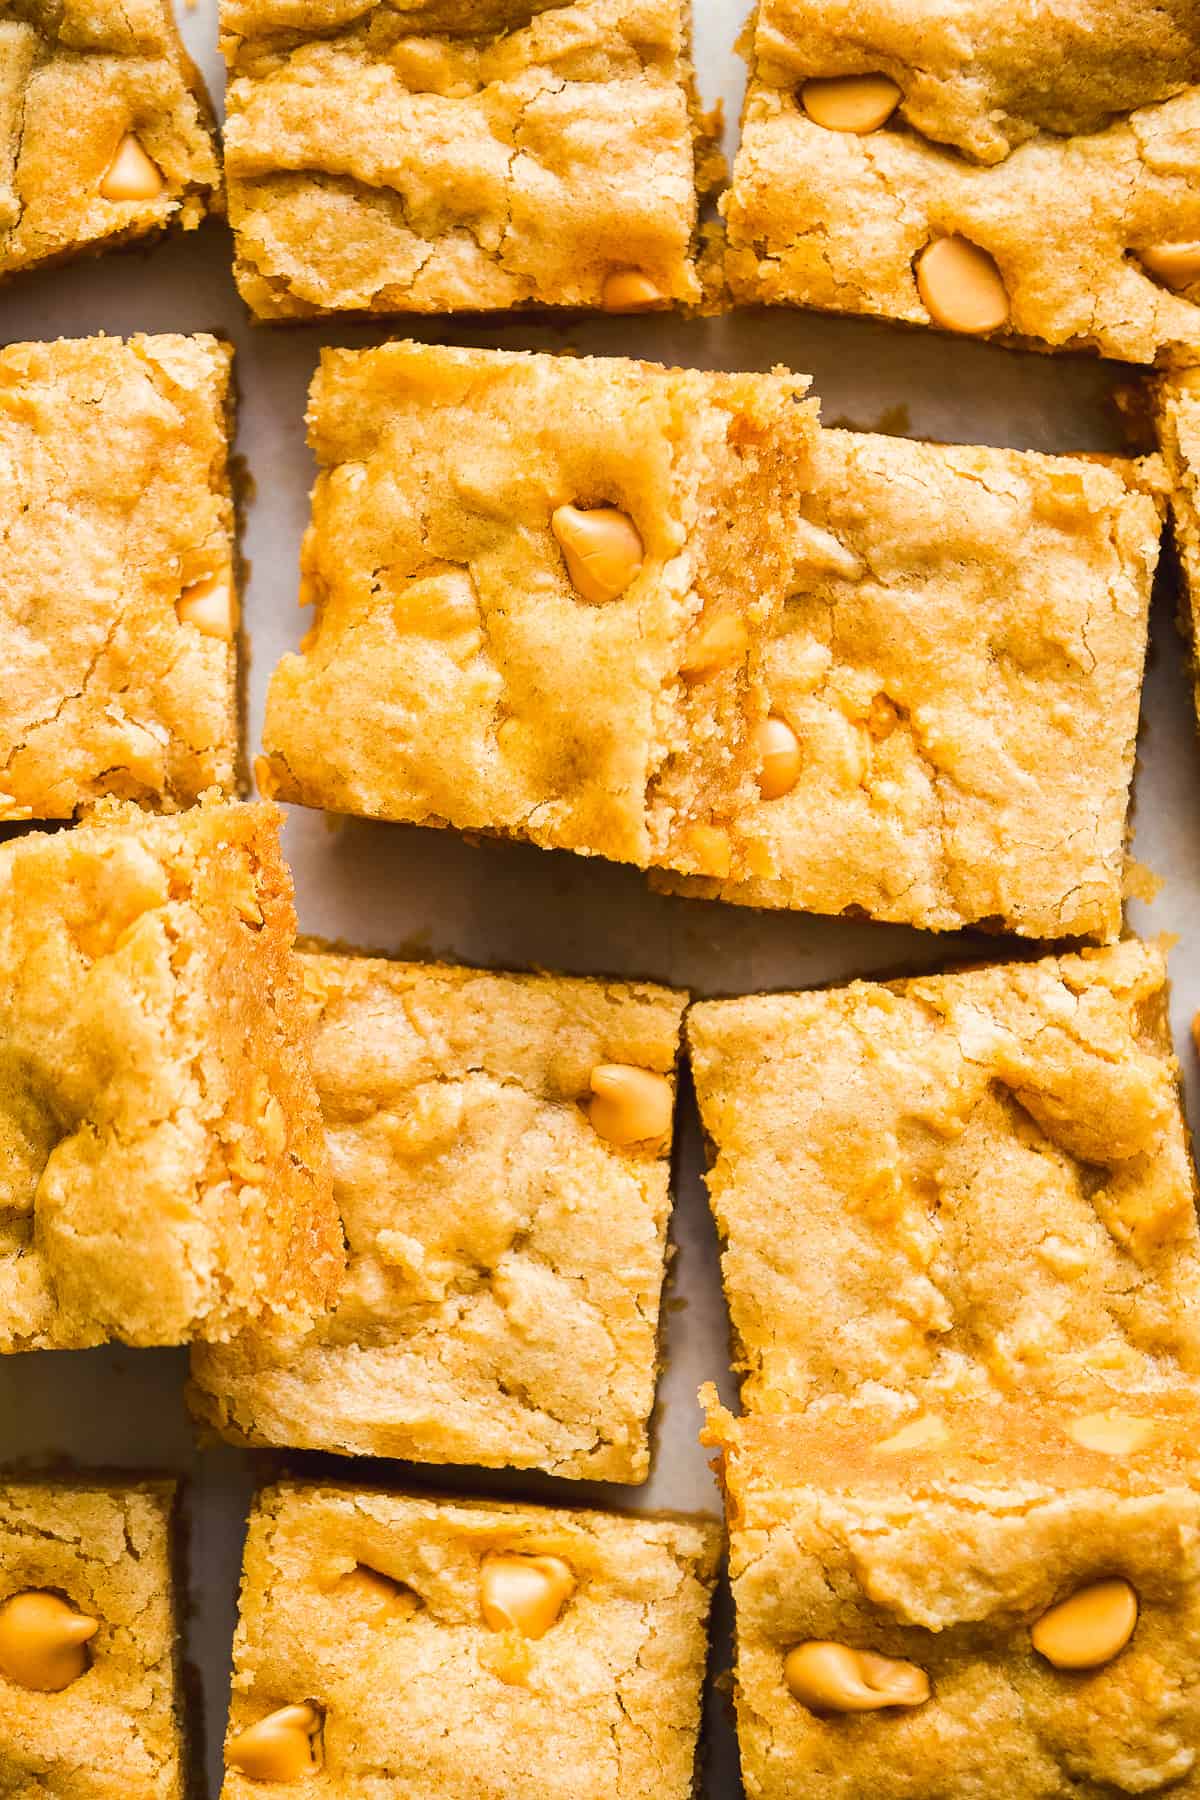
These gluten free blondies are ooey and gooey with a dense fudgy middle and crackly top layer. They're easy to make in just one bowl with simple ingredients and sure to be a crowd hit! No one will ever guess that they're gluten free!
Jump to:
Ah the blondie, where the chocolate chip cookie meets the brownie, otherwise known as blonde brownies. I've always thought of a blondie as the buttery taste of chewy chocolate chip cookies with the richness of fudgy brownies. And let me tell you, they're incredible! Only brown sugar or coconut sugar is used in this recipe, not white sugar, so the blondies have an extra chewy center.
These blondies are made gluten free but can also be made with all-purpose flour too so they're very versatile. You can also swap out the mix-in to meet your preferences. I love butterscotch and think the caramel-like flavor pairs perfectly with the buttery blondie so that's what I went with. You can also use chocolate chips, chocolate chunks, peanut butter chips, nuts, etc!
In other words, when it comes to these blondies, you do you girlfriend!
Check out my almond butter blondies, chocolate brownies, and my monster blondies for more bar fun!
Ingredients and Substitutions

- Butter - We use melted butter in this recipe to ensure our gluten free blondies are dense and fudgy. You can use vegan butter if needed. You can also use melted coconut oil but I highly recommend adding a splash of butter extract so you still get that buttery flavor.
- Egg - You will need 1 egg and 1 egg yolk. This also helps with the rich and chewy texture.
- Coconut sugar - Used to sweeten the blondies and give them a caramel-like flavor. Substitute with light or dark brown sugar if needed.
- Gluten free 1 : 1 flour - I have used King Arthur and Bob’s Red Mill and both work well in this recipe. You can also use a combination of almond flour and tapioca flour if you prefer alternative flours (see notes in the recipe card).
- Butterscotch chips - These are my preferred blondie mix-in. You can use any other mix-in like chocolate chips, white chocolate chips, dark chocolate, macadamia nuts, etc.
How to Make Gluten free Blondies
You will need blank a large mixing bowl, a hand mixer or stand mixer, and an 8 x 8 or 9 x9 baking pan.
Step 1 : Mix the butter and sugar. First melt the butter and let it cool down slightly. Then add it to a large bowl with the coconut sugar and mix well until the sugar has dissolved into the butter. The mixture will be thick.
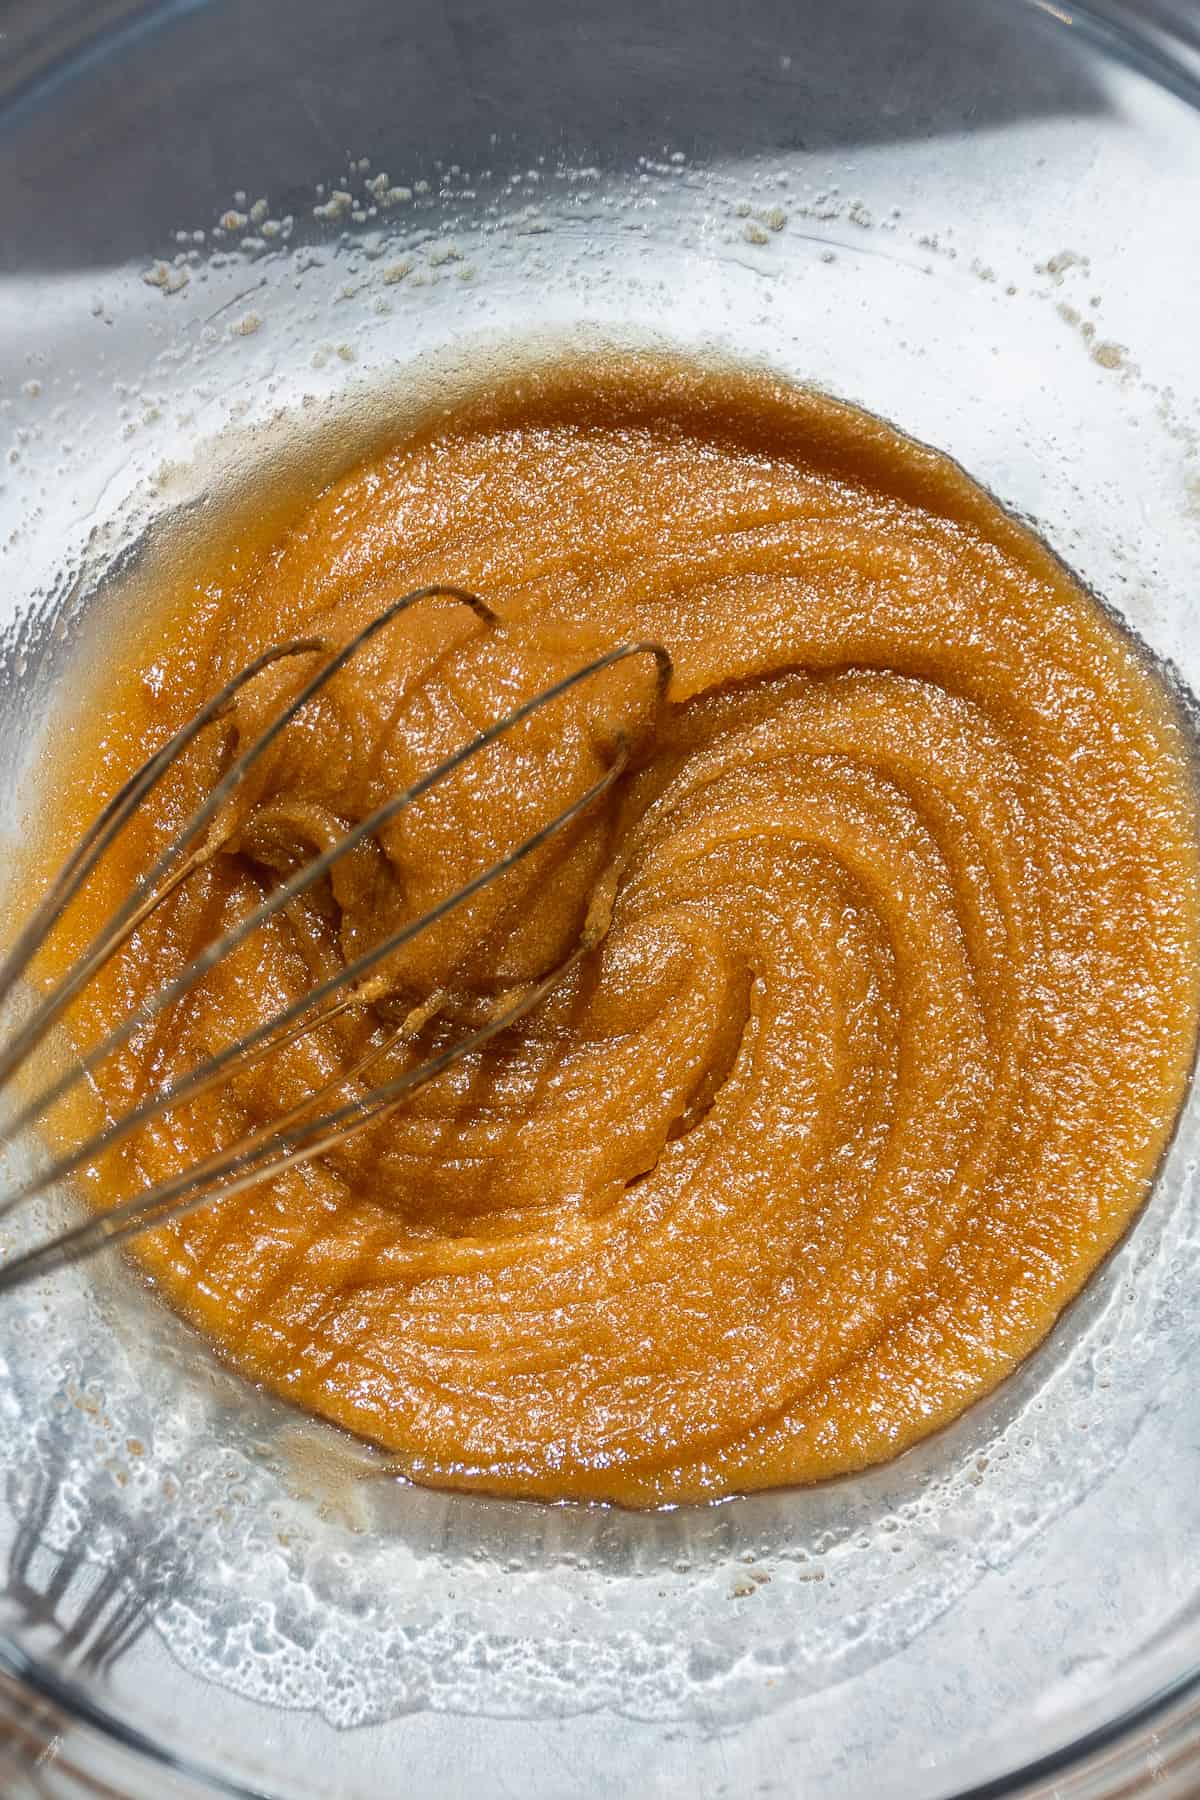
Step 2 : Add the wet ingredients. Whisk in the egg and egg yolk and vanilla extract into batter until well combined. This batter will thin out slightly and be easier to whisk at this point.

Step 3 : Fold in the dry ingredients. Add the gluten free 1:1 flour and baking powder to the bowl and gently fold until the flour is almost combined. Don't over mix this step!
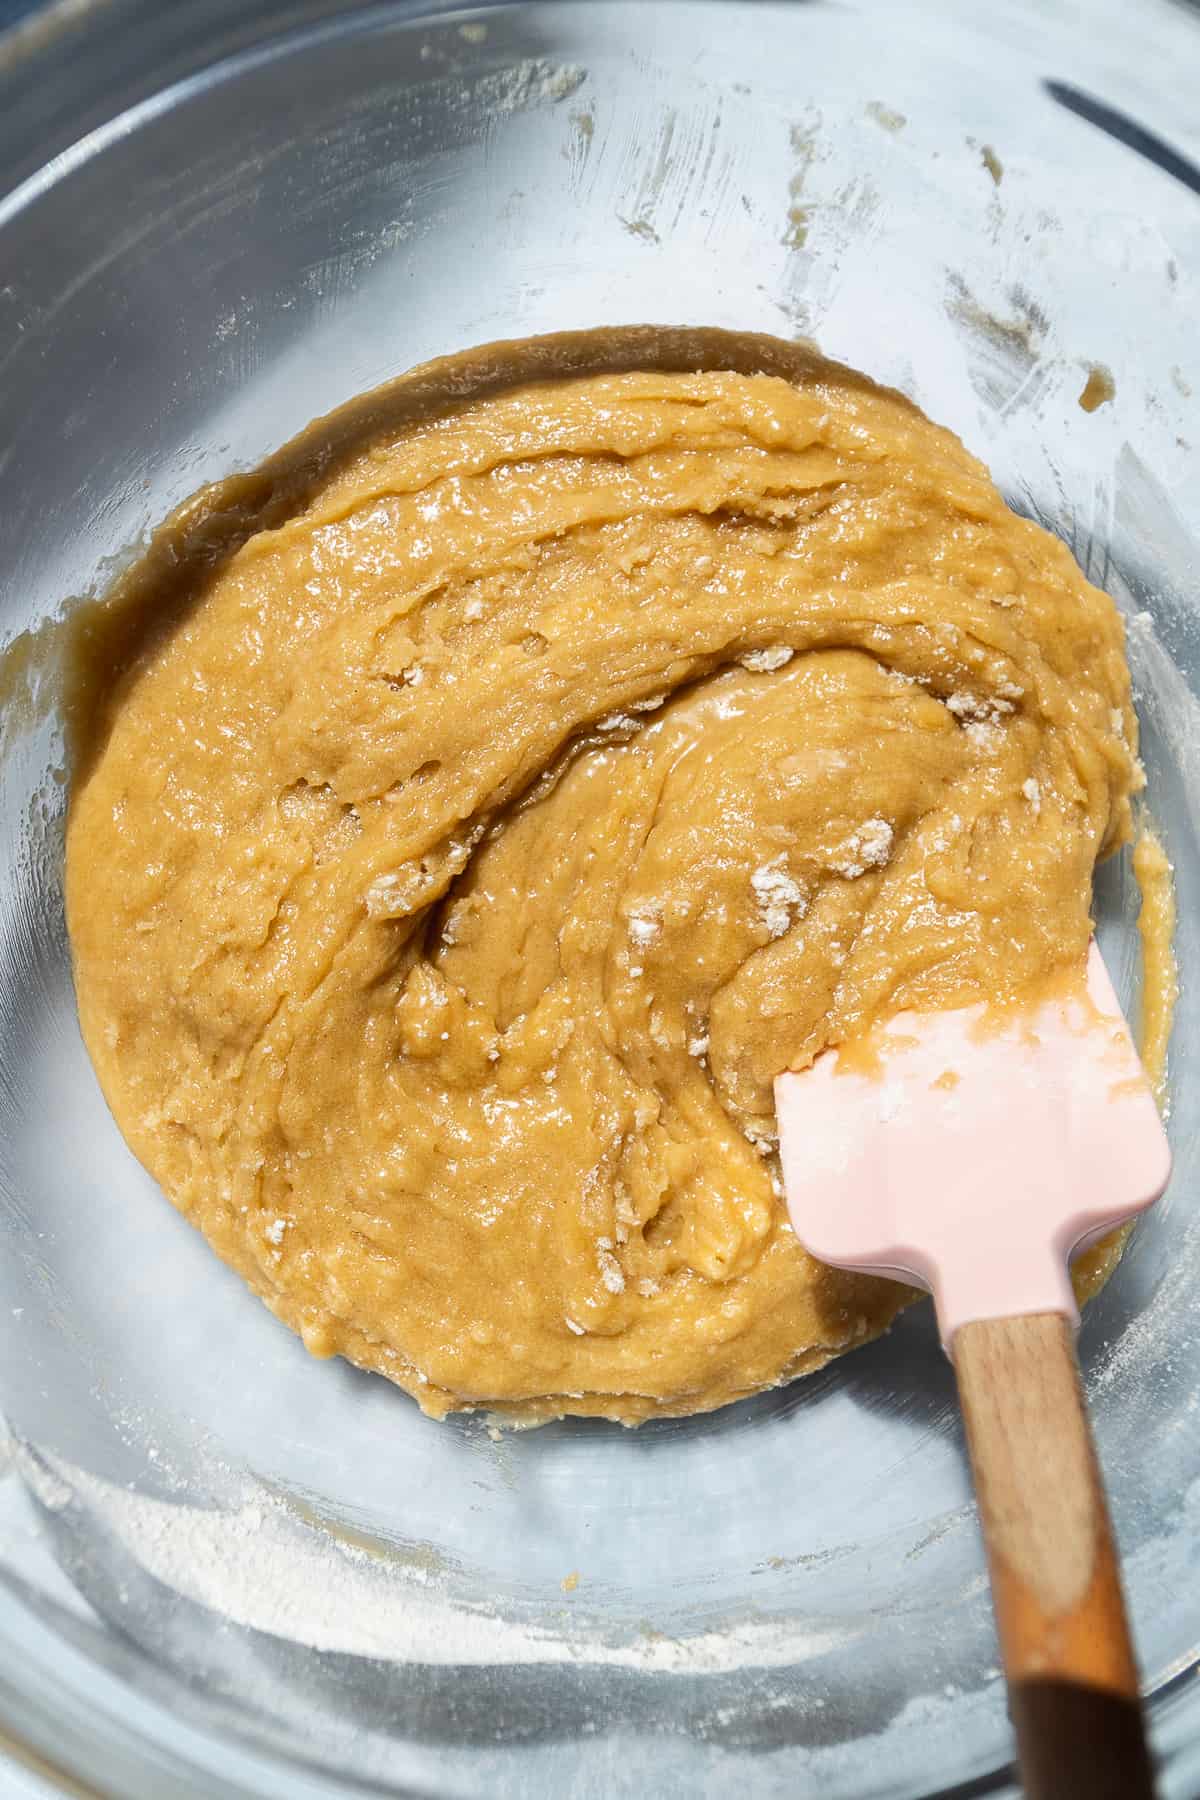
Step 4 : Add the mix-ins. Finally add the butterscotch chips, or whatever mix-in you are using, to the dough and gently fold to distribute into the blondie batter.

Step 5 : Bake! Line your baking pan with parchment paper and transfer the dough inside. You will need to use a rubber spatula or your hands to help form the dough into an even layer and get it into the corners of the pan. Sprinkle a few extra butterscotch chips on top if desired and bake in the oven until the edges are golden brown. You should be able to insert a toothpick into the center of the pan and it come out clean which means the blondies are done.

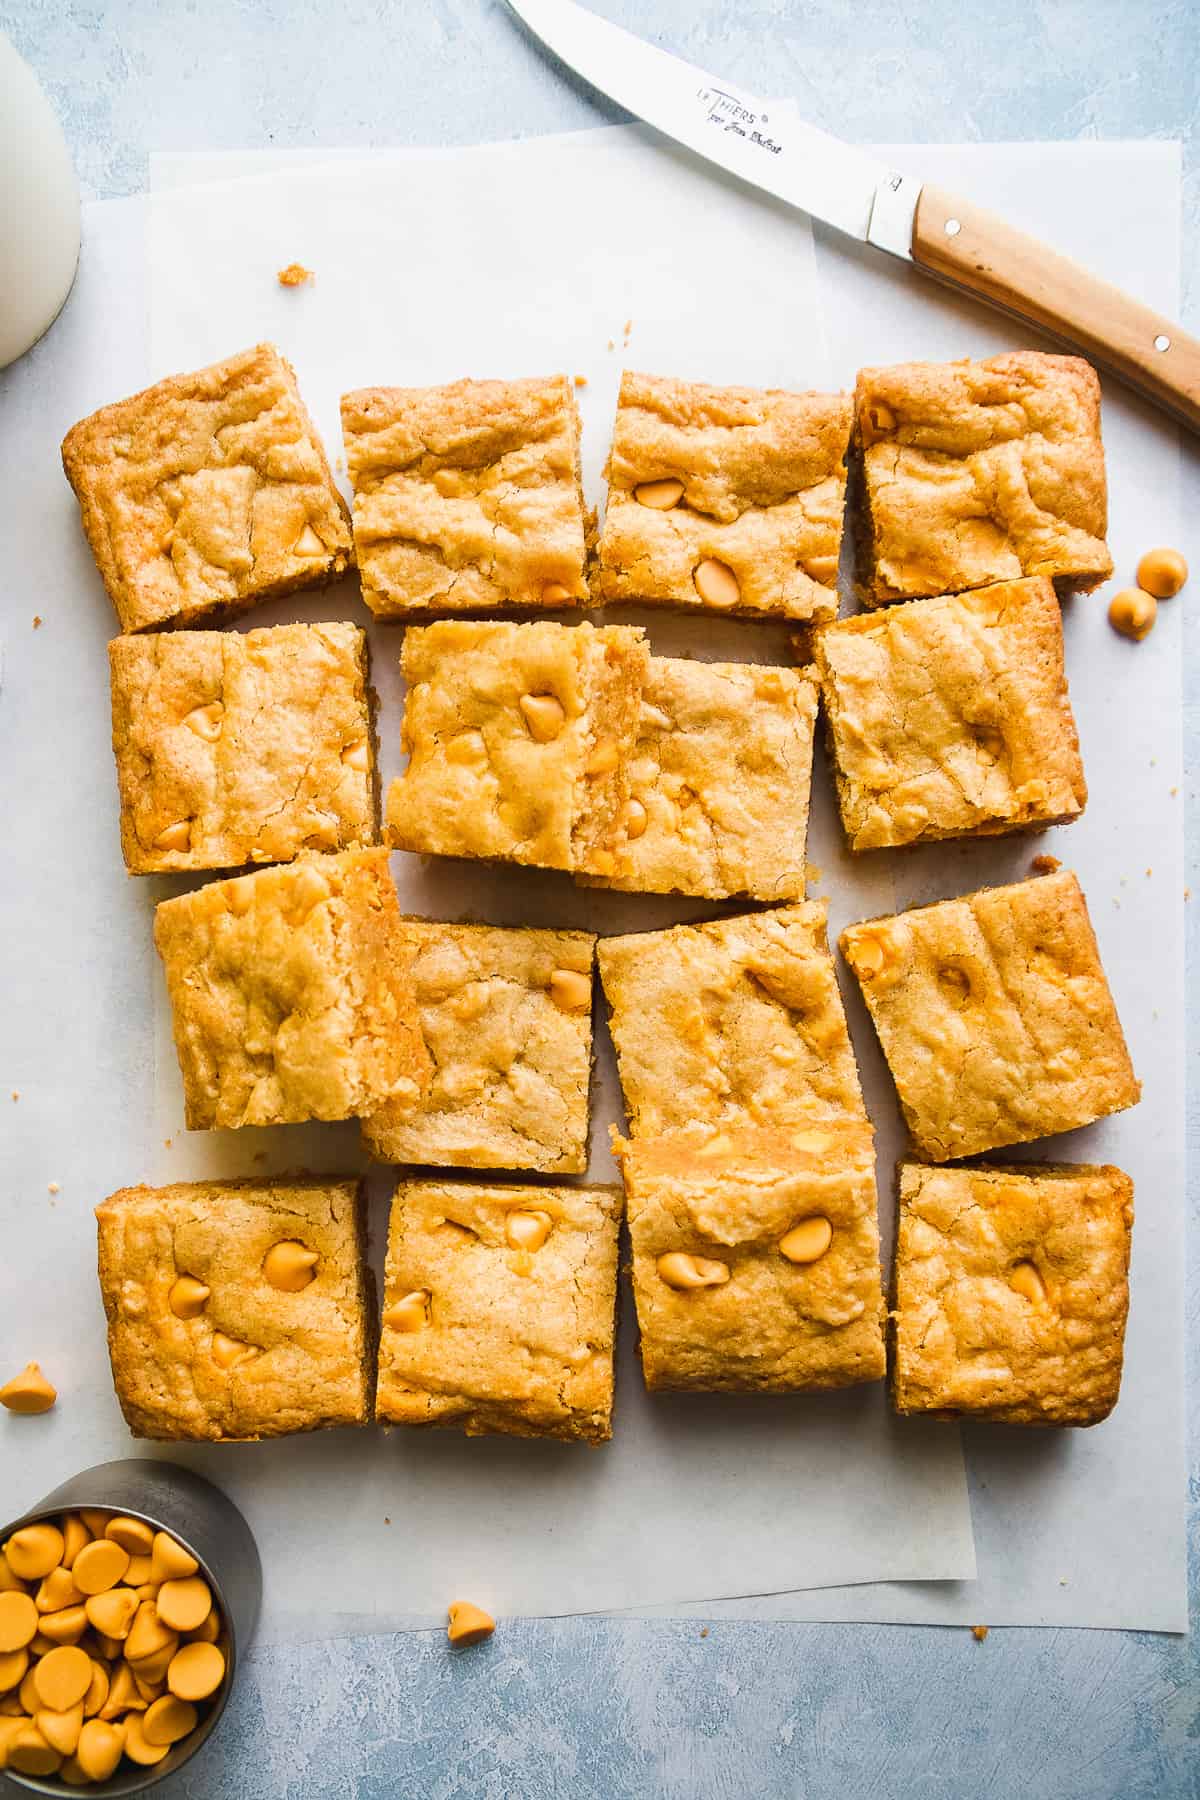
Let the blondies cool down all the way before removing them from the pan. Use a thin sharp knife to slice the blondies into squares and enjoy!
How to Store
Once the bars are cut into squares, you can stack them into an airtight container and they will keep for up to 5 days out on the counter or a week in the fridge.
Expert Tips
- Make sure the butter is melted but not super hot. You want to let it cool down for a few minutes before stirring it with the sugar.
- Be careful not to over mix the flour into the dough. Only fold until the flour is about 90% combined and then add in the mix-ins. Over mixing the dough can result in cakey blondies and nobody wants that!
- I highly recommend inserting a toothpick into the center of the blondies to make sure they're done. Blondies can have a way of looking done on the outside but still have a doughy inside so be sure to check!
- Let the blondies cool down completely to room temperature before slicing them into squares for best results. Similar to brownies, they need time to set.
Frequently Asked Questions
Blondies should be gooey but not raw in the middle. The best way to make sure your blondies are done is to stick a toothpick in the center. If it comes out clean, they're done, if there is still some excess batter on the toothpick then they need more time in the oven.
Use dairy free butter and use a mix-in that is also dairy free like nuts of these dairy free chocolate chips.
Yes, all purpose flour can be used as a direct substitute for the gluten free 1:1 flour.
Check out these recipes for more sweet treats!
PS : If you make this recipe, be sure to leave a star review and comment below! Also be sure to follow along with me on Instagram and Pinterest to stay up to date on all tasty recipes here at The Fit Peach!
Recipe

Gluten free Blondies
Ingredients
- ½ cup butter - melted and cooled, use dairy free butter if needed
- 1 cup coconut sugar
- 1 egg + 1 egg yolk
- 1 teaspoon vanilla extract
- 1 ⅓ cup gluten free 1:1 flour
- ½ teaspoon baking powder
- ⅔ cup butterscotch chips - or alternative mix-in
Instructions
- Preheat oven to 350 F. In a large bowl, whisk together the melted butter and coconut sugar well until the sugar is dissolved.
- Add the egg, egg yolk, and vanilla extract to the bowl and continue to mix until well incorporated.
- Gently fold in the gluten free 1:1 flour and baking powder until the flour is almost fully incorporated.
- Add the butterscotch chips to the batter and fold to distribute.
- Line an 8 x 8 pan with parchment paper and press the dough into the center, making sure to get the corners. Sprinkle a few extra butterscotch chips over top if desired. Bake in the oven for 30 - 35 minutes until the edges are golden brown and you can insert a toothpick into the center and it comes out clean.
- Let the blondies cool down completely before slicing into squares with a thin and sharp knife and enjoy!


This recipe is great they were so nice and chewy! Mine came out quite dark in colour though much darker than yours - not the top but all through inside etc it almost looks like a brownie. I am in Australia and used the only coconut sugar we have here which is quite dark in colour (it looks the same colour as Big Tree Farms Brown Coconut Sugar), I've seen there is a 'Golden' Coconut Sugar in the US which looks lighter in colour I'm wondering if that's the one you used in these blondies as yours are much lighter in colour? Thanks:)
That's probably the type of coconut sugar you used. I used a light coconut sugar in this recipe.