These black cat Halloween sugar cookies are soft and chewy with a smooth coating of dark chocolate and beady green eyes for the perfect spooky treat. They're easy to make and customizable using your favorite Halloween cookie cutters. Made gluten free and dairy free too!
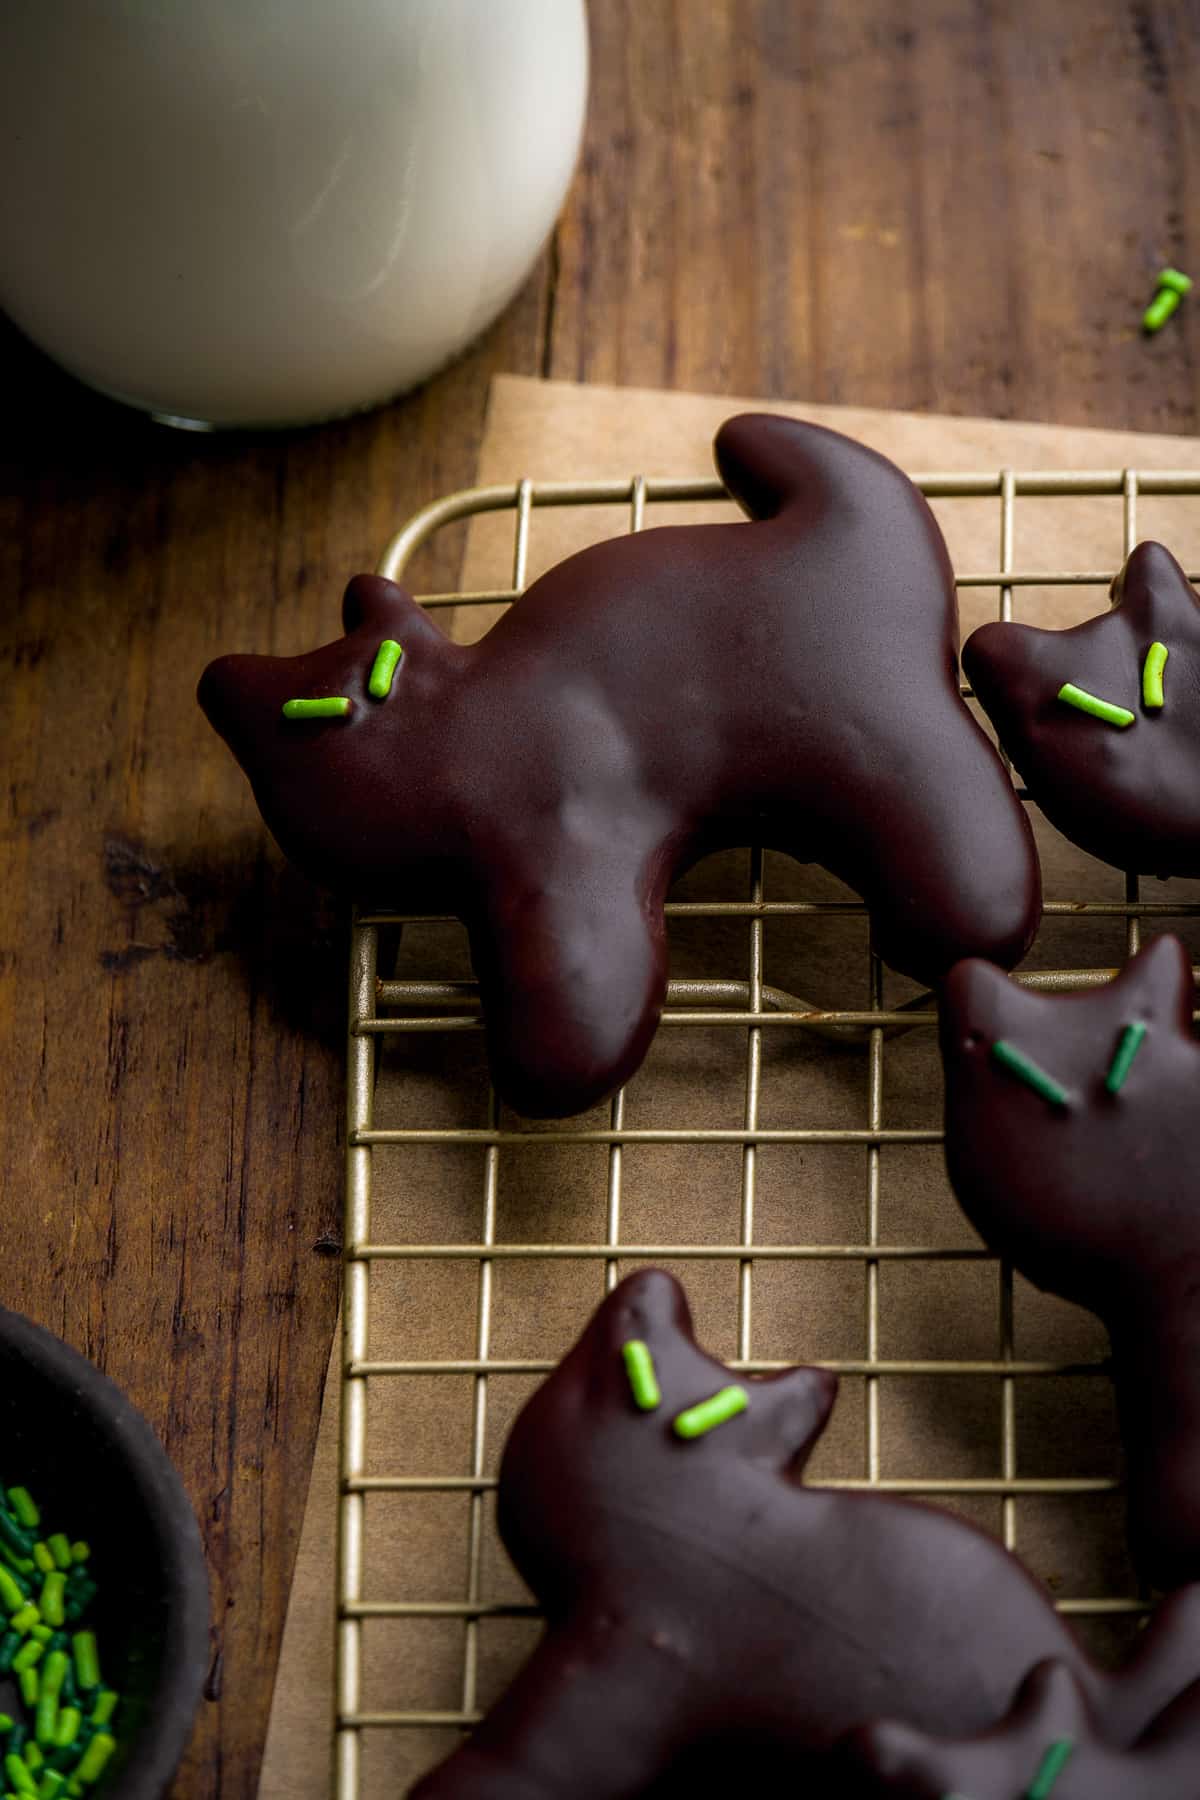
If you're looking for some Halloween fun, whipping up a batch of festive cookies is the perfect way to get into the spooky spirit!
These festive Halloween sugar cookies use my classic almond flour cut-out sugar cookies recipe. The dough is easy to work with (not usually the case with gluten free dough!) and keeps its shape when baked! I've used it in my Valentine's Day sugar cookies and my caramel sugar cookie ice cream sandwiches.
Jump to:
Recipe characteristics
- Made gluten free, dairy free, and paleo friendly
- Dipped in dark chocolate
- Great treat for Halloween parties
- Easy to make
- Kid friendly
- Easily customizable
Ingredients and Substitutions
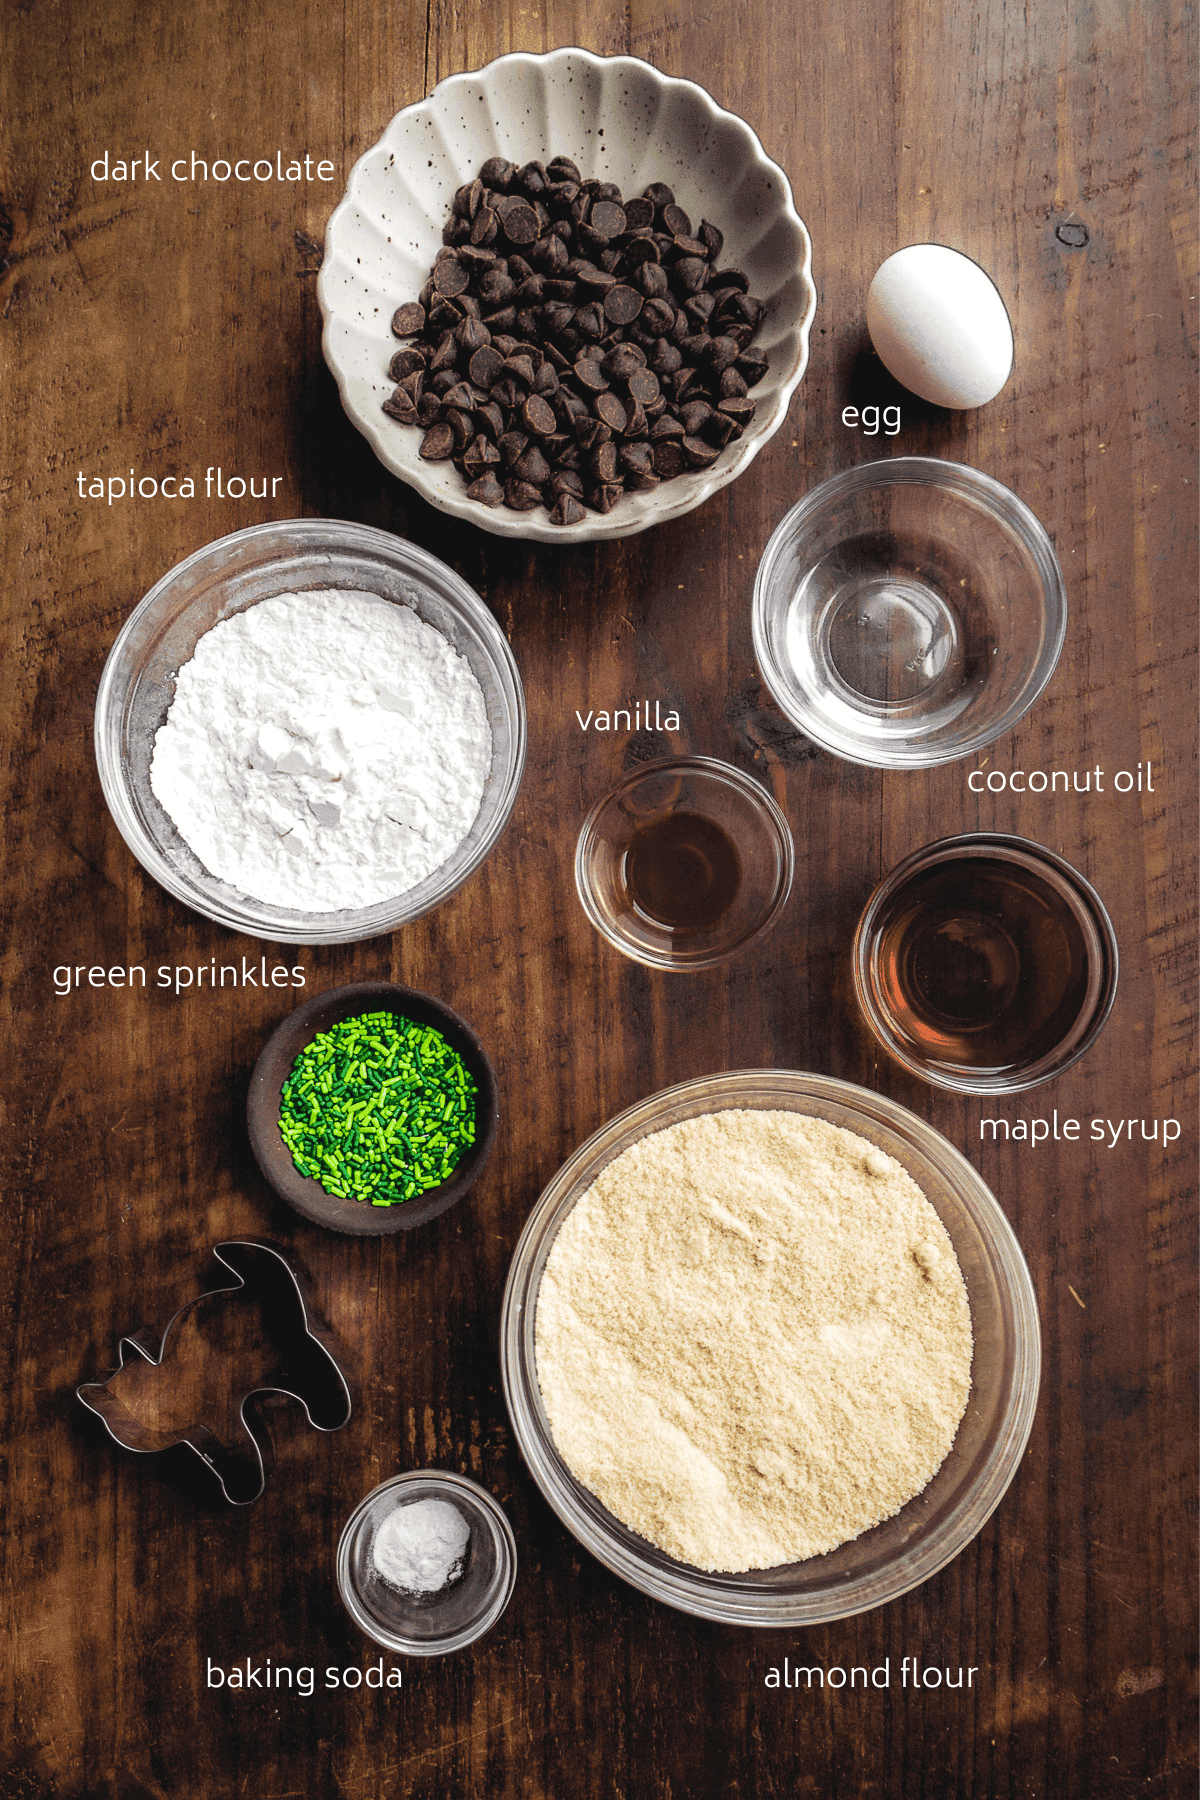
- Almond flour - This is the gluten free flour that will create soft tender sugar cookies.
- Tapioca flour - Cuts the density out of the the almond flour and creates a fluffy pliable dough. If needed, substitute with arrow root starch.
- Coconut oil - Make sure it's melted and cooled down. Substitute with melted butter or vegan butter if desired.
- Maple syrup - Used to sweeten the sugar cookie. Swap with honey or agave if needed.
- Dark chocolate - Melted down and used as a coating for the cat cookies. I find this is a more fun and flavorful way to decorate the cookies compared to black icing and gel food coloring. You can use milk chocolate or white chocolate too depending on your cookie cutter (white chocolate would be great for ghost cookies and milk chocolate for witches hats)
Step by step directions
This Halloween sugar cookie recipe are incredible easy to make. You need a mixing bowl or electric stand mixer, a flat surface and a rolling pin, and a separate bowl for the melted chocolate.
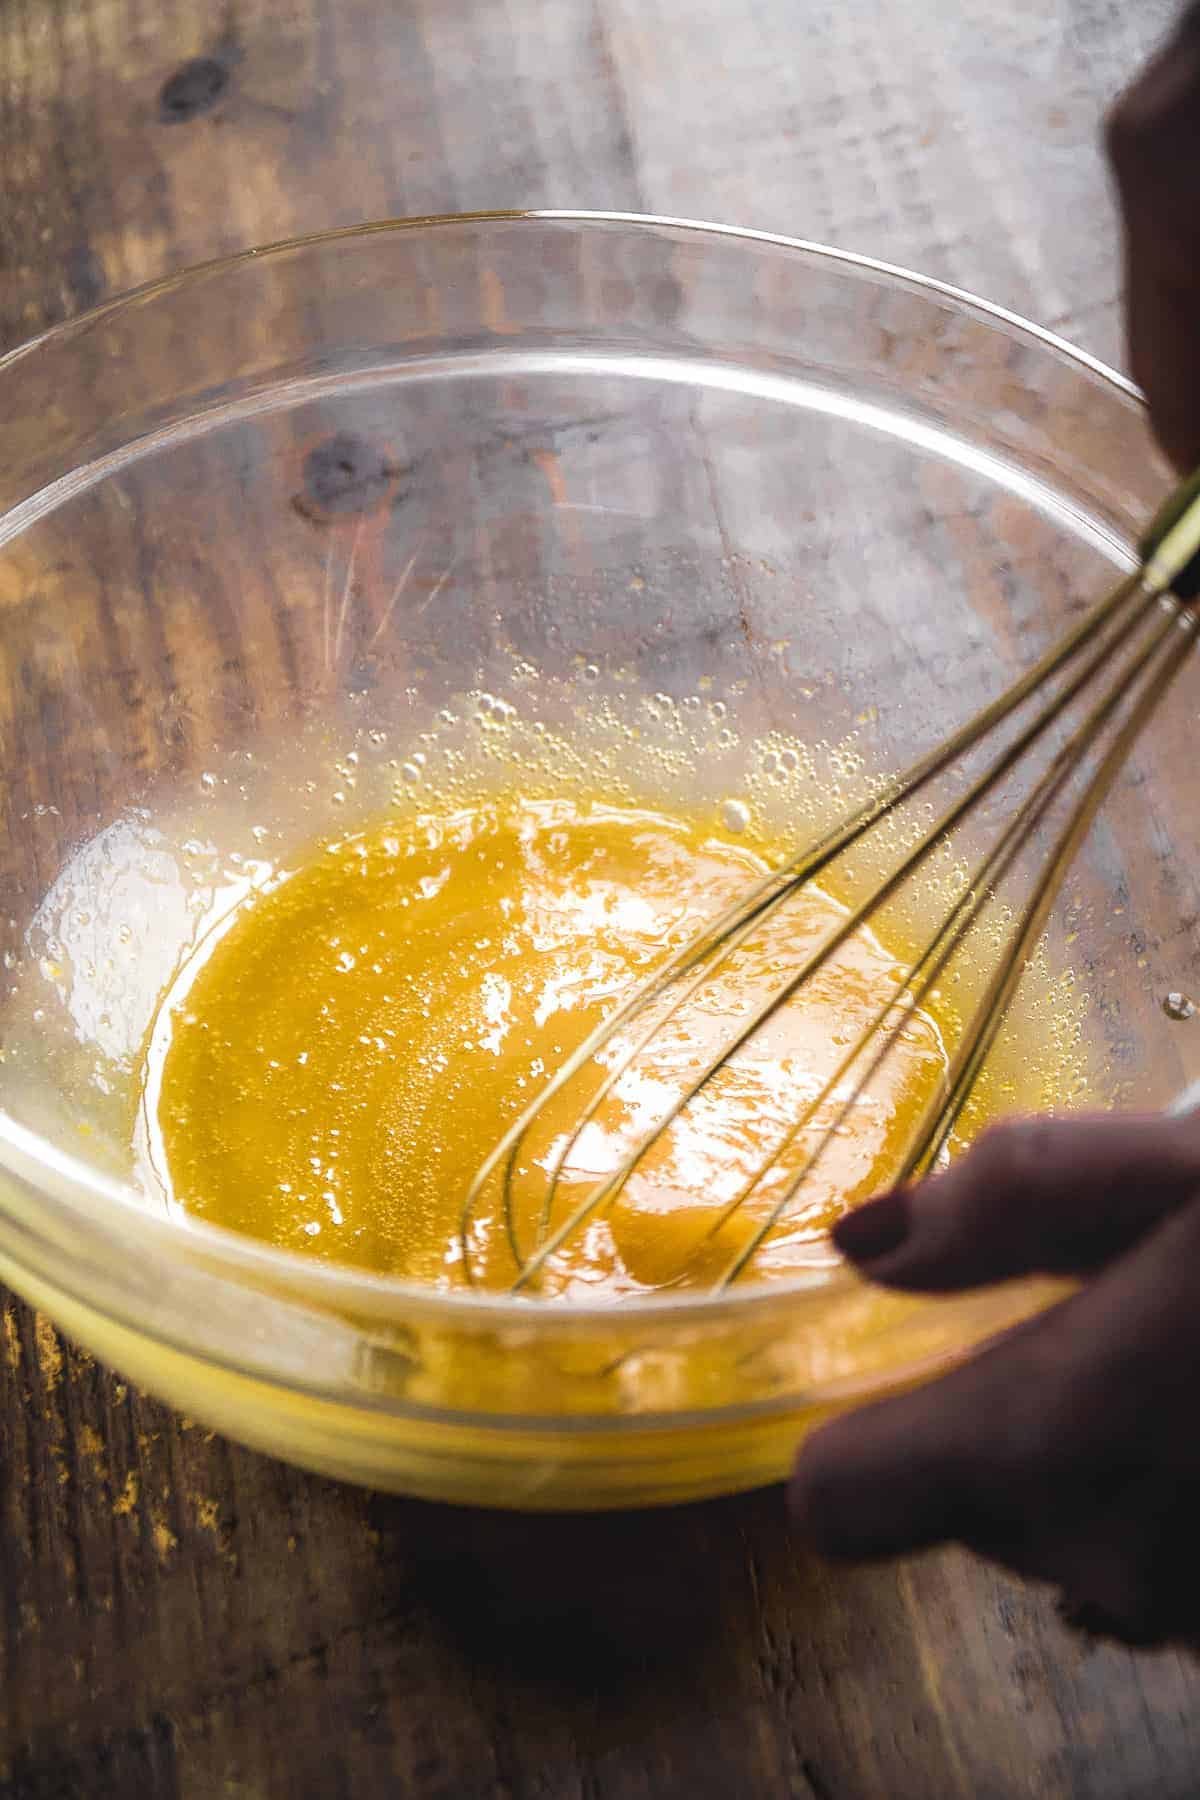
Step 1 : Whisk the wet ingredients. In a large mixing bowl or in the bowl of a stand mixer with the paddle attachment, whisk the eggs, melted coconut oil, maple syrup, and vanilla extract. Whisk well until smooth.
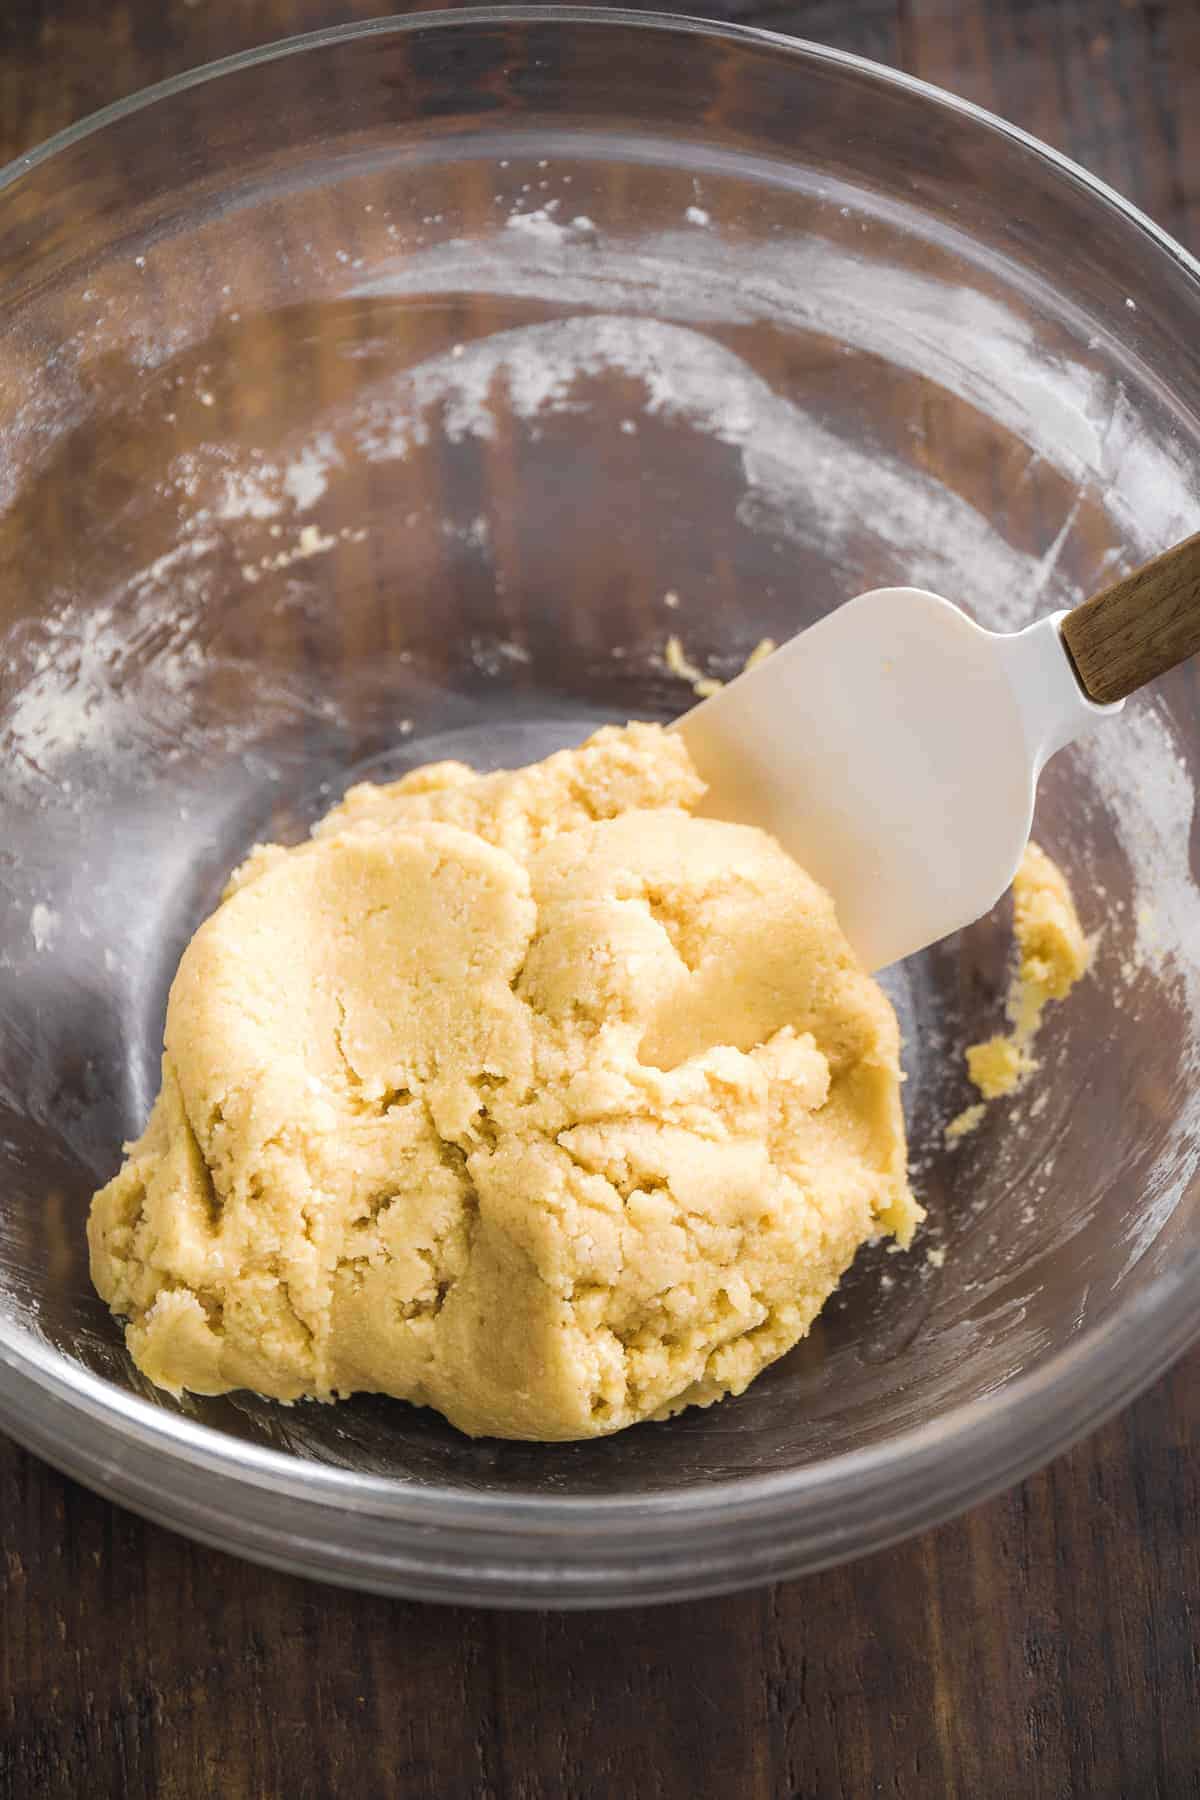
Step 2 : Fold in the dry ingredients. Add the almond flour, tapioca flour, and baking soda to the bowl and fold with a rubber spatula, scraping down the sides of the bowl as needed, until a large soft ball of dough forms. It should be pillowy soft and not too sticky.
If it does feel sticky, add another tablespoon of tapioca flour to the dough.
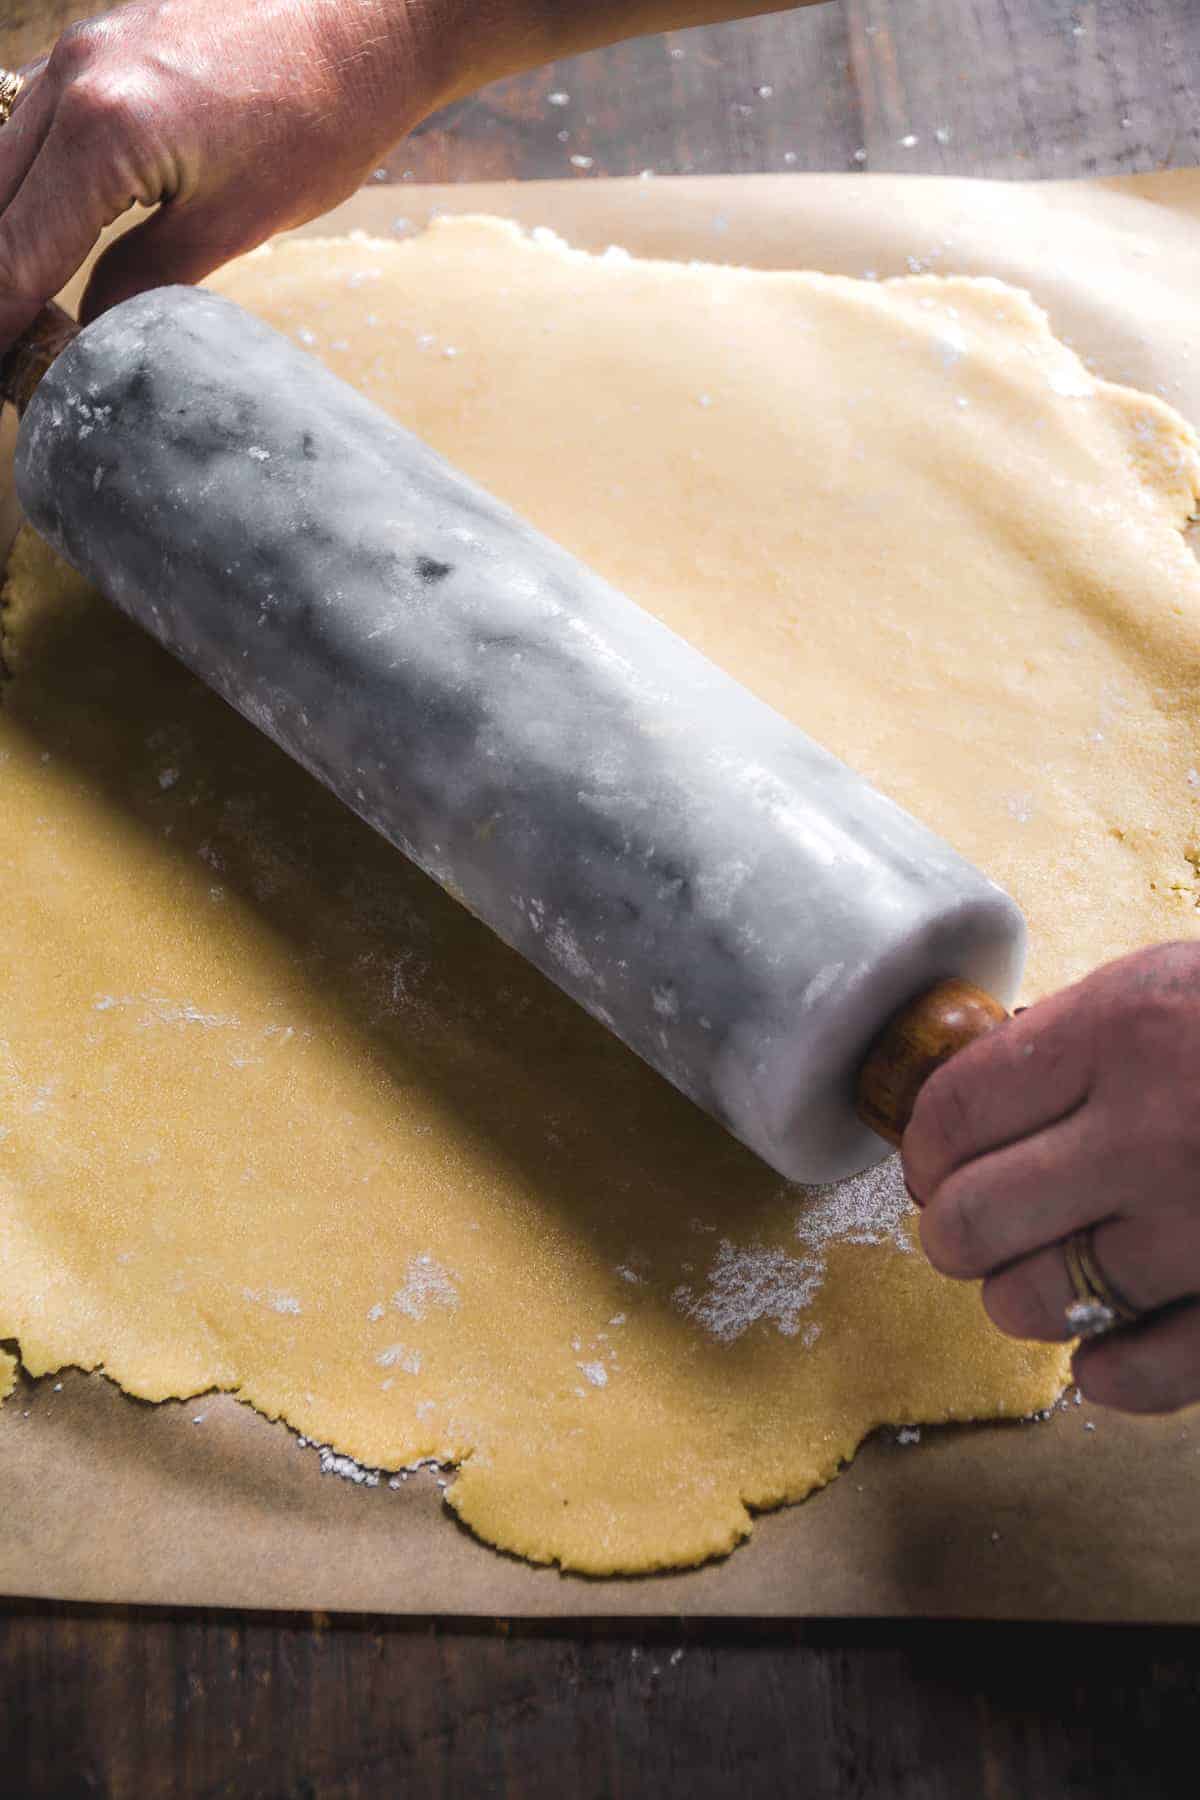
Step 3 : Roll out the dough. Lay a piece of parchment paper down on a work surface and sprinkle with extra tapioca flour. Roll out the dough to about ½ inch in thickness (you want these to be pretty thick sugar cookies so they can hold the coating of chocolate).
Use the cat cookie cutter to cut shapes out of the sugar cookie dough. Remove the excess dough around the shapes and transfer the cookies to a prepared baking sheet and bake until golden brown.
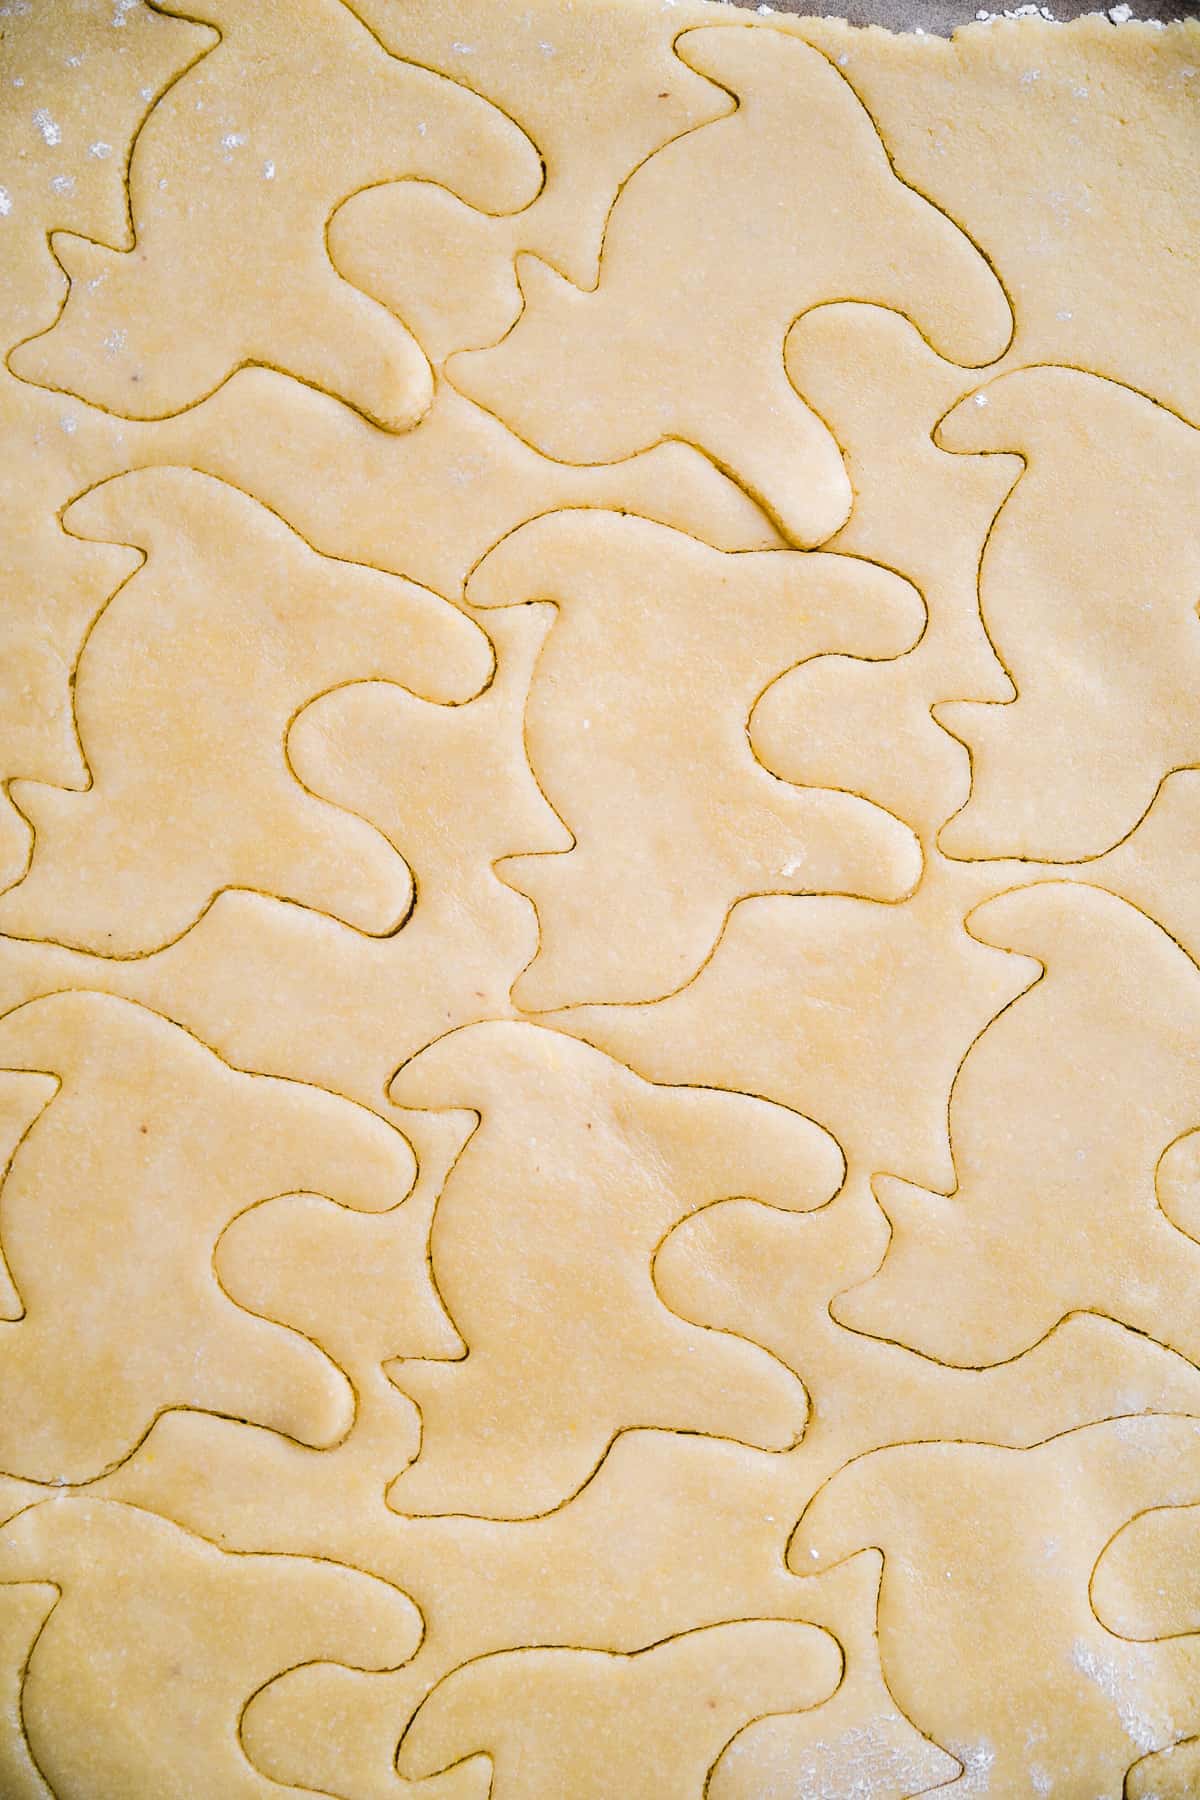
Step 4 : Dip in chocolate. Allow the sugar cookies to cool down before dipping in chocolate. This will prevent a chocolate mess.
Melt the dark chocolate with the coconut oil in a double boiler or simply place a large bowl over top of a simmering pot of water. The heat from the water will effortlessly melt the chocolate to the right consistency.
Pour the melted chocolate into a shallow bowl and dip each cat cookie into the bowl to coat. You can do this with a fork or a candy tool. Let the excess chocolate run off the edge of your cookie. You can also use a fork to brush along the bottom of the cookie to remove excess chocolate.
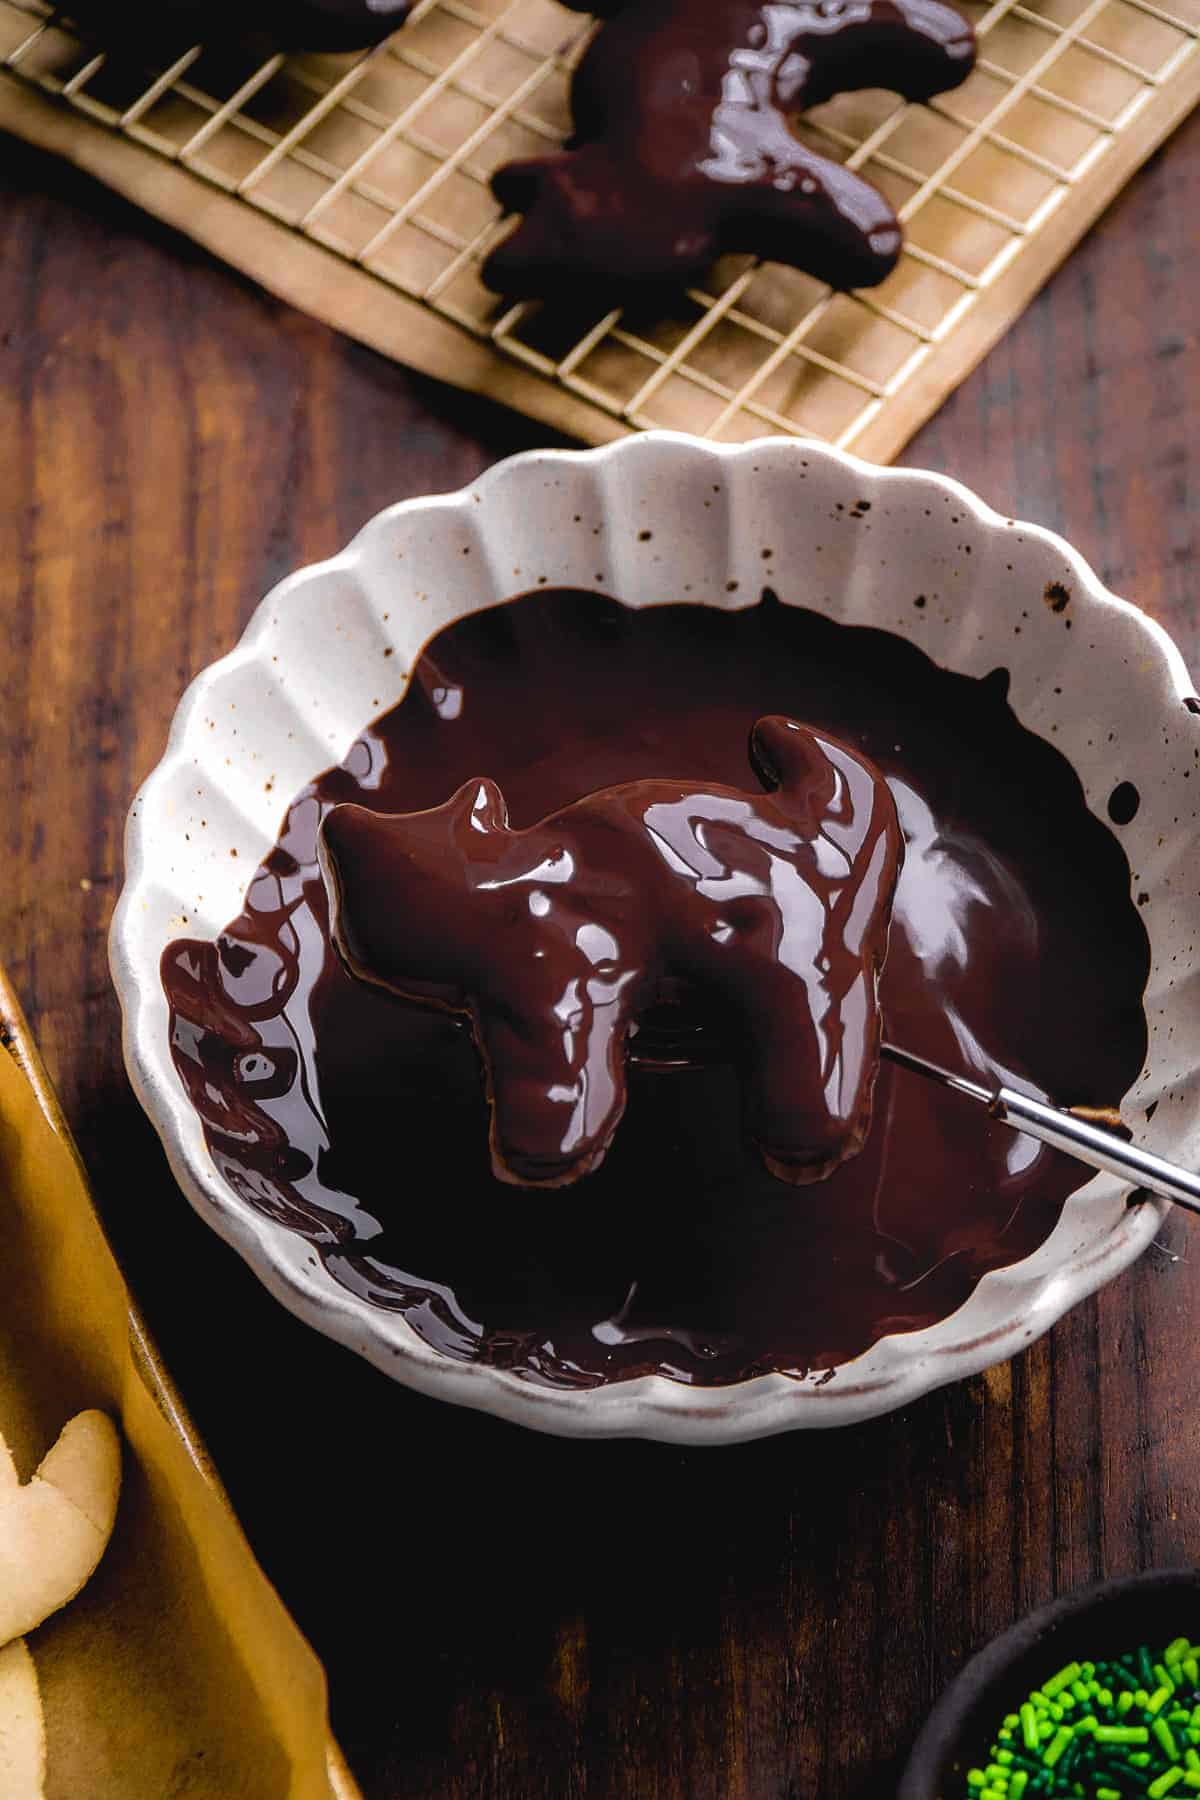
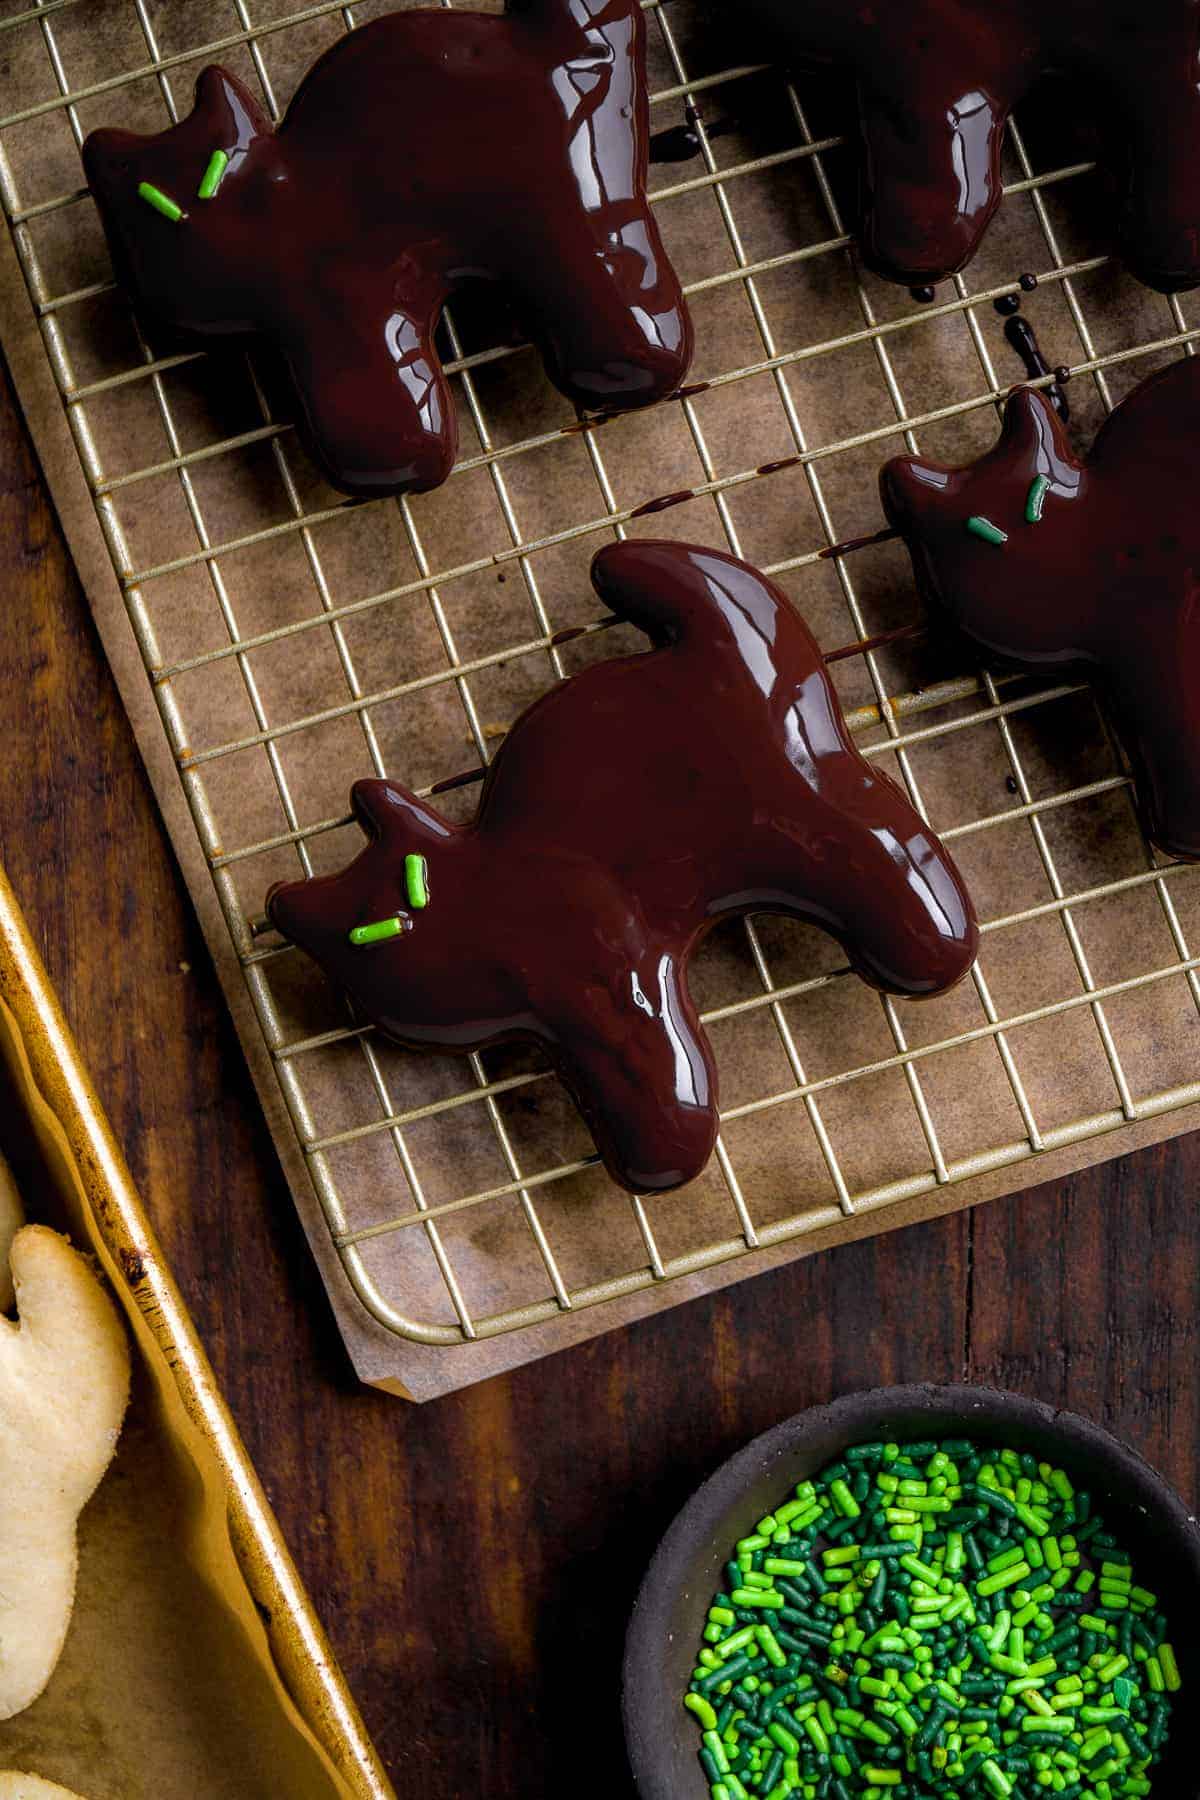
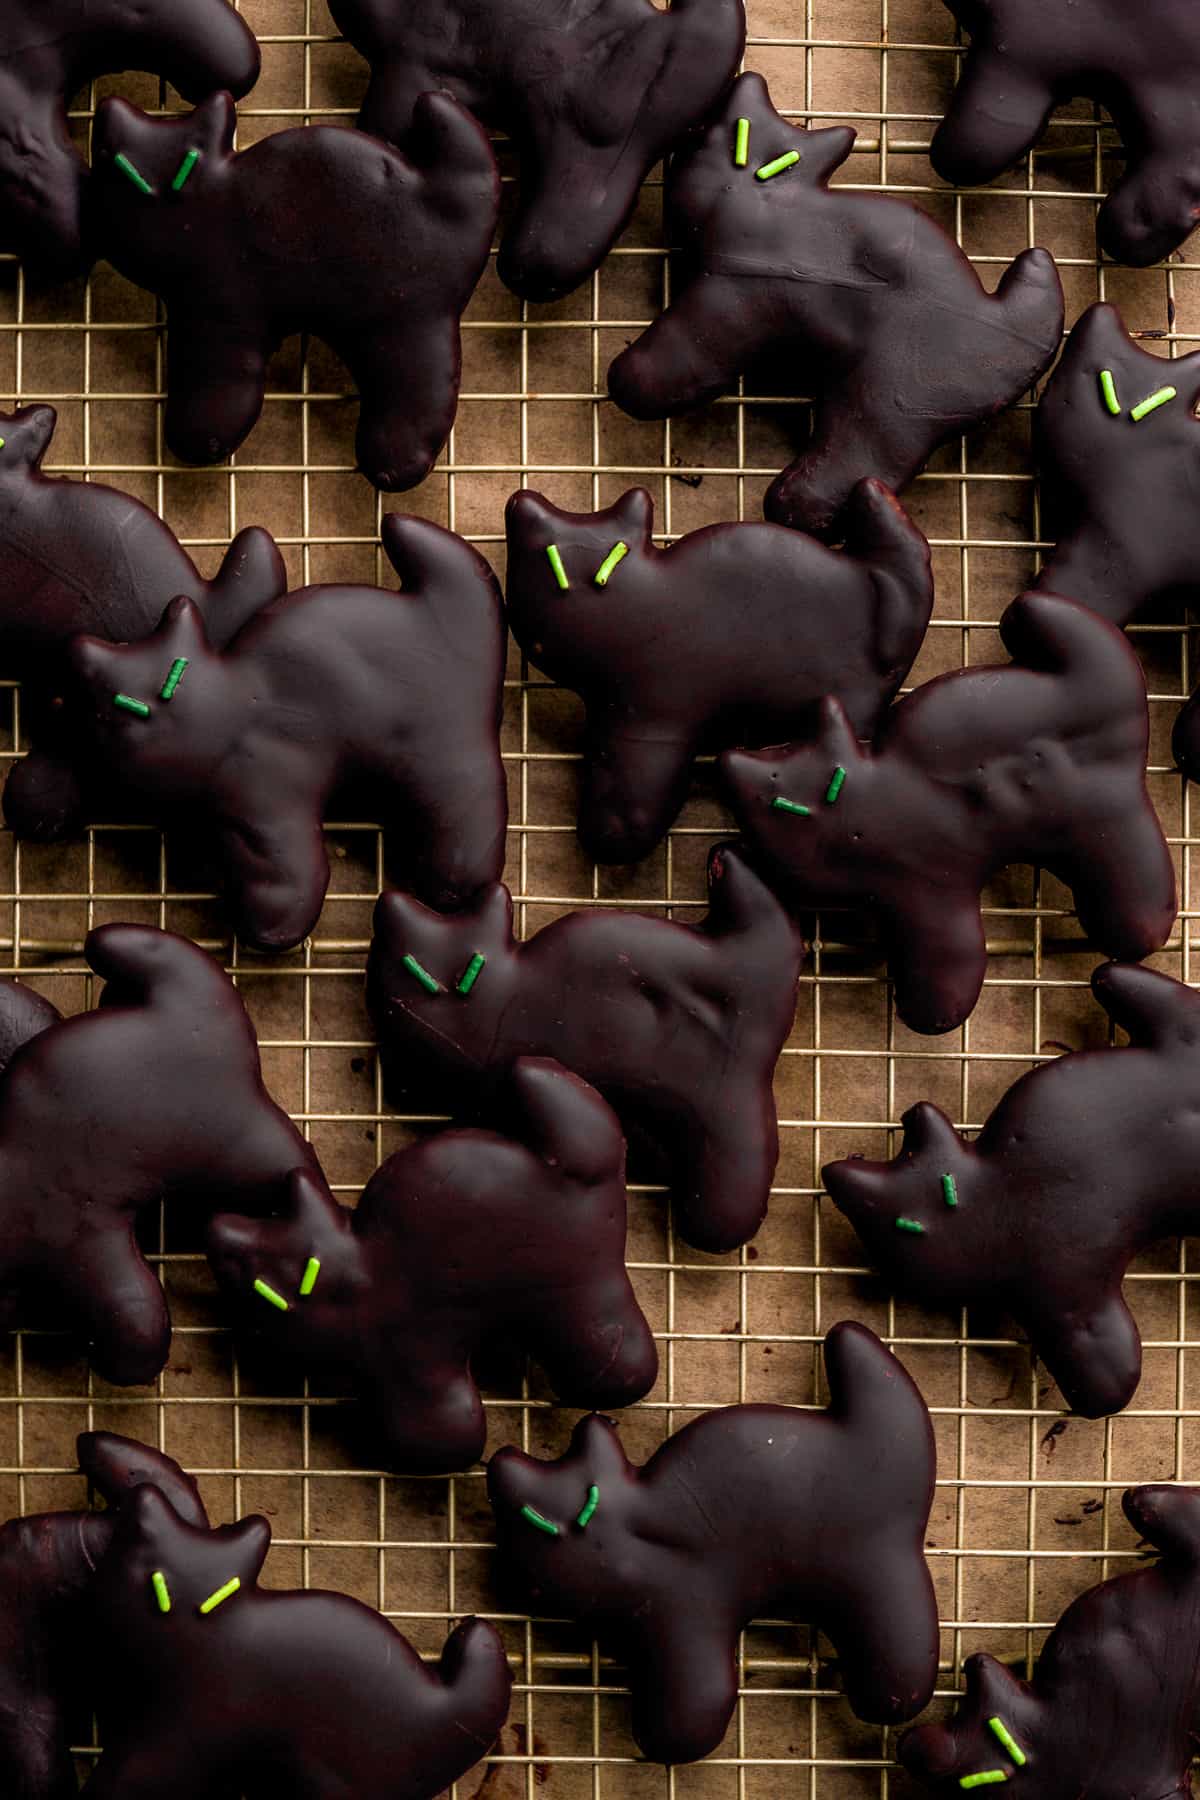
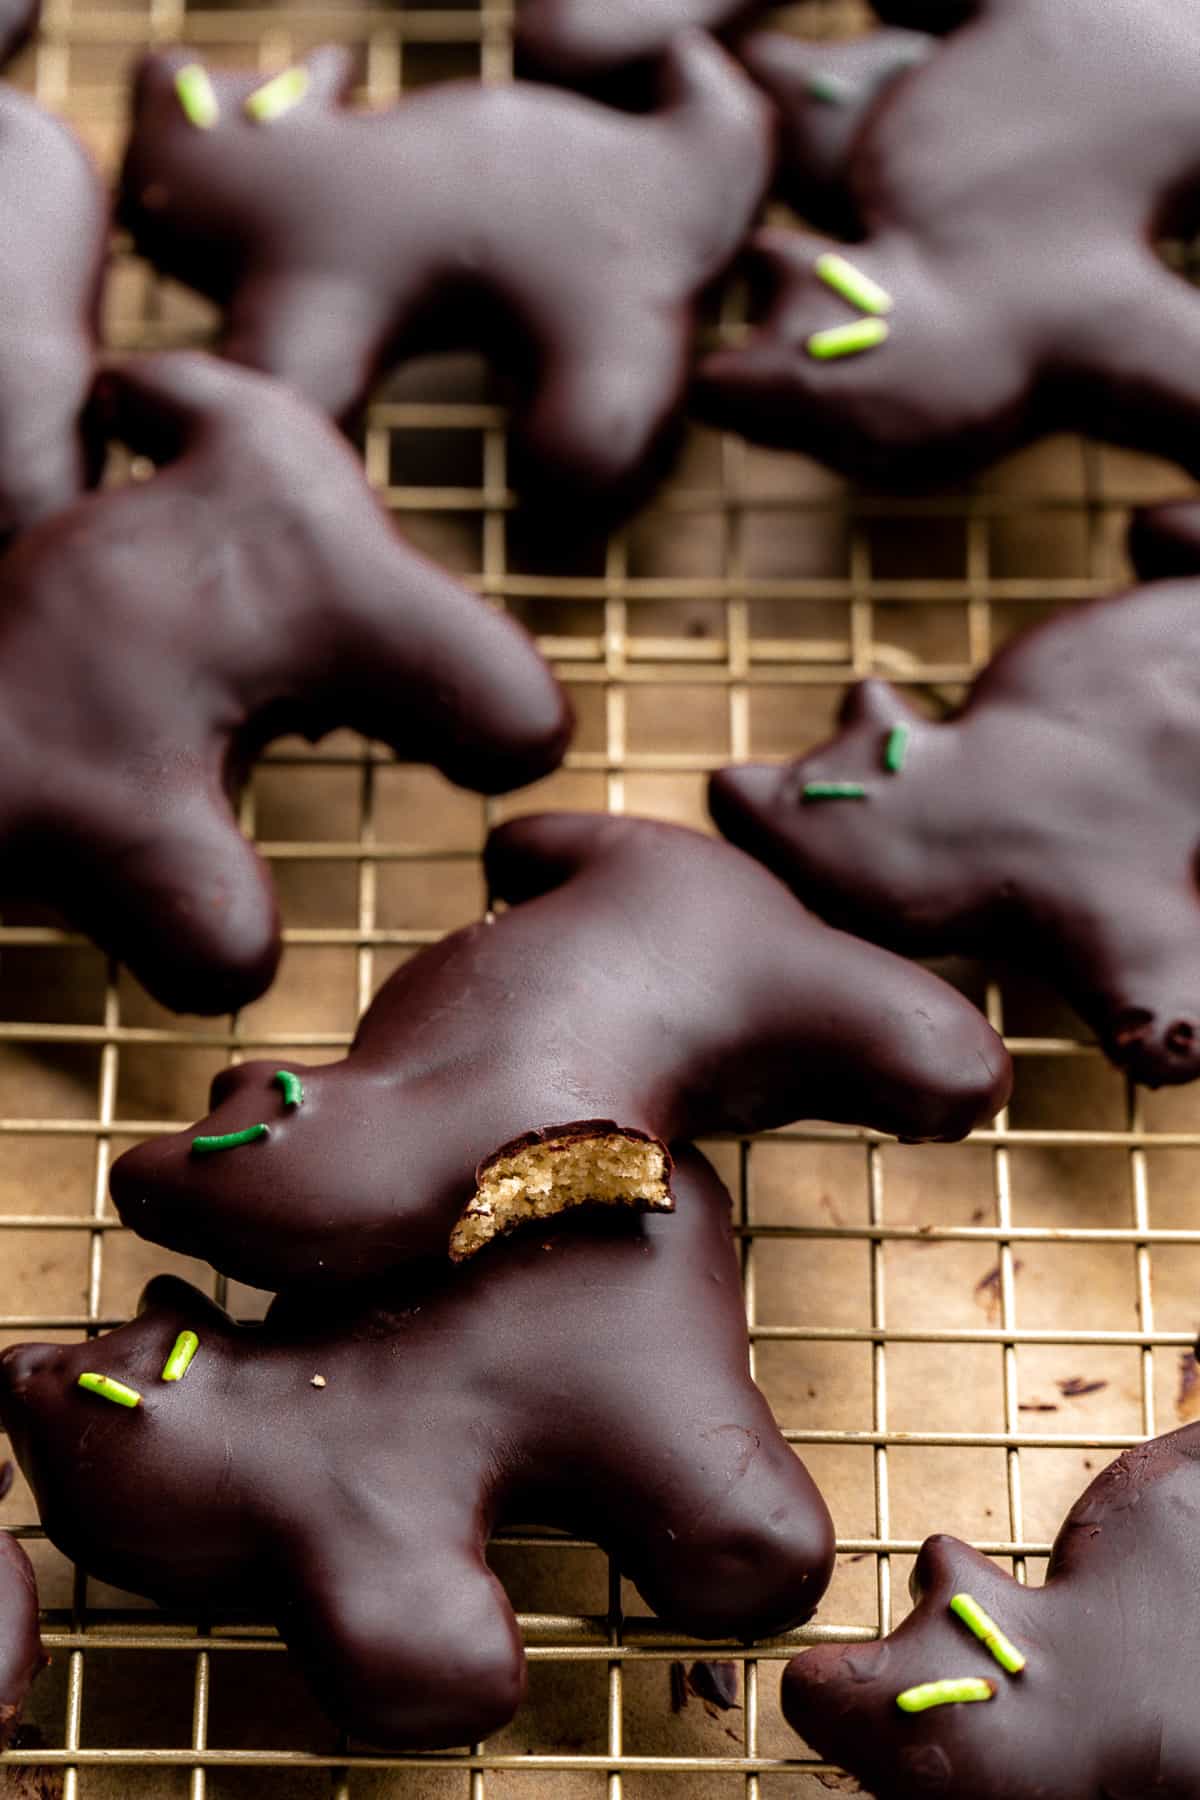
Place each cookie on a wire rack and position two green sprinkles on the cat's head to resemble candy eyes. Transfer the rack to the fridge and let the chocolate set.
Storing
Store these easy Halloween sugar cookies in an airtight container after the chocolate has set. This will prevent the cookie from drying out.
Because these Halloween cookies are coated in chocolate, they need to be kept in the fridge until ready to enjoy. If you want to go the extra mile and temper the chocolate so it's hard and shiny at room temperature, this post walks you through all the steps.
Customizations
There are so many ways to customize this recipe to make your own Halloween cookie shapes. Here are a few recommendations:
- Add some black sprinkles over the melted chocolate to create a "furry" texture
- Use a bat cookie cutter to make black bats
- You can also use a spider cookie cutter to make some spooky spider cookies
- Make white ghosts with melted white chocolate and a ghost cookie cutter
Frequently asked questions
Dark chocolate is best as it will give these cookies a rich dark color - like a black cat! I used dairy free chocolate chips but if you are doing to temper the chocolate, I recommend a high quality dark chocolate bar.
Yes, the chocolate will soften at room temperature if it isn't tempered. In my experience, they are great when enjoyed chilled!
Yes, once the chocolate has set, you can store them in the freezer for about 3 months. I recommend wrapping each in saran wrap or placing a sheet of wax paper in between each cookie so they don't stick together. Thaw in the fridge when ready to enjoy.
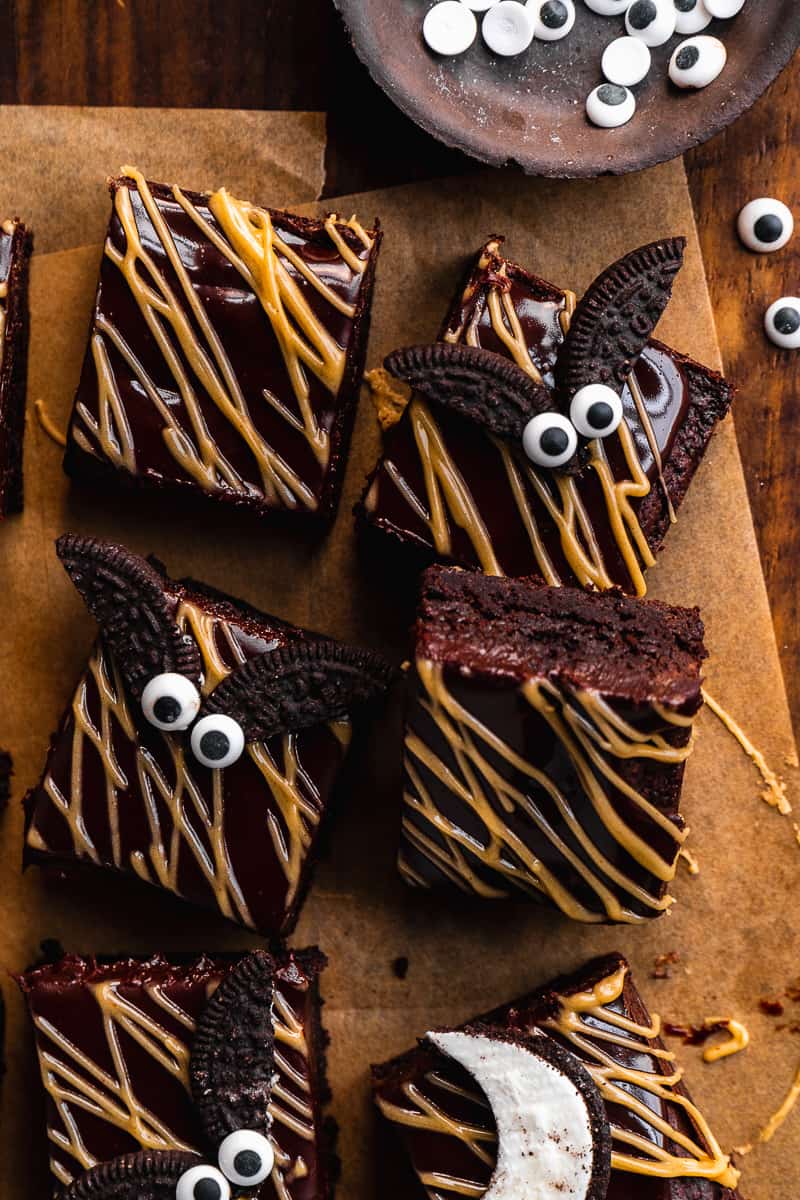
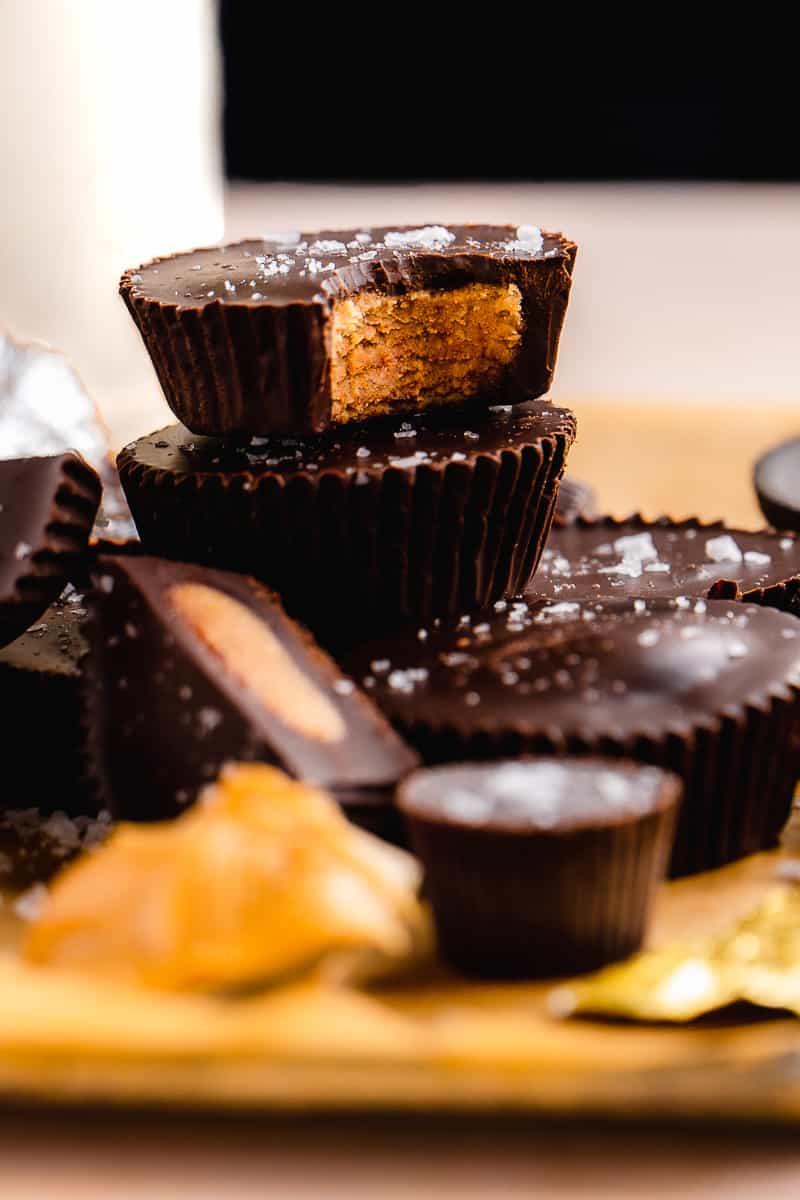
For more halloween fun, check out my:
PS : If you make this recipe, be sure to leave a star review and comment below! Also be sure to follow along with me on Instagram and Pinterest to stay up to date on all tasty recipes here at The Fit Peach!
Recipe

Black Cat Halloween Sugar Cookies
Ingredients
For the sugar cookies
- 1 egg
- ¼ cup maple syrup
- 2 tablespoon coconut oil - melted and cooled
- 1 teaspoon vanilla
- 2 cups almond flour
- ¾ cup tapioca flour - plus a little more for rolling out the dough
- ½ teaspoon baking soda
For the chocolate coating
- 10 oz dark chocolate
- 2 tablespoon coconut oil
To decorate
- green sprinkles
Instructions
- Preheat oven to 350 F. In a mixing bowl, whisk together the egg, maple syrup, coconut oil, and vanilla until well combined.
- Add the almond flour, tapioca flour, and baking soda to the bowl and fold into the batter until a large ball of dough forms. The dough should be pillowy soft, not sticky.
- Place a piece of parchment paper down on a flat surface and sprinkle with extra tapioca flour. Roll out the dough to ½ inch in thickness. Use the cat cookie cutter to cut shapes out of the dough. Remove the excess dough around the shapes and transfer the cat cookies to a pan. Repeat with remaining dough until you have used up all the dough. Bake in the oven for 7 - 8 minutes until the edges start to turn a light golden brown. Let the cookies cool before dipping in chocolate.
- Melt the dark chocolate with the coconut oil in a double boiler or in a bowl over a pot of simmering water (be careful not to let any water get into the chocolate). Pour the melted chocolate into a shallow bowl and dip each cooled cookie into the bowl to coat with chocolate. Use a fork or a candy tool to do this. Allow excess chocolate to run off the cookie before placing it on a wire rack. Position two green sprinkles on the cat's head for eyes then transfer the rack to the fridge to let the chocolate set for about 30 minutes and enjoy!


Leave a Reply