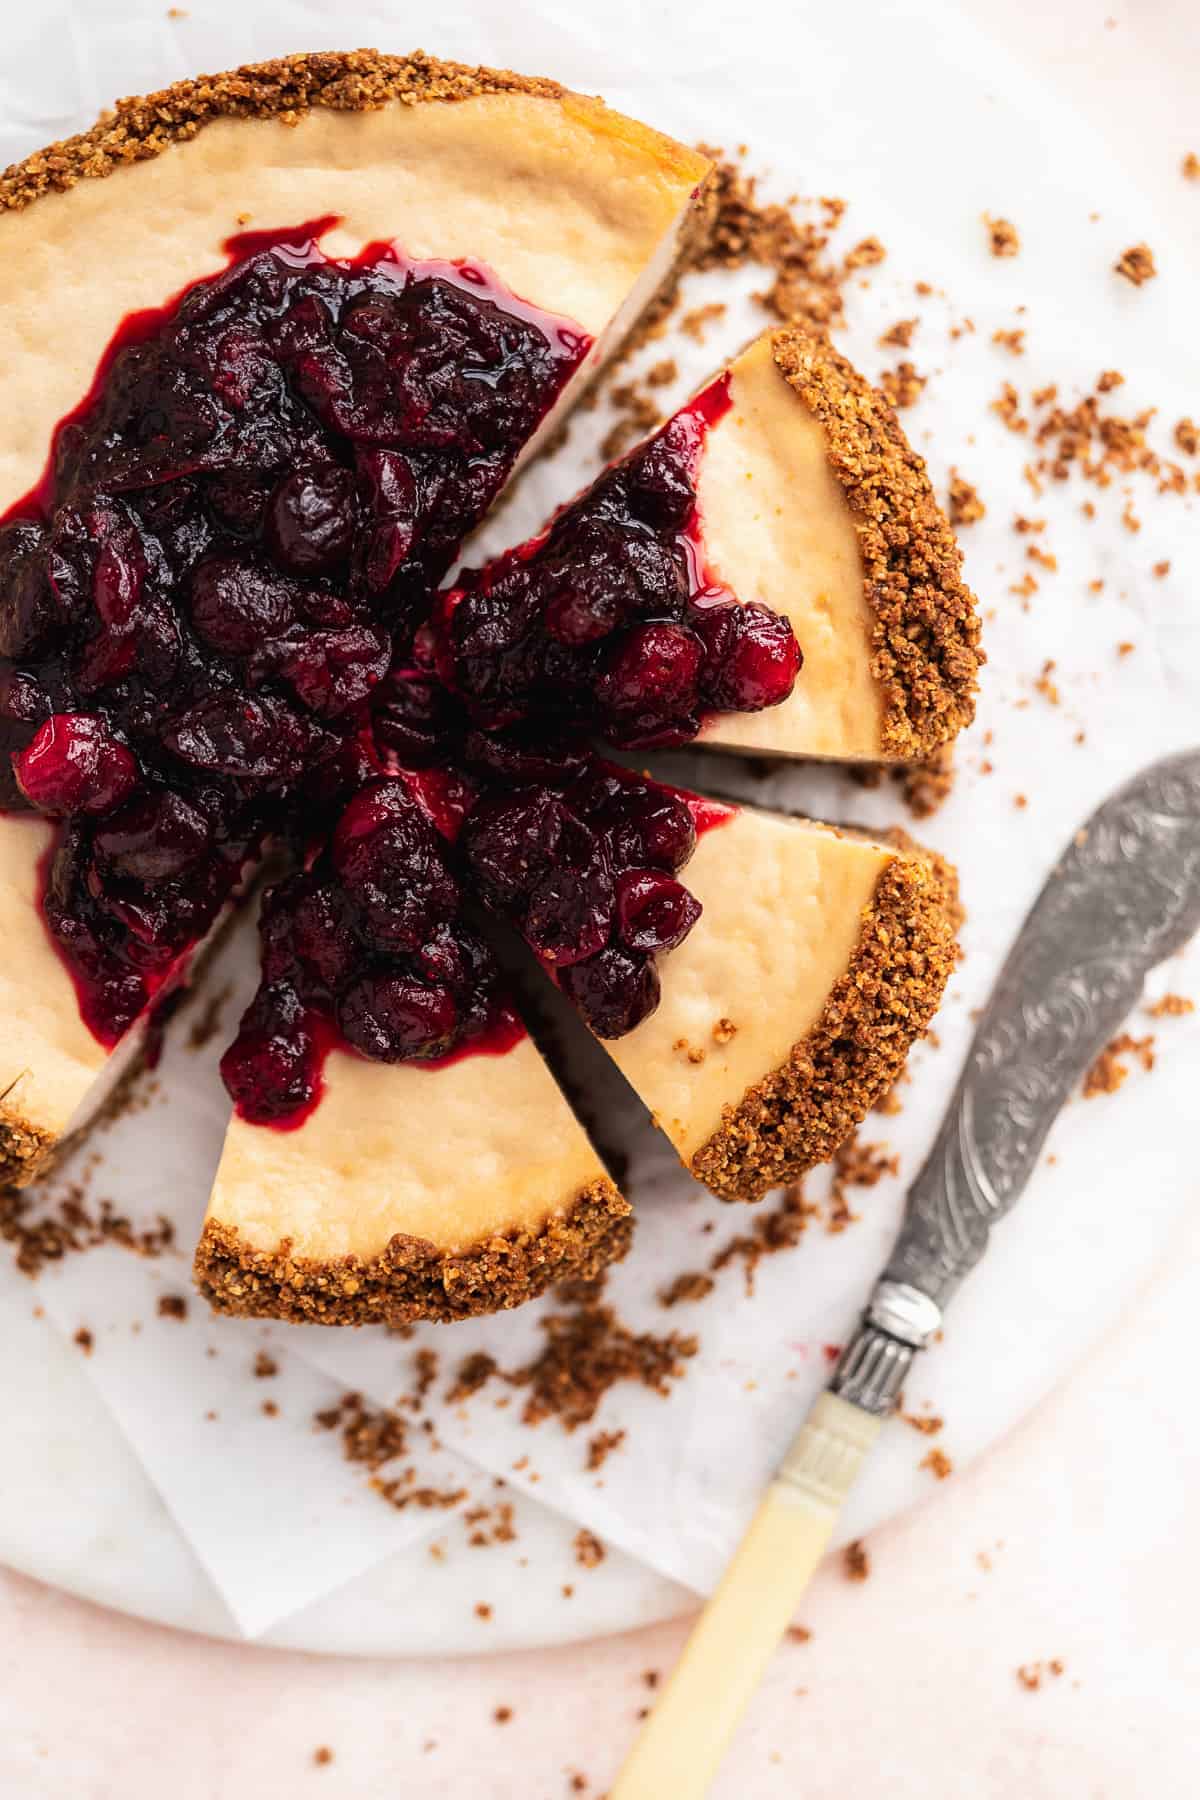
This vegan baked cheesecake is creamy and smooth with a decadent cranberry reduction on top. Made easy with dairy free cream cheese so you won't find any cashews or tofu in here! It's made with no eggs and, best of all, has a delicious homemade gluten free graham cracker crust.
This Vegan Baked Cranberry Cheesecake post is sponsored by Nutiva. As always, all thoughts are my own.Thank you so much for supporting brands that make The Fit Peach possible!
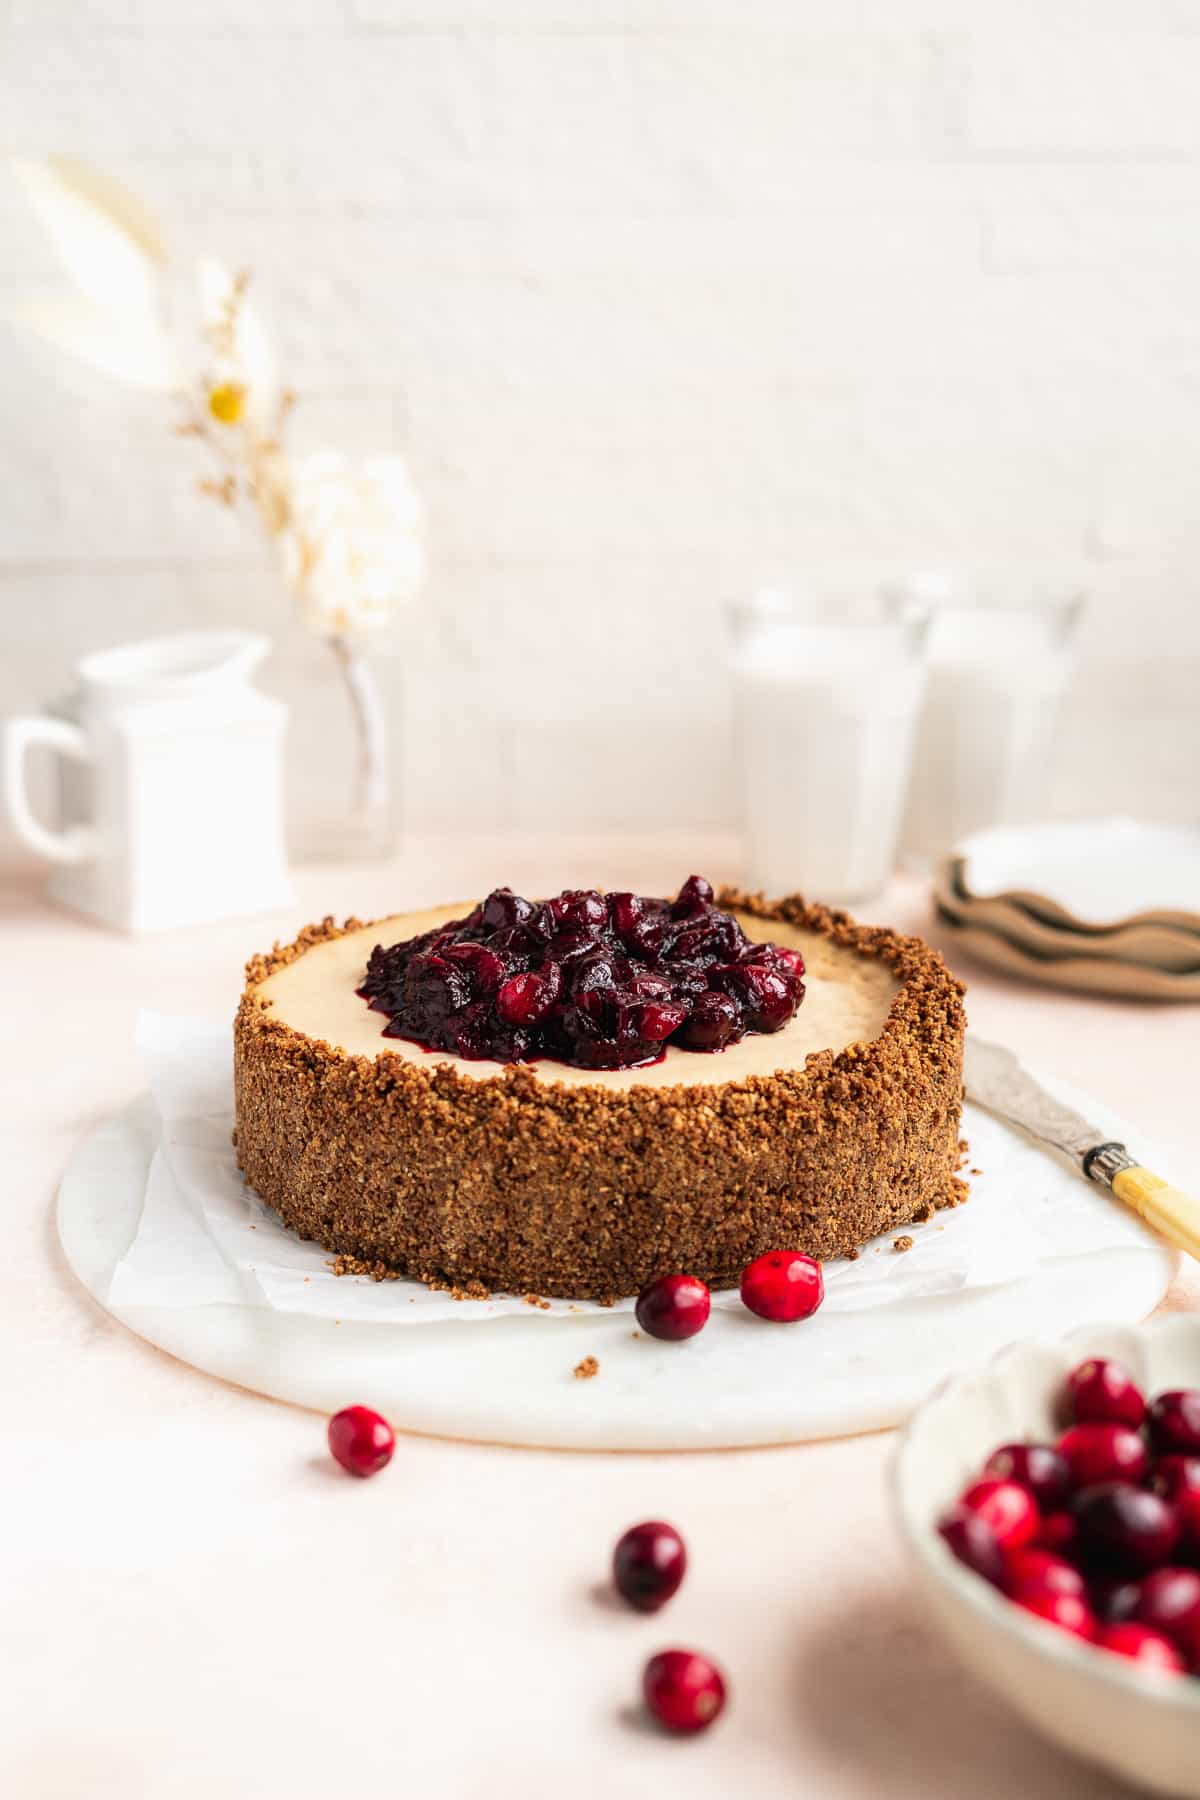
I'm going to be honest, I've never really been a huge cheesecake gal. I attribute most of this to having only really been exposed to Cheesecake Factory cheesecake. Just picking out a cheesecake flavor was overwhelming. Not to mention the overload of flavors that accompanied my choice (I'm partially to blame for this - I always go for the chocolate-filled). Cheesecake should be light in flavor yet dense in structure with a little pop of something to let it shine which is just what we have here!
This vegan baked cranberry cheesecake has officially turned me into a cheesecake lover. The filling is subtle yet sweet and you get just a touch of fruity flavor from the cranberries on top. Even more-so, the vegan graham cracker crust is to. die. for (more on that below).
Jump to:
Recipe characteristics
- Allergy friendly - vegan, dairy free, gluten free, and can be made nut free
- Made with vegan cream cheese, not cashews or tofu
- Has a homemade graham cracker crust
- Easily customizable
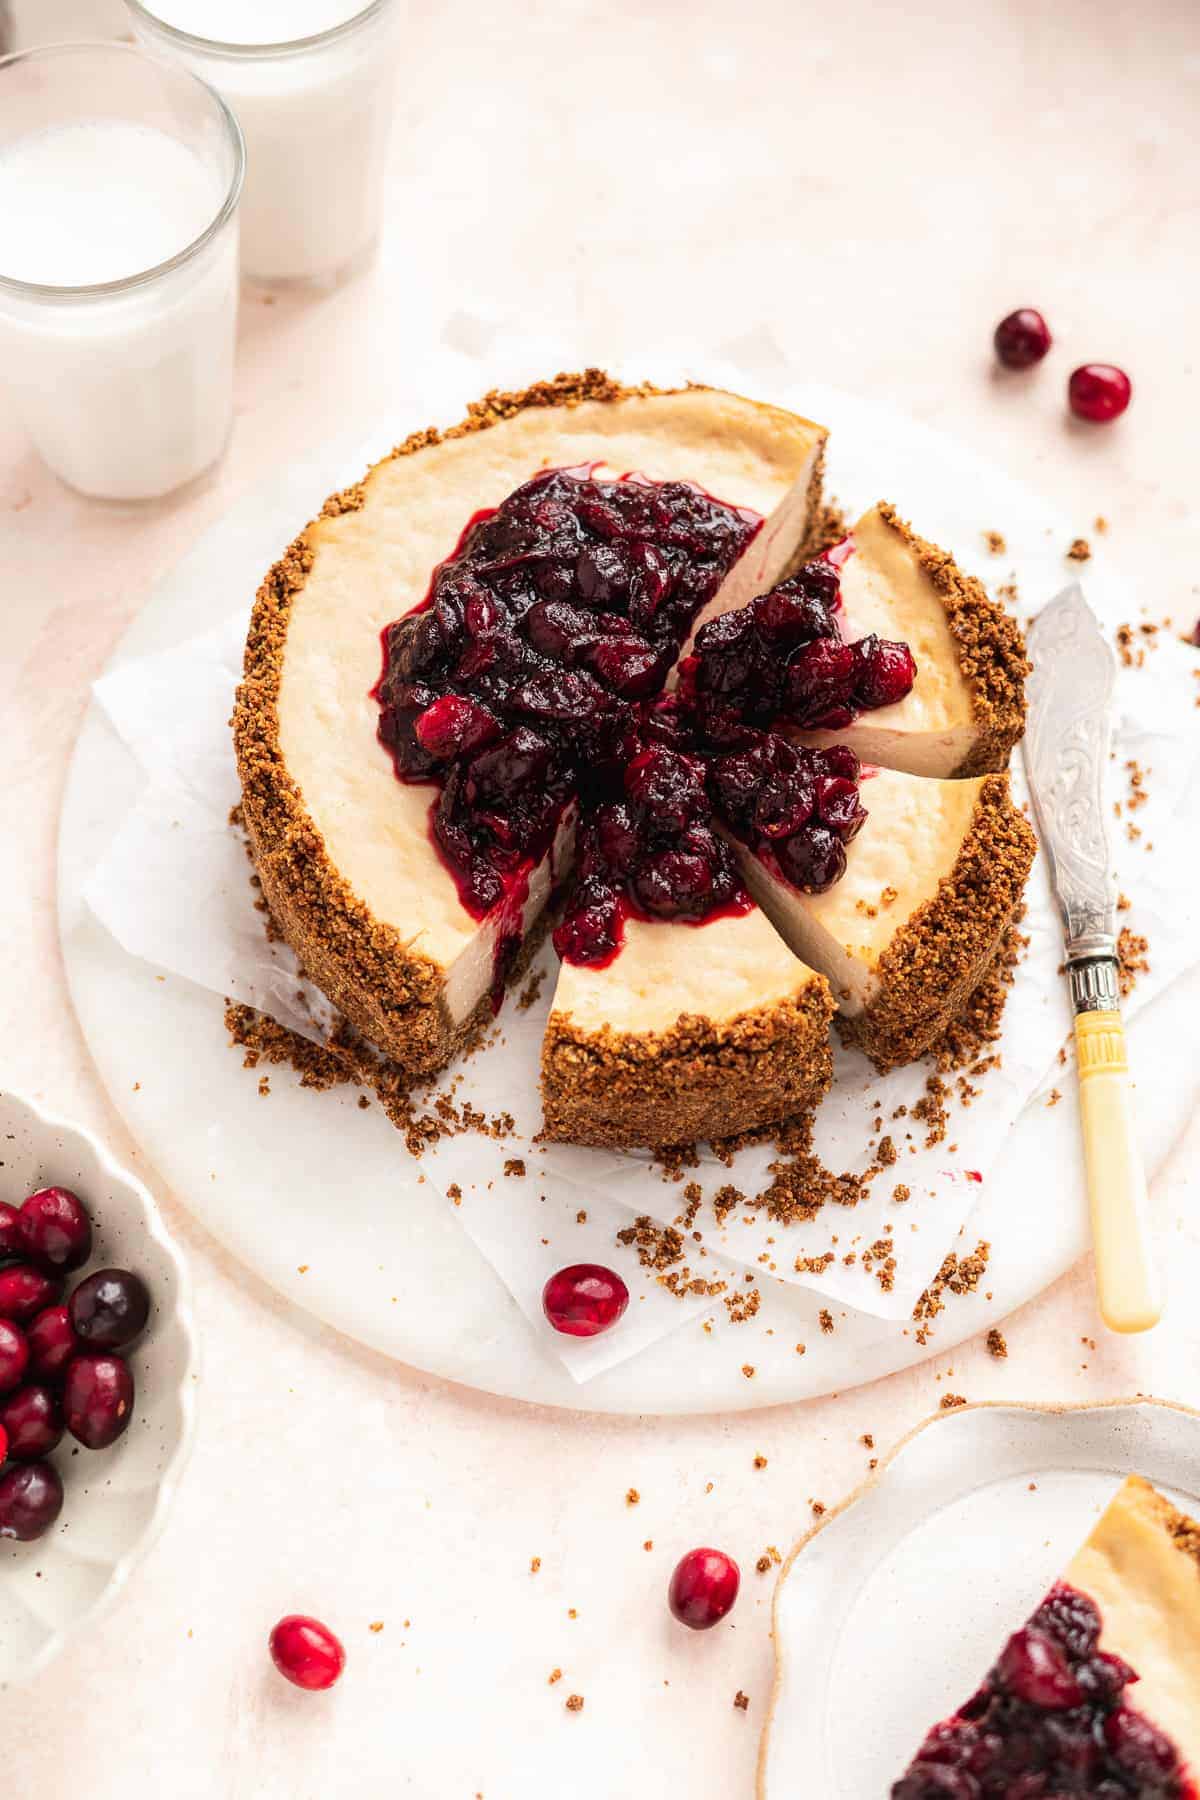
What this cheese cake is not
While I can talk for days about how wonderful this cheesecake is, let's chat about what it's not:
- It's not made with tofu. Some vegan cheesecakes call for tofu in the filling and I will never find that appetizing. To each his own, but I personally prefer my cheesecake tofu-less. I do like a tofu-based cream cheese (Tofutti) but you can't even tell there is tofu in it.
- No cashews either. Other vegan cheesecakes are made with soaked cashews. While I love cashews, they can be a little high maintenance typically needing to soak overnight. There are some vegan cream cheese's that contain cashews but you won't need to do the soaking yourself.
- No graham crackers needed. While you can totally use store-bought graham crackers for a little short cut when making the crust, there is something about a fully homemade cheesecake. Because of that, this recipe is made with an easy homemade vegan graham cracker style crust.
- It's not your grandma's cheesecake. You heard it here first, this is not your grandma's legendary cheesecake. It's a tad bit lighter with some simple swaps to the traditional cheesecake like dairy-free cream cheese and coconut milk. Trust me, even grandma will love this cheesecake.

Ingredients and notes
- Oat flour - Used in the graham cracker crust. I make my own oat flour by grinding up rolled oats in a food processor. Make sure to use gluten free oat flour to make this a gluten free cheesecake.
- Coconut sugar - To sweeten the crust and cranberry topping. Swap with light brown sugar if needed.
- Vegan cream cheese - This recipe uses store bought vegan cream cheese to make life a little easier. You're already going through the effort of making a cheesecake, store bought cream cheese is the least you can do to speed things along. Refer to the section below on the best vegan cream cheeses for cheesecake. Some contain tofu and some contain nuts so if you are looking to omit either of those, be sure to look at the labels.
- Coconut milk - Make sure to use full fat coconut milk from a can. The cream at the top of the can is what gives the cheesecake filling a nice creamy texture.
Step by step directions
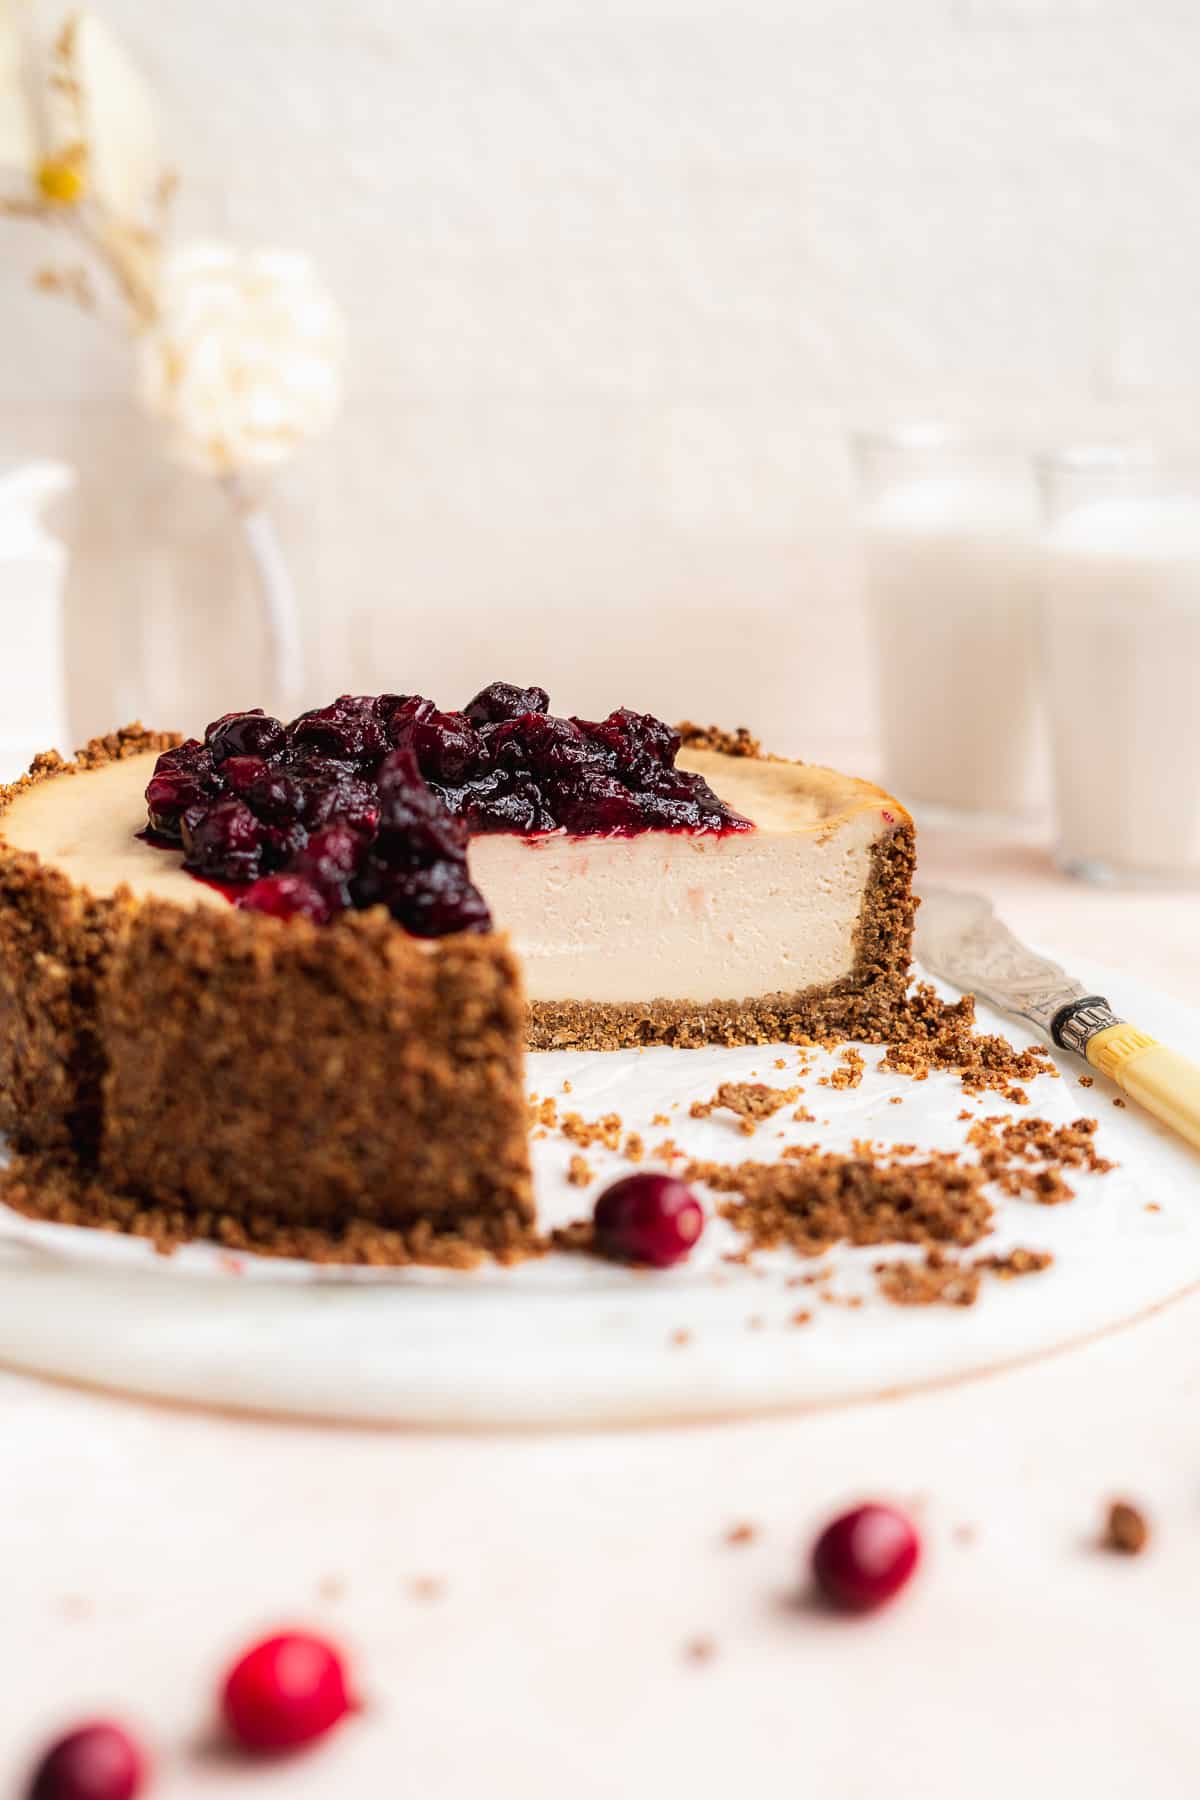
Cheesecakes are known to be high maintenance to make. However, with these few simple tips and tricks, you're sure to have a beautiful, crack-free cheesecake every time!
Vegan graham cracker crust
This baked vegan cheesecake is so dreamy that it requires it own homemade graham cracker-style crust don't we agree? Here's how we make own own crust:
Step 1 : Prepare and bake the graham cracker mixture
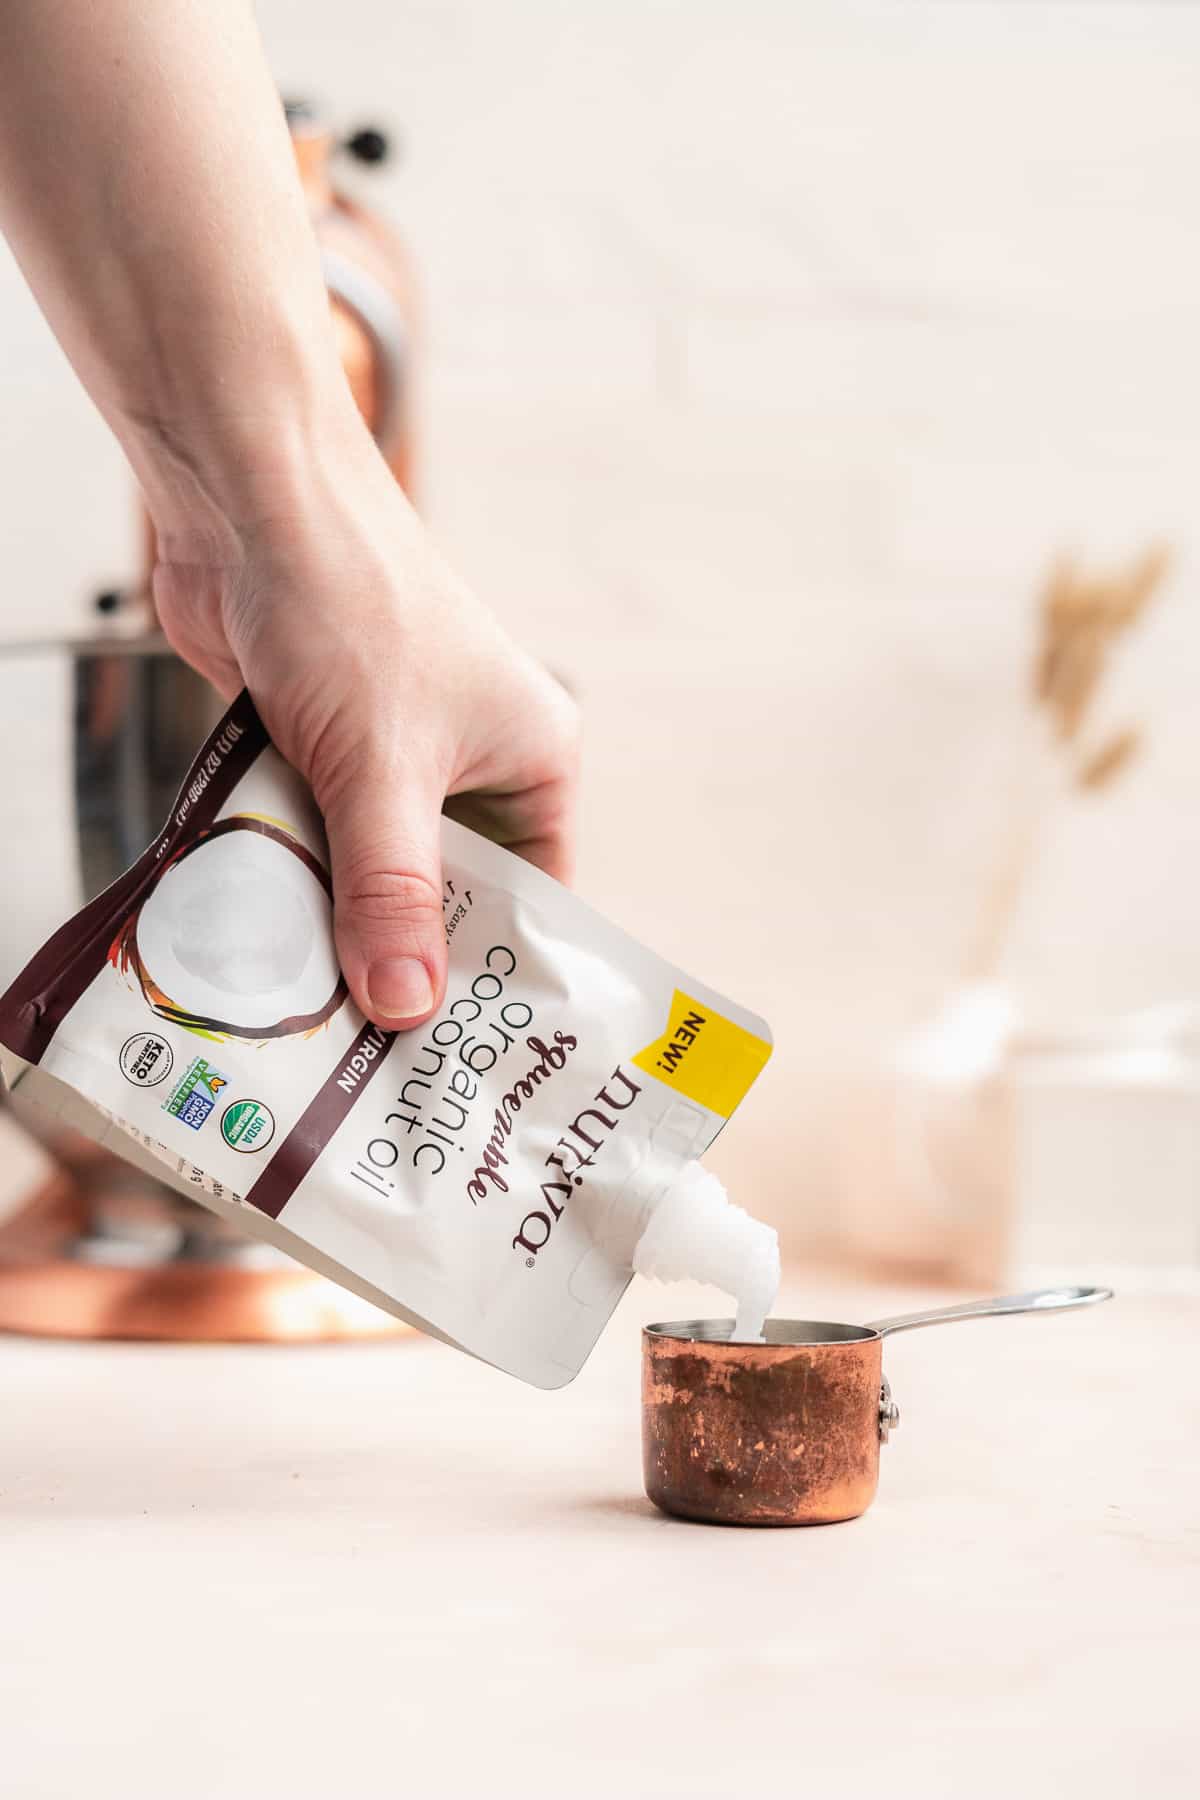
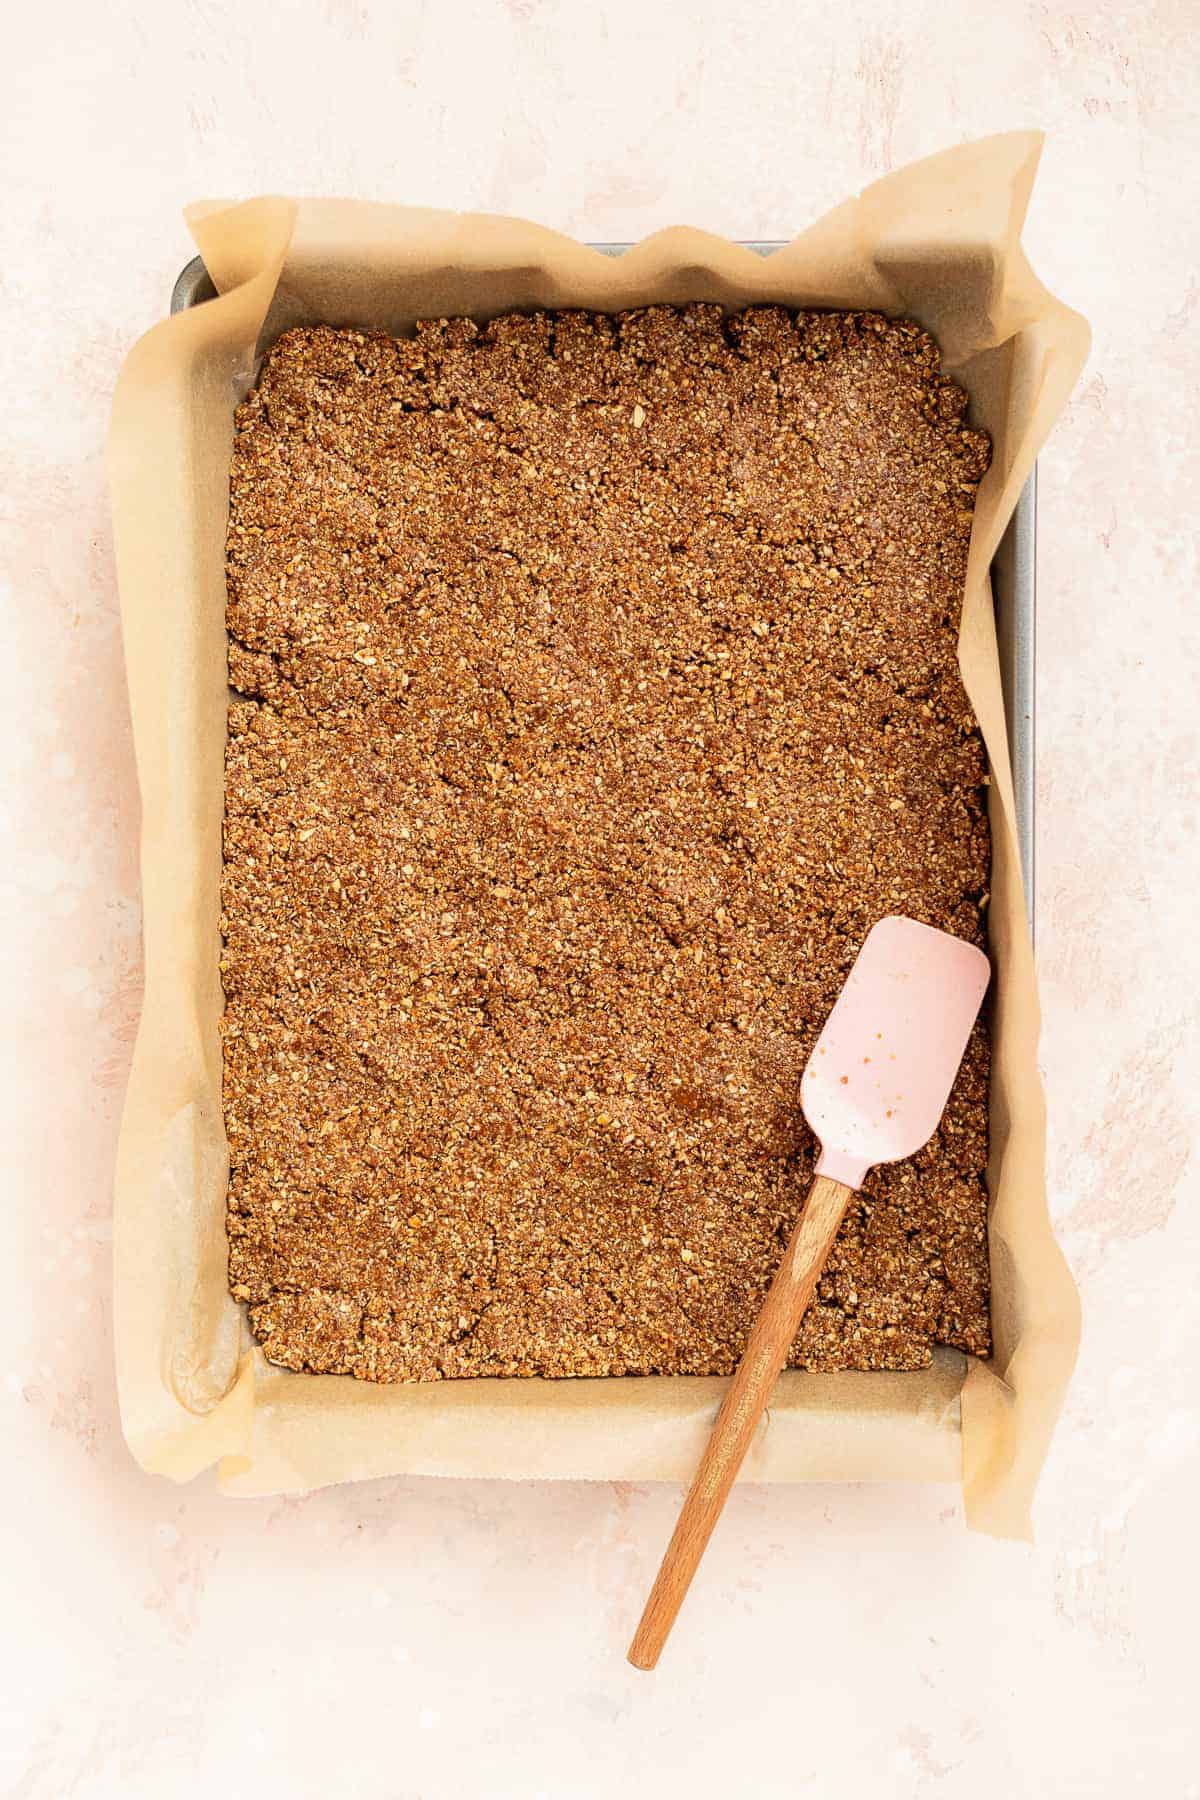
To make the vegan graham cracker mixture, combine the crust ingredients in a bowl and mix until the dough looks like wet sand (see picture above). The key to the crust is the coconut oil. Nutiva has these super nice squeezable coconut packets that are perfect for this recipe. Simply squeeze the coconut oil into a measuring cup and you're on your way to the making the best graham crust. I love using the packets because they require minimal clean up for me and the coconut oil is top not quality.
Next, spoon the crust mixture onto a baking sheet and pat down tight with a spatula. I like to this of this as one large graham cracker. It doesn't need to be perfect because we will break it all up once it's baked to create the crust. After it's packed down, bake the sheet in the oven until the mixture gets golden brown and crispy!
Step 2 : Pulse the graham cracker and press into pan
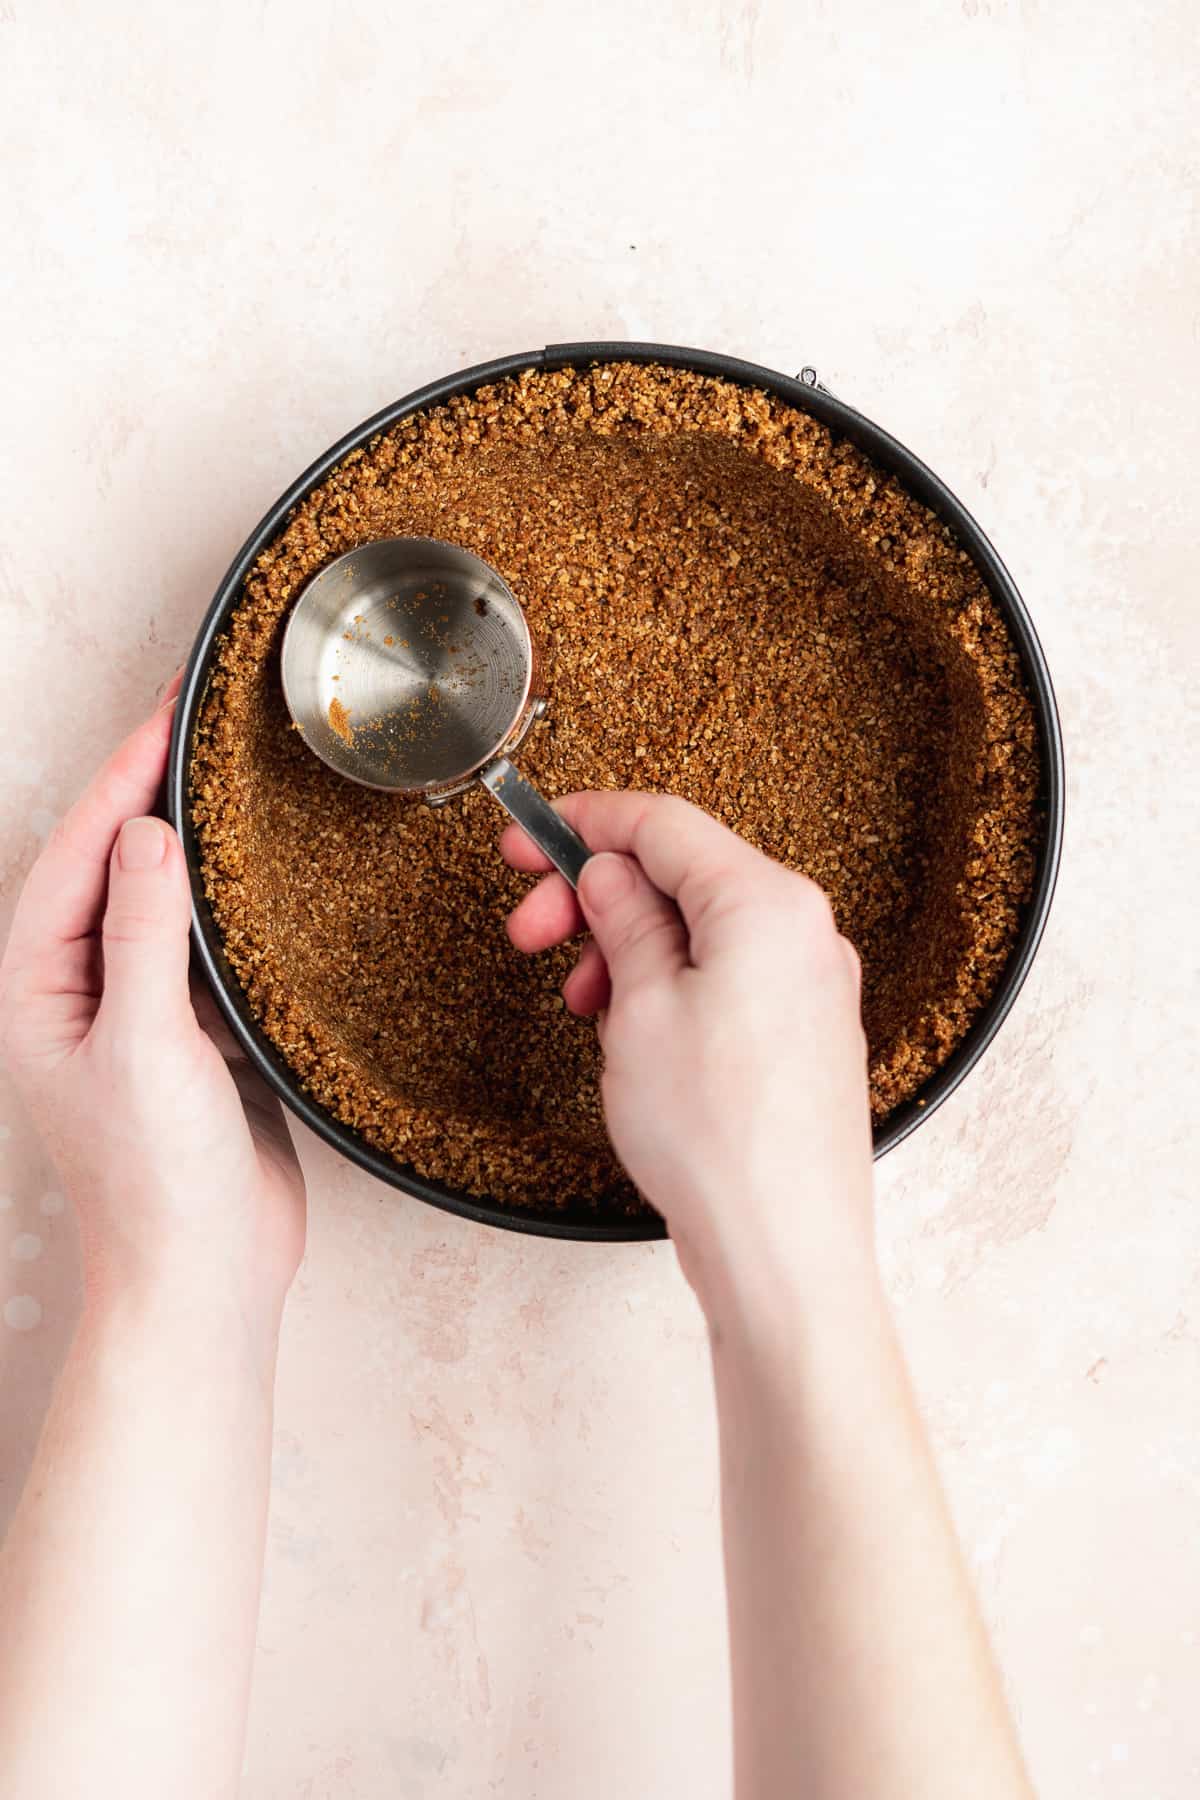
Once the big graham cracker is done baking, let it cool then break it up with the back of a fork. Then throw the graham cracker chunks into a food processor and blend until you get a mixture that resembles dark sand. Place a piece of parchment paper into the bottom of a 9-inch springform pan, spoon the mixture in, and press into the pan to create the crust. Use a measuring cup to help press the crust up on the sides.
The water bath
Step 3 : Prepare the water bath
This is a crucial step in making a homemade cheesecake. To prevent cracks in your cheesecake, the oven needs to stay nice and moist. This is where a water bath comes into play.
After the crust done baking, place a pot on the stove with about 6 cups of water and bring it to a simmer. Go ahead and place a 9 X 13 inch baking dish in the bottom rack of the oven and reduce the oven heat to 325 F. We'll come back to the water bath after the filling is prepared.
Vegan Baked Cheesecake Filling
Set the crust aside and now we're onto preparing the cheesecake filling. The most important piece to the filling is to make sure your ingredients are all at room temperature. That means room temperature cream cheese and coconut milk.
Step 4 : Prepare the cheesecake filling
To prepare the cheesecake filling, start by mixing the dairy-free cream cheese until creamy. The consistency should be smooth with no lumps. Then add the coconut milk, maple syrup, vanilla, and lemon juice and mix well. Finally, add the arrow root starch in and mix to incorporate.
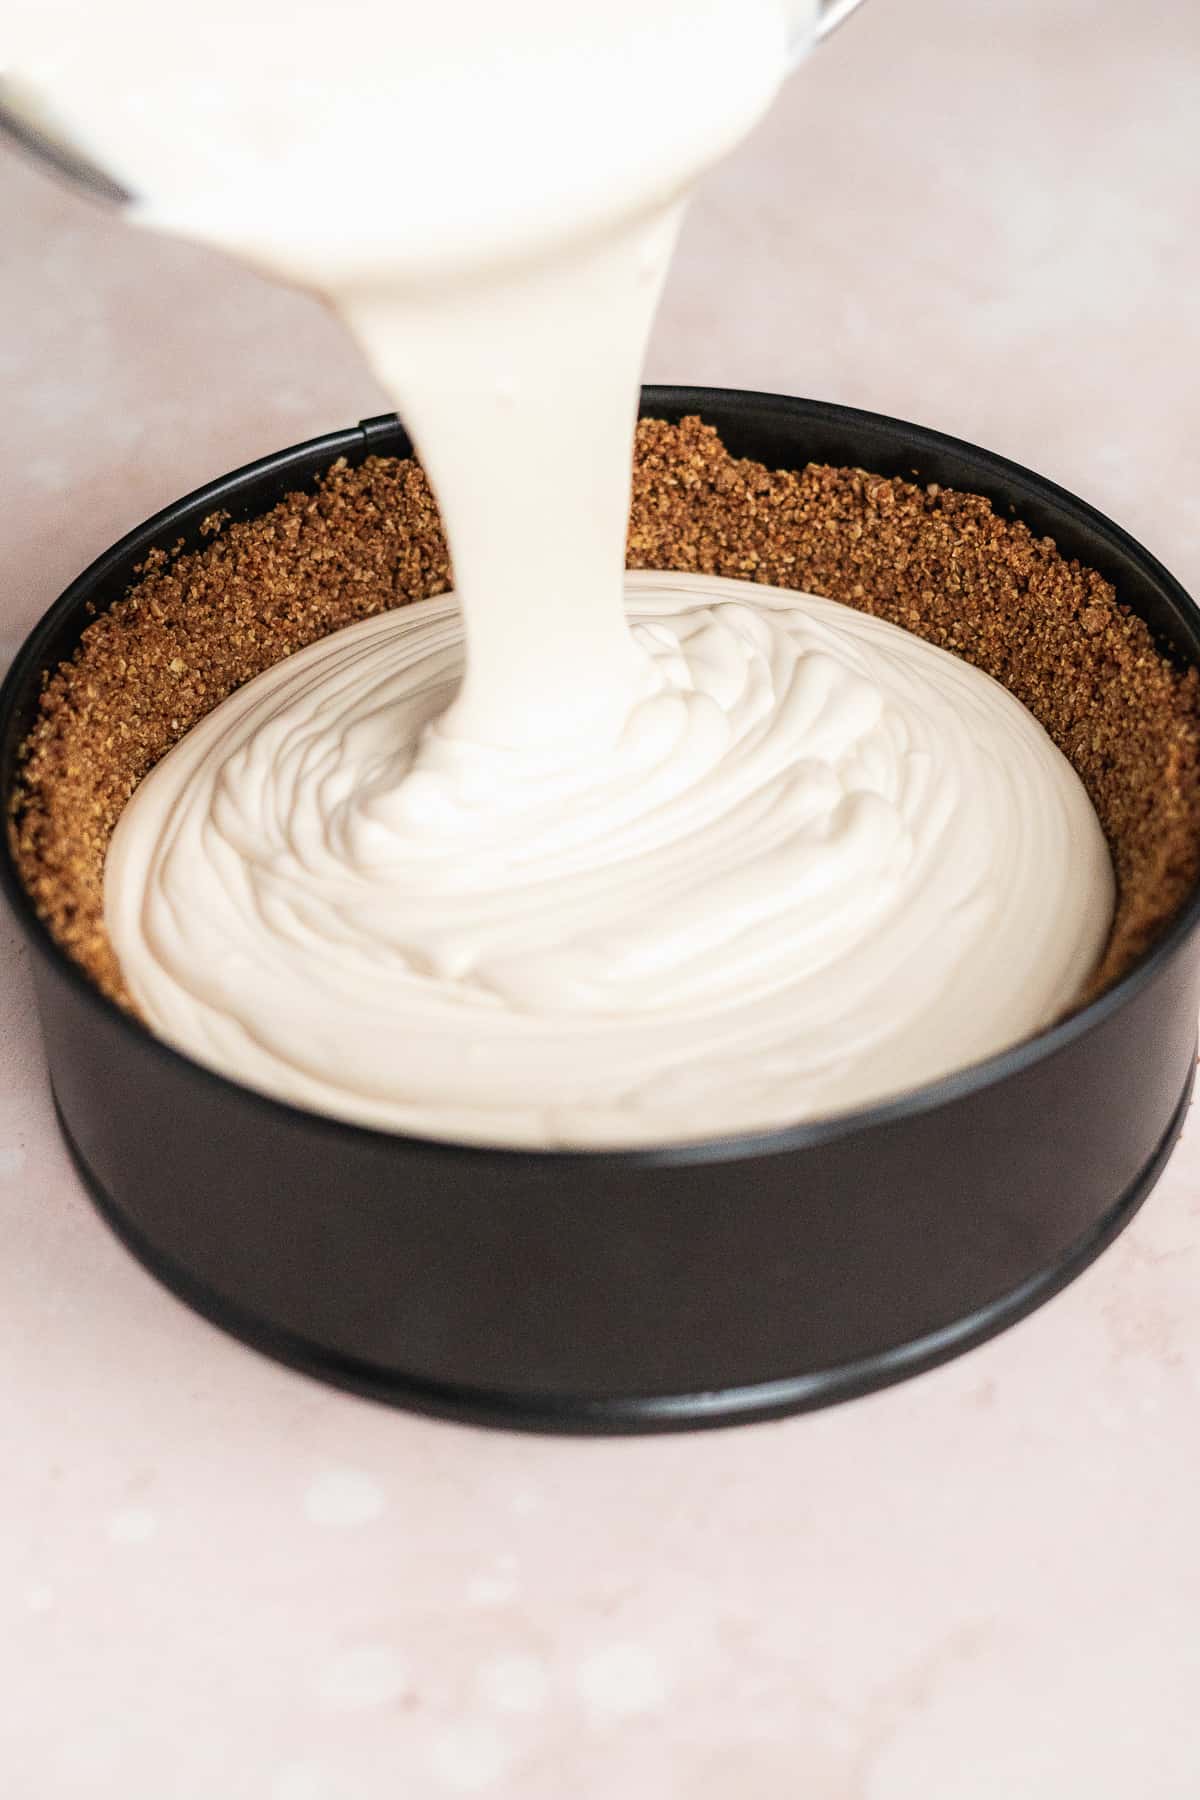
Pour the filling into the crust. If needed, level off the top with a spatula.
Back to the water bath
Once the filling is in the crust, we now finish the water bath step.
Step 5 : Pour water into the baking dish and bake the cheesecake
When ready to bake the cheesecake, open the oven door and pull the bottom rack out with the baking dish. Pour the pot of simmering water into the baking dish and push the rack back in. Then place your cheesecake in the middle rack directly above the baking dish with the water. Ta-da! You've prepared a water bath for your cheesecake.
A quick note on this step - you want to do this as quickly as possible so as to not let all the heat out of the oven. Once you open the oven door, move fast to pour the water into the baking dish and slide the cheesecake into the middle. Obviously, priority number one is not burning yourself though.
Then slide the cheesecake carefully above the water bath on the middle rack of the oven. Bake for 1 hour 10 minutes. To check if the cheesecake is done, gently nudge it with a oven mitt - if it jiggles just a bit then it's done. If it wiggles a lot then it needs more time to bake.
Once it's done baking, turn the oven off with the cheesecake still in the oven. This is done to gradually bring the cheesecake back to room temperature without shocking it by transferring it from a warm oven to a cool counter top. This is how you prevent your cheesecake from cracking on top.
After the oven has cooled down, place the cheesecake in the fridge to set (uncovered) for at least an hour.
The Cranberry Reduction
We're almost done, promise! After the cheesecake is baked and has had time to set in the fridge, it's onto the glorious cranberry topping.
Step 6 : Prepare the cranberry topping
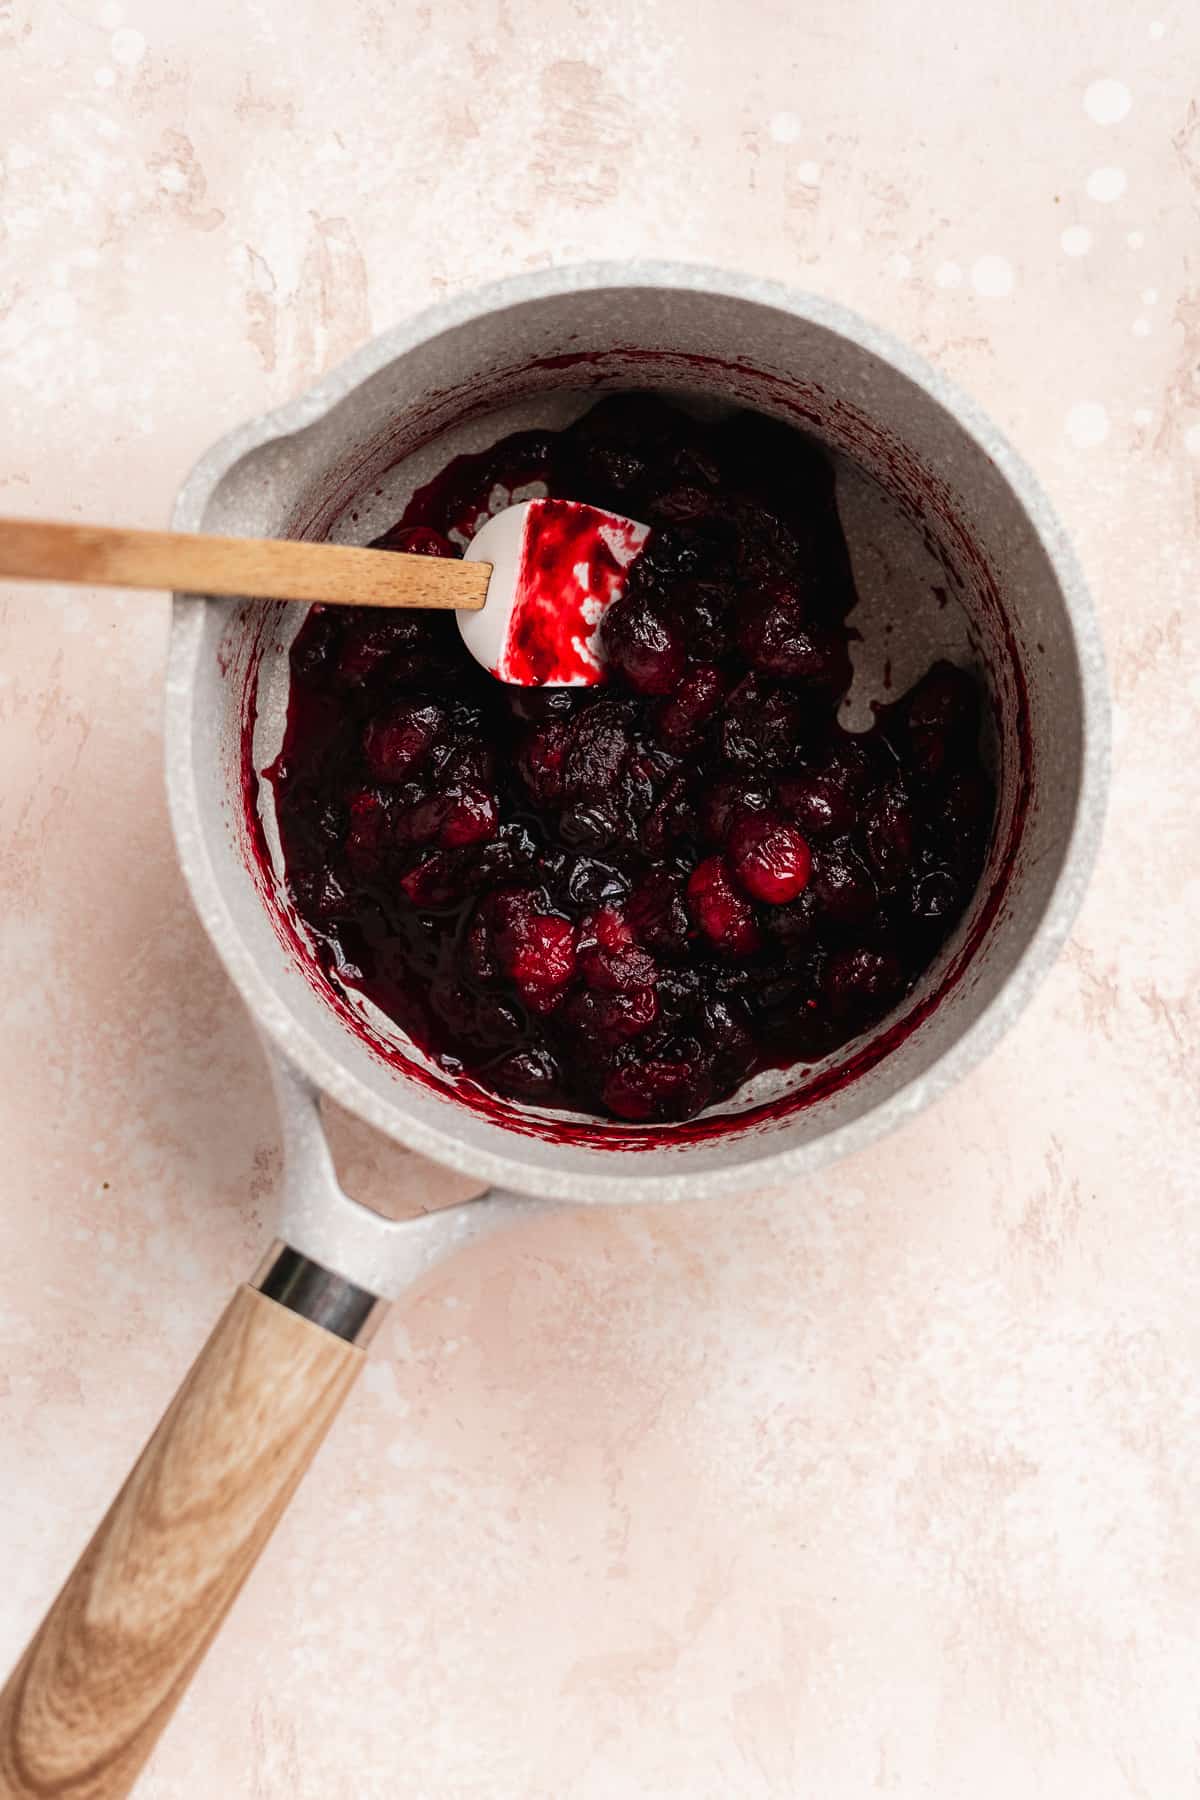
To make the cranberry reduction, simply add the washed cranberries, cranberry juice, and coconut sugar to a pot and bring it to a simmer, stirring frequently.
Once it's simmering, remove it from the heat and allow it to cool to room temperature. It will thicken up during this time. After it's cooled, spoon onto the top of the cheesecake.
And that my friends, is how you make this bomb vegan baked cranberry cheesecake!
Serving and storing
Be sure to allow the cheesecake to set in the fridge before serving. Slice with a sharp knife into pieces and serve with the cranberry sauce. You can either top the entire cheesecake with the cranberry sauce or leave it on the side and top each slice with a spoonful or two.
To store, place the cheesecake in an airtight container and keep it in the fridge. It will keep for up to a week.
You can also freeze this cheesecake for later. Don't put the cranberries on top if freezing. You will want to freeze the plain cheesecake by wrapping it in plastic wrap and placing it in an airtight container. It will keep in the freezer for 3 months. When ready to enjoy, thaw in the fridge overnight or out on the counter for a few hours.
Customizations
This cheesecake can easily be customized with toppings. Because the base of the cheesecake is fairly traditional you can top it with practically anything. Here are a few different options:
- Strawberries - Easily swap the cranberries for strawberries in this recipe.
- Whipped cream - Skip the fruit toppings and use whipped coconut cream to top.
- Chocolate sauce - Use a chocolate ganache like in this hazelnut cheesecake on top.
- Chopped nuts - Sprinkle chopped nuts on top for little crunch.
Cheesecake FAQs
Most traditional cheesecakes are not gluten free due to the crust. This is why I made an oat-based crust in this recipe that is gluten free.
I tried multiple brands for this recipe. Kite Hill is one of my favorite vegan cream cheese brands and works really well in this recipe. Violife and Toffuti are also great in this cheesecake.
That is totally fine! A quick alternative is to make a crust with store-bought graham crackers. Simple pulse 1 ½ cups of graham crackers in a food processor with about 5 tablespoon melted vegan butter. Press the mixture into your cheesecake pan and voila! A super easy graham cracker crust.
This cheesecake is best stored in an airtight container in the fridge. It will keep for up to a week.

Check out these other festive pies:
Recipe

Baked Vegan Cheesecake with Graham Cracker Crust (Gluten free and Egg free)
Ingredients
For the crust
- 3 cups gluten free oat flour
- ½ cup coconut sugar
- 4 tablespoon maple syrup
- ½ cup coconut oil - at room temperature (plus additional 2 - 3 tablespoon after the crust is baked)
- 2 teaspoon molasses
- 1 teaspoon vanilla
- ½ teaspoon cinnamon
For the Cheesecake Filling
- 24- oz dairy-free cream cheese - room temperature (I used the Kite Hill brand, see above FAQs for other brand recommendations)
- 13 oz full-fat coconut milk
- ⅔ cup maple syrup
- 2 teaspoon vanilla
- 3 tablespoon lemon juice - approx. 1 large lemon
- 4 tablespoon arrowroot starch
For the Cranberry Topping
- 1 ⅓ cup cranberries
- ⅓ cup cranberry juice - water will also work
- 3 tablespoon coconut sugar
Instructions
- Preheat oven to 350 F. In a bowl, mix together all the crust ingredients. The mixture should look like dark sand. Press the dough into a baking sheet lined with parchment paper. Bake for 10 minutes until the edges are crispy (this does't need to be perfect, we will crust it up later). Let the pan cool for a couple minutes.
- Next, break up the crust into small pieces and place them in a food processor (you can also crush them up by hand if you don't have a food processor). Add another 2 - 3 tablespoon coconut oil and pulse until the mixture looks like sand again. You should be able to press it together with a rubber spatula and it sticks together.
- Place a piece of parchment paper in the bottom of a 9-spring form pan. Press the crust into the pan and up against the sides. Use a measuring cup to help push it up the sides. Place the crust back in the oven for another 8 minutes to bake. Let cool while you prepare the filling.
- Reduce oven heat to 325 F. Place a 9 X 13 inch baking dish on the bottom rack of the oven. Prepare a pot on the stove with 6 cups of water and bring to a boil (this is called a "water bath" and will go into the baking dish when we're ready to bake the cheesecake).
- In a mixing bowl, beat the cream cheese on low speed until it looks creamy with no clumps. You want to keep the mixer moving at low speed for the filling to reduce the likelihood of air bubbles. Add the coconut milk, maple syrup, vanilla, and lemon juice and mix again. Finally, add the arrowroot starch and mix to incorporate.
- Pour the cheesecake filling into the crust. Level off the top with a rubber spatula. Open the oven door and pour the boiling water into the baking dish on the bottom rack. Then slide the cheesecake onto the middle rack of the oven. Try to do this step fairly quickly so you don't release too much heat from the oven. Bake for 1 hour and 10 minutes. To check if your cheesecake is done, open the oven door and gently push the cheesecake and watch how the filling moves. If it moves like a bowl of milk, it's not done. If it slightly jiggles (like jello) then it is done. Close the oven door back and turn off the oven. Keep the cheesecake in the oven for another hour until the oven cools down. This is done to gradually bring the cheesecake back to room temperature and prevent cracks. After an hour, remove the cheesecake and let it sit on the counter until it's complete at room temperature before transferring to the fridge.
- To prepare the filling, place the cranberries, juice, and coconut sugar in a sauce pan on the stove over medium heat. Bring the mixture to a simmer. Once simmering, remove the pan from the element and let it cool down, it will also thicken up in this time. Once cool, spoon the cranberry mixture over the top of the cooled cheesecake.
- When ready to eat, remove the cheesecake from the spring form pan, slice, and enjoy!




This looks AMAZING! I'm dying to try it, but I was wondering if you could recommend a paleo-friendly substitute for the oat flour. What about a paleo all purpose flour or plain almond flour or cassava flour? Would love to hear your thoughts!
Hi there! Thank you! It's one of my favorites. I actually tried this with almond flour at first and it works as well! It just may not be as crumbly like the pictures. Let me know if you try it out - would love to know how you like it!