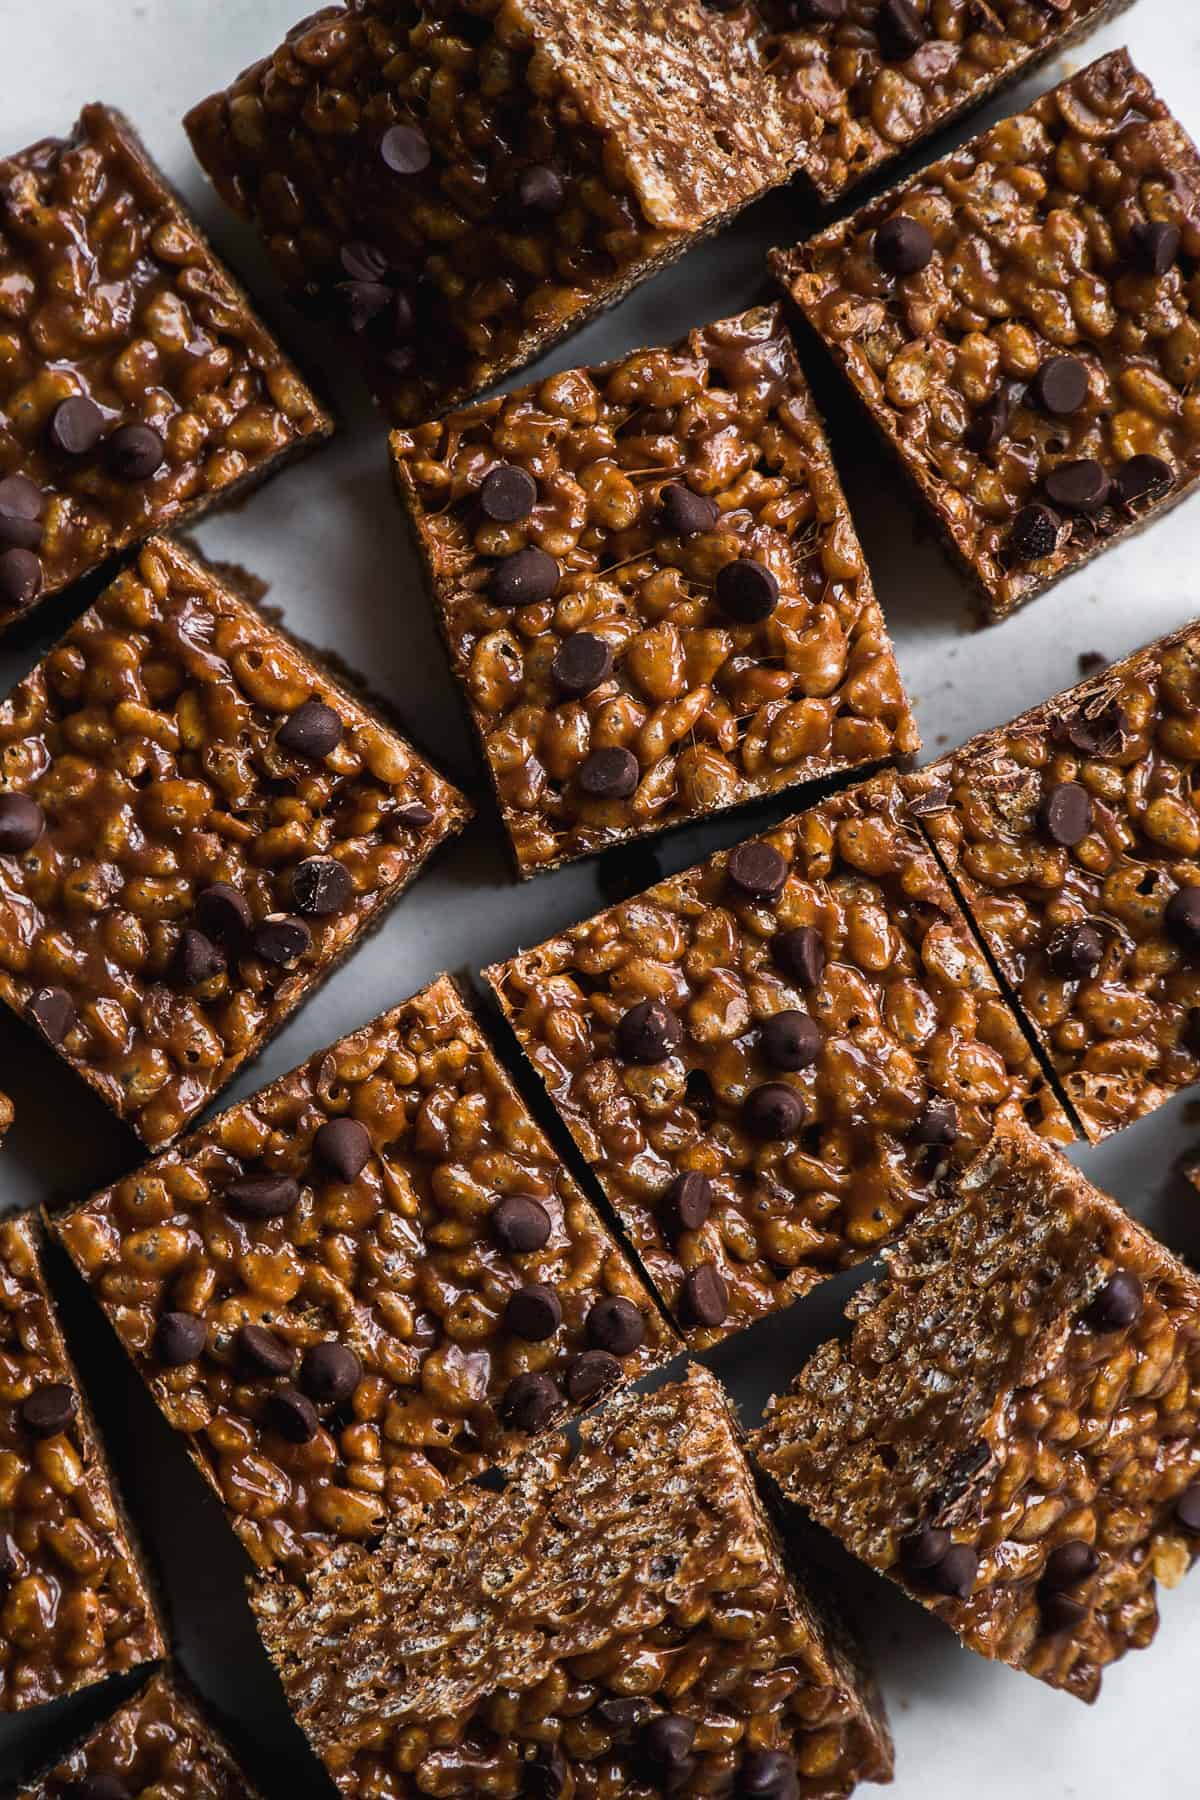
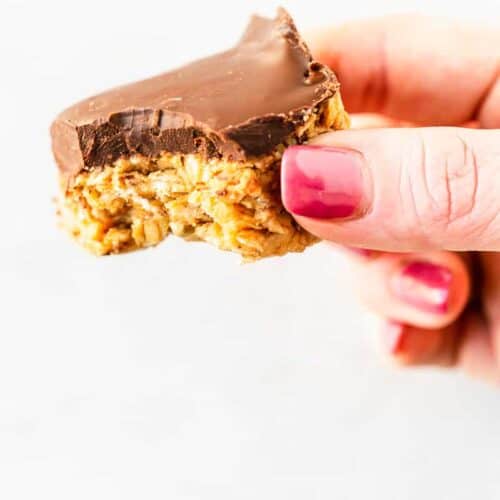
Chocolate SunButter Rice Krispie Treats
Level up the classic childhood treat with these chocolate rice krispie treats made with sunflower butter! They're chocolaty and gooey with hints of nutty flavor without the nuts. Whip up a batch in no time and with just 4 main ingredients.
These Chocolate SunButter Rice Krispie Treats are sponsored by SunButter. All thoughts are my own. Thank you so much for supporting brands that make The Fit Peach possible!
Rice krispie treats are a childhood staple. But who said kids get to have all the fun? These chocolate rice krispies will be loved by adults and kids alike with their gooey texture and chocolate flavor.
Bonus points go out to these specific treats though because they're made nut free with the help of some chocolate sunflower butter. You still get that nutty flavor we love but without the nuts!
If you also love rice krispies, be sure to check out my funfetti vegan rice krispies!
Jump to:
Recipe characteristics
- Made with only 4 main ingredients
- Naturally nut free
- A chocolate twist on the classic treat
- Made in one bowl
- Can be made in 30 minutes
- Kid approved
- Easily made gluten free
Ingredients and substitutions
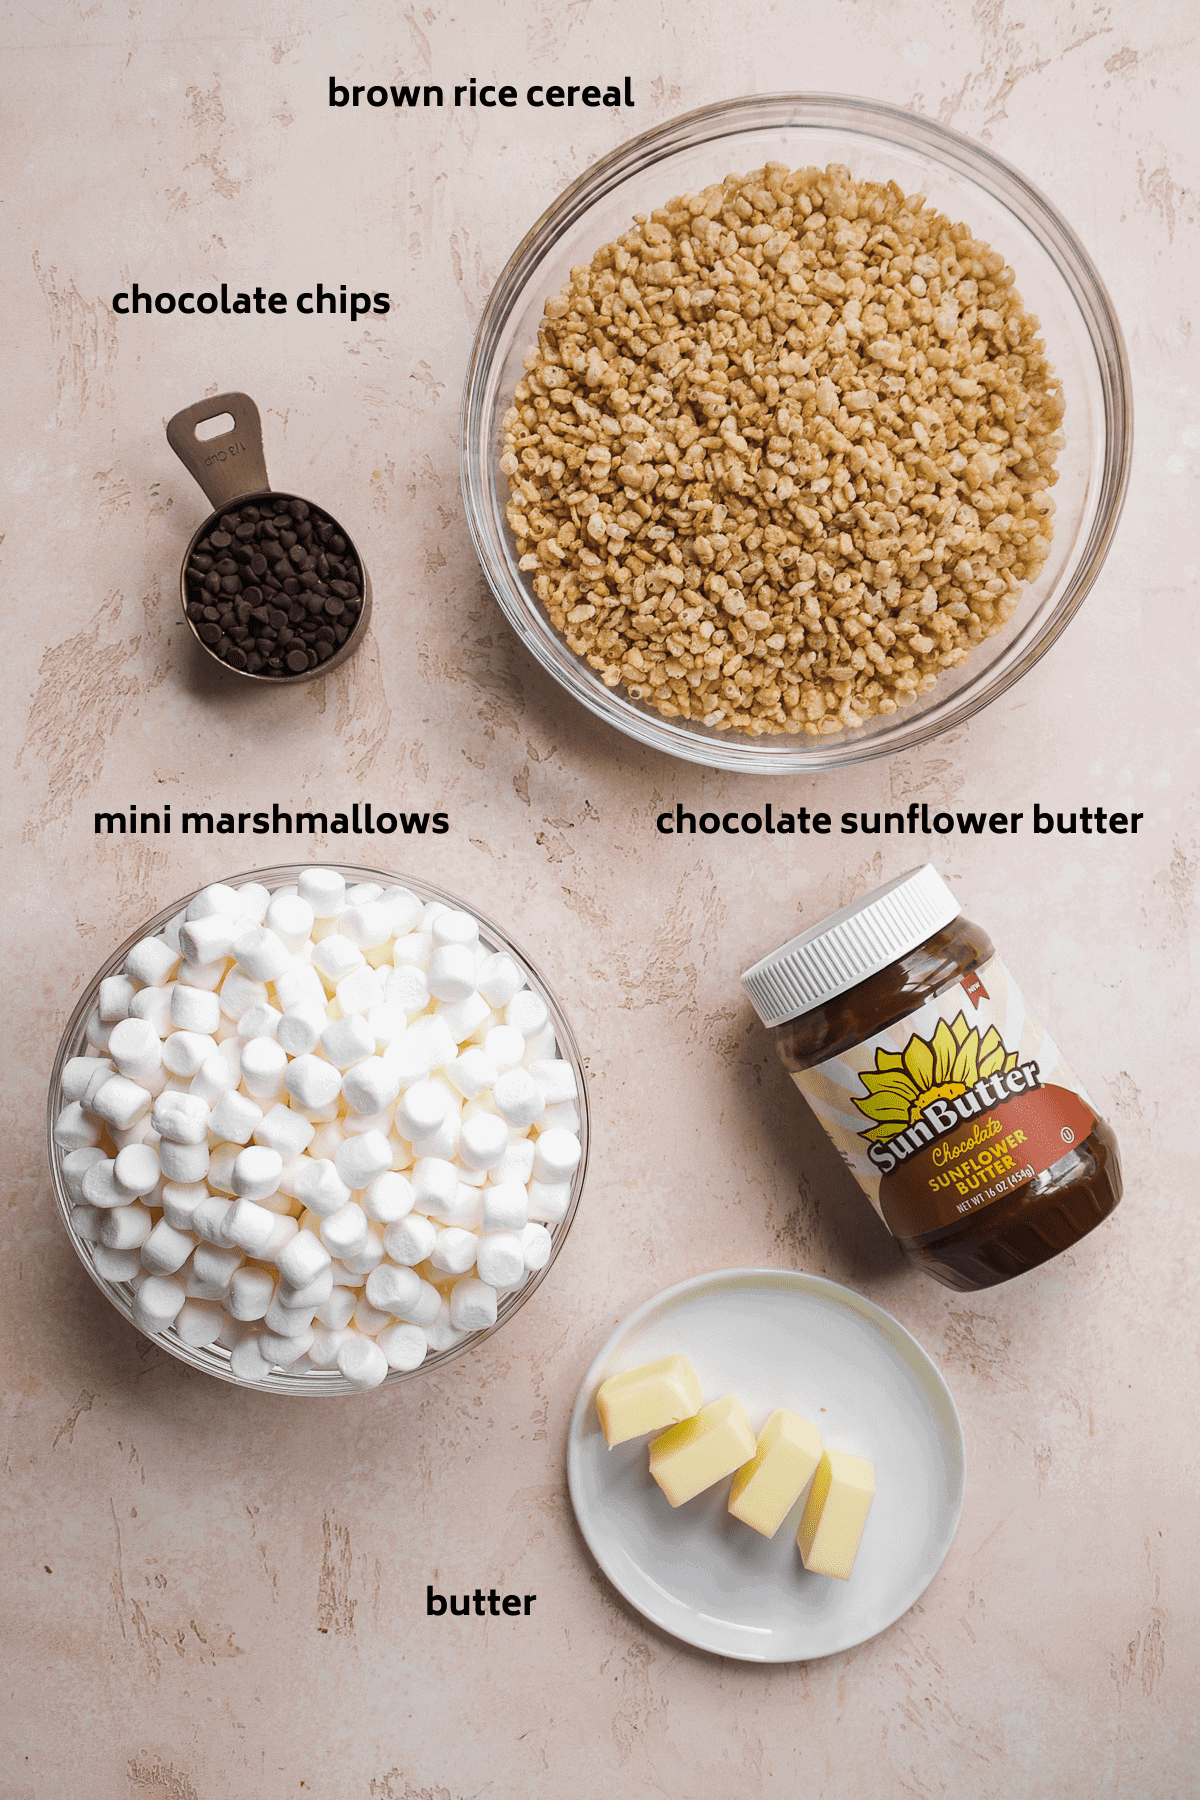
- Mini marshmallows - These are melted to create a "marshmallow fluff". Mini marshmallows melt easier than large marshmallows but either will work. You can even use vegan marshmallows to make these rice krispie treats vegan.
- Butter - This helps to melt the marshmallows and provide some buttery flavor. You can also use vegan butter or coconut oil if needed.
- Brown rice cereal - The base of the rice krispie treats. I like to use brown rice cereal (see below brand recommendations) to add more fiber to the treats and less sugar. Kellog's Rice Krispies can be used too, just keep in mind they have some added sugar and the ingredient list is lengthy.
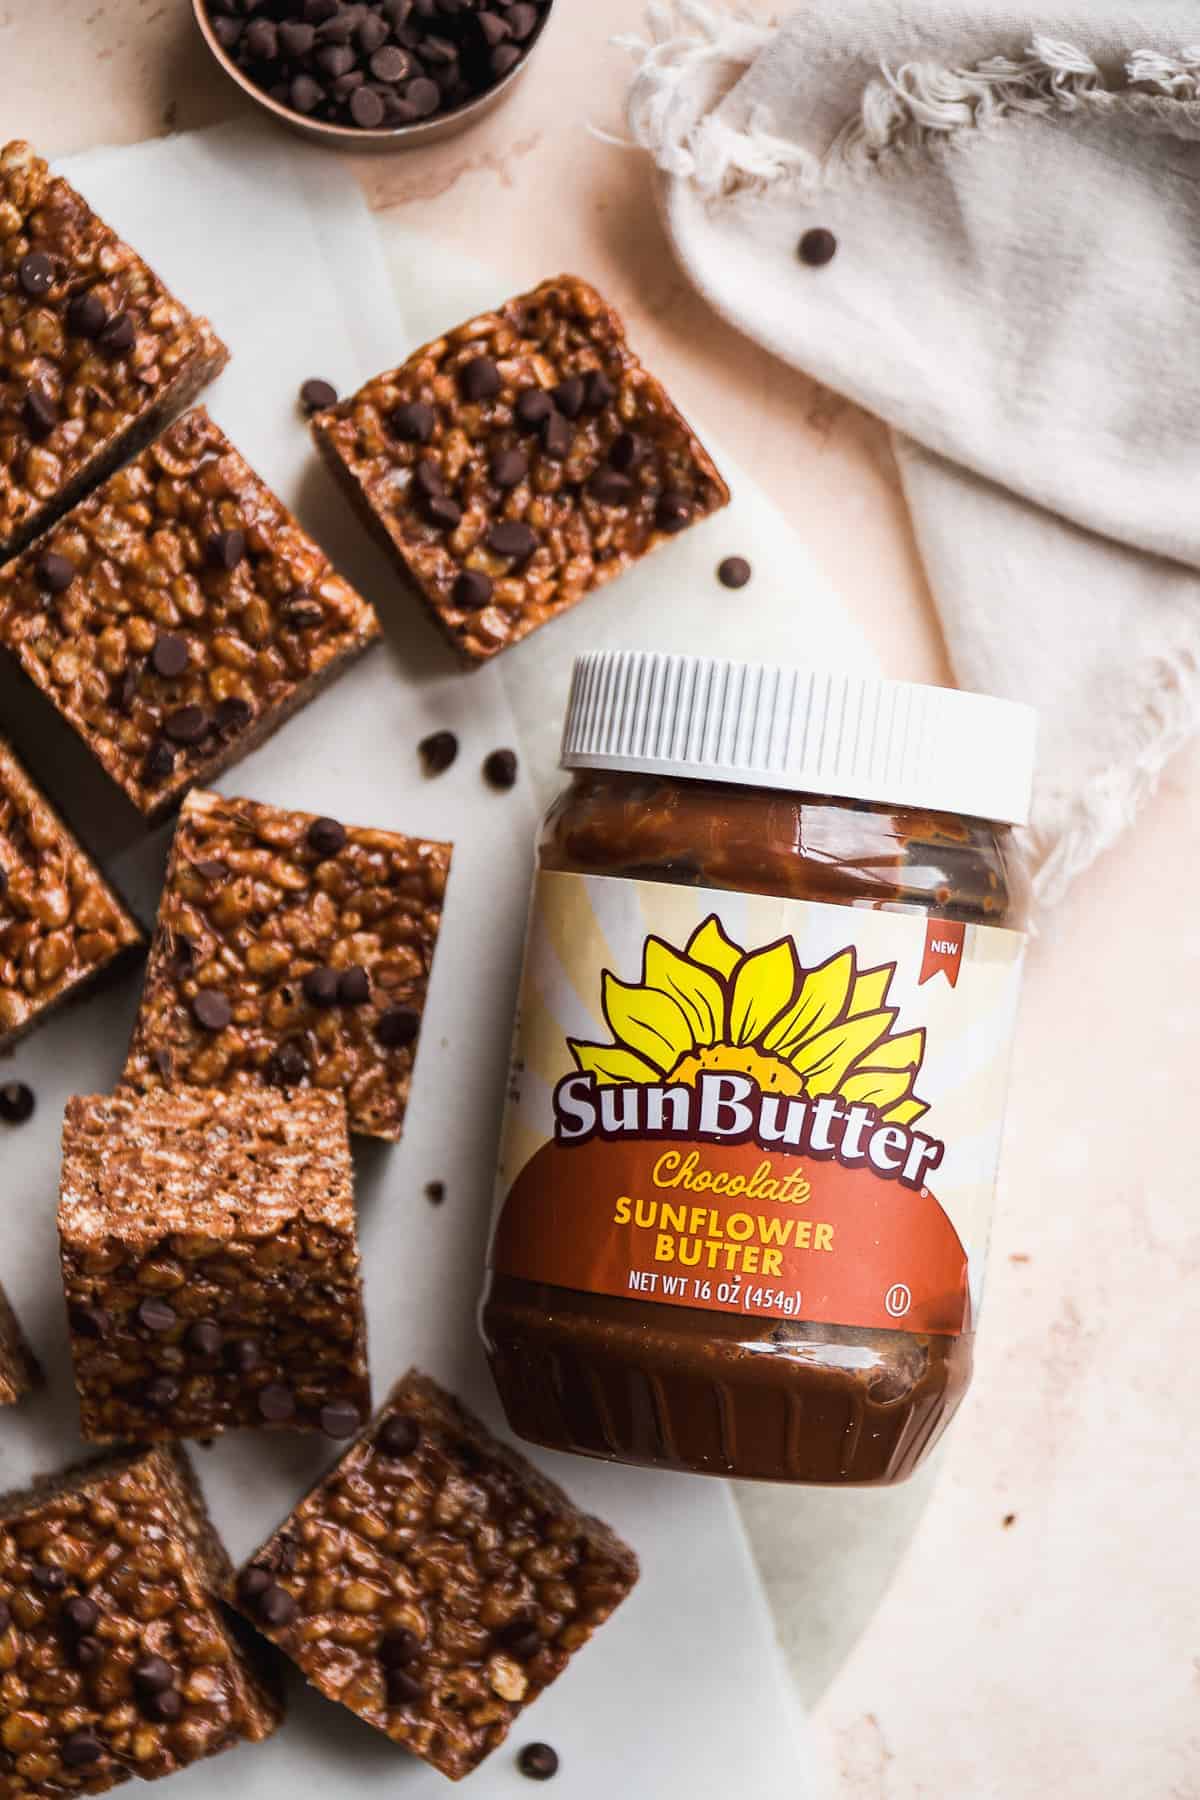
- Chocolate sunflower butter - Melted into the marshmallows to create a nutty chocolate flavor. Chocolate SunButter is my favorite chocolate spread to use. It tastes chocolaty without being overwhelming and since it's nut-free, more people can enjoy your rice krispie treats!
- Chocolate chips - These are optional but I like to sprinkle a few mini chips on top of the rice krispies to add more chocolate flavor (because there is no such thing as too much chocolate, right?). Make sure to use nut-free chocolate and/or dairy-free chocolate if needed.
What type of cereal is best for rice krispies?
- Kellog's Rice Krispie cereal - Traditional rice krispie treats are made with this cereal. This is a great option as you can usually find it at most grocery stores. This cereal is not gluten free or vegan and does have a good amount of added sugar.
- 365 Brown Rice Crisps - This is made from puffed brown rice and is gluten free and vegan. Because this is Whole Food's brand, you can only find it there.
- Nature's Path Crispy Rice Cereal - This is also made from brown rice and is another great gluten free and vegan option. You can find this at most specialty grocery stores.
- Barbara's Brown Rice Crisps - Another great gluten free and vegan option. This brand even uses pear juice concentrate to sweeten the cereal instead of cane sugar.
Step by step directions
These chocolate rice krispie treats can be made in just 10 minutes in one bowl. You will need a large pot to mix everything in and an 8 x 8 or 9 x 9 square baking pan with parchment paper.
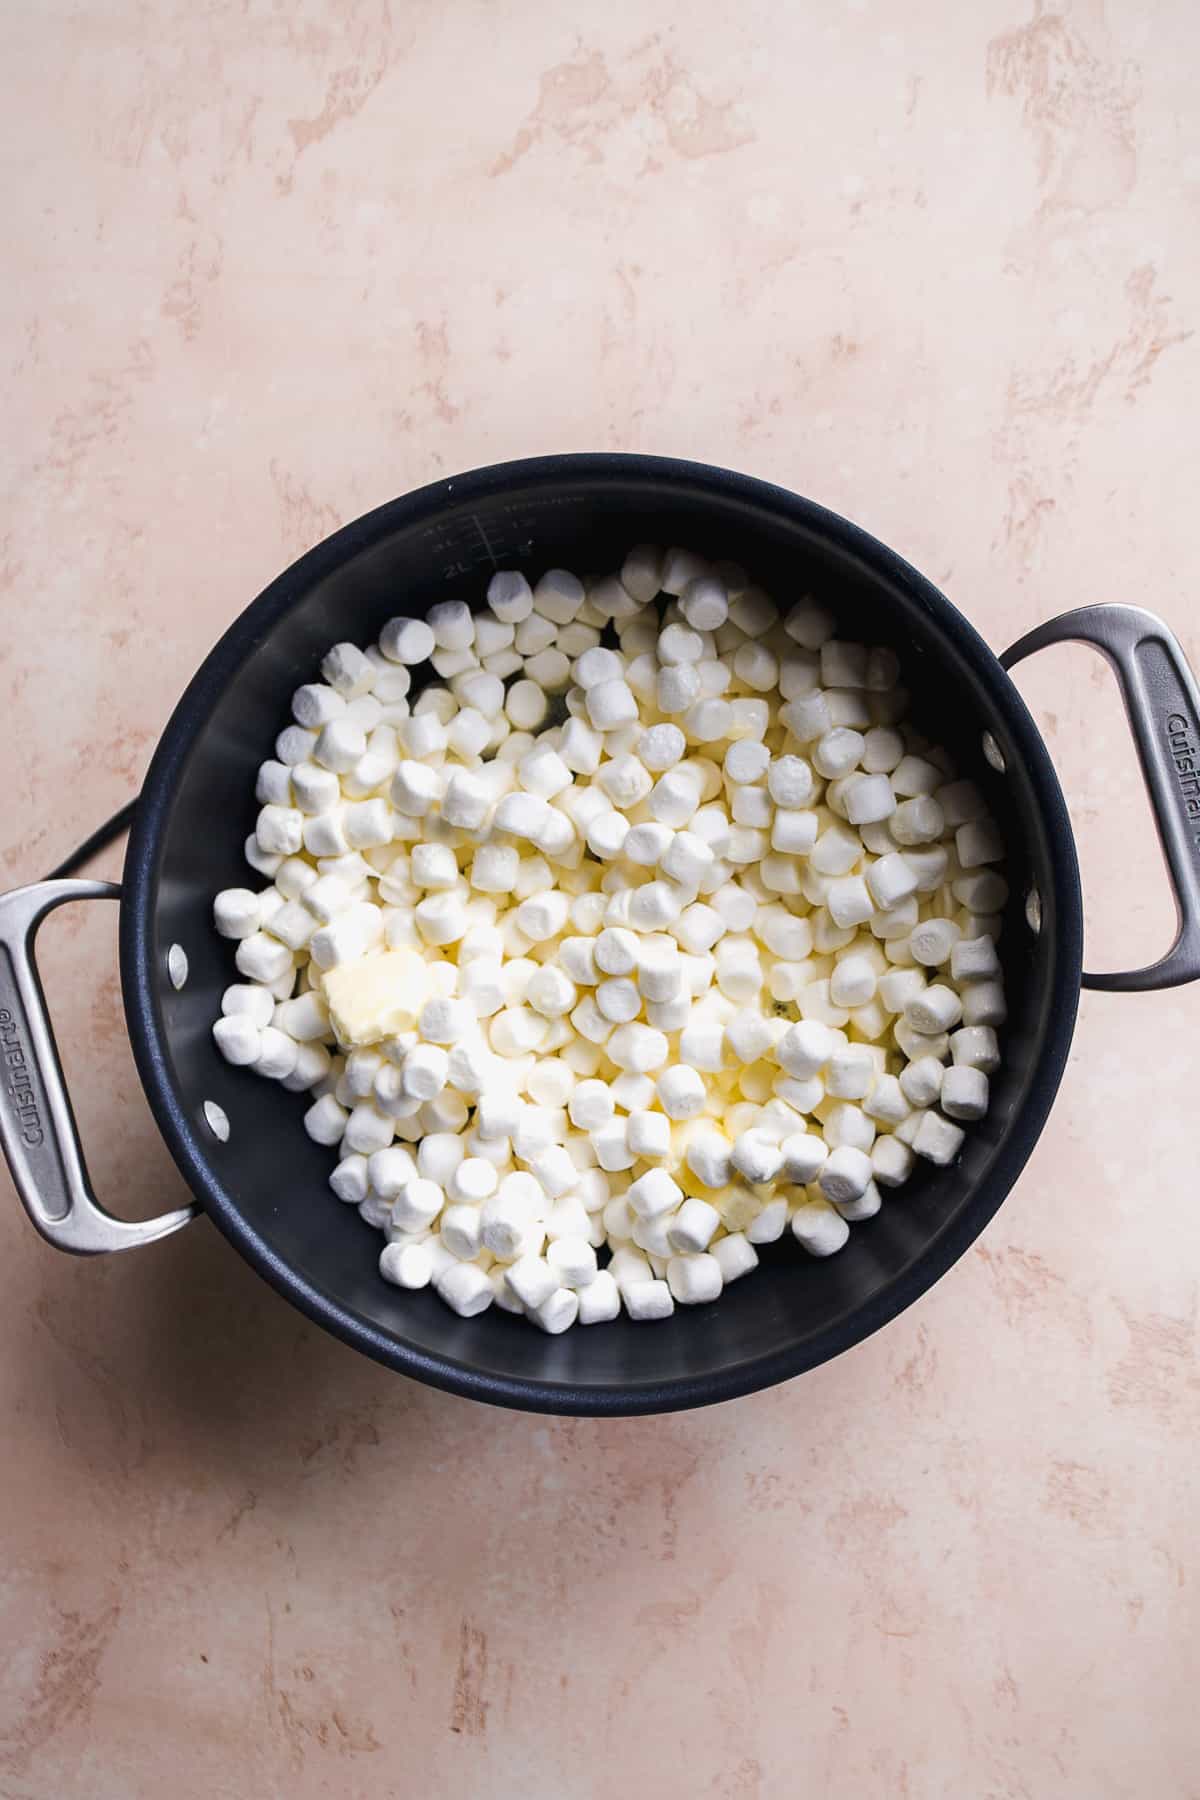
Step 1 : Melt the marshmallows
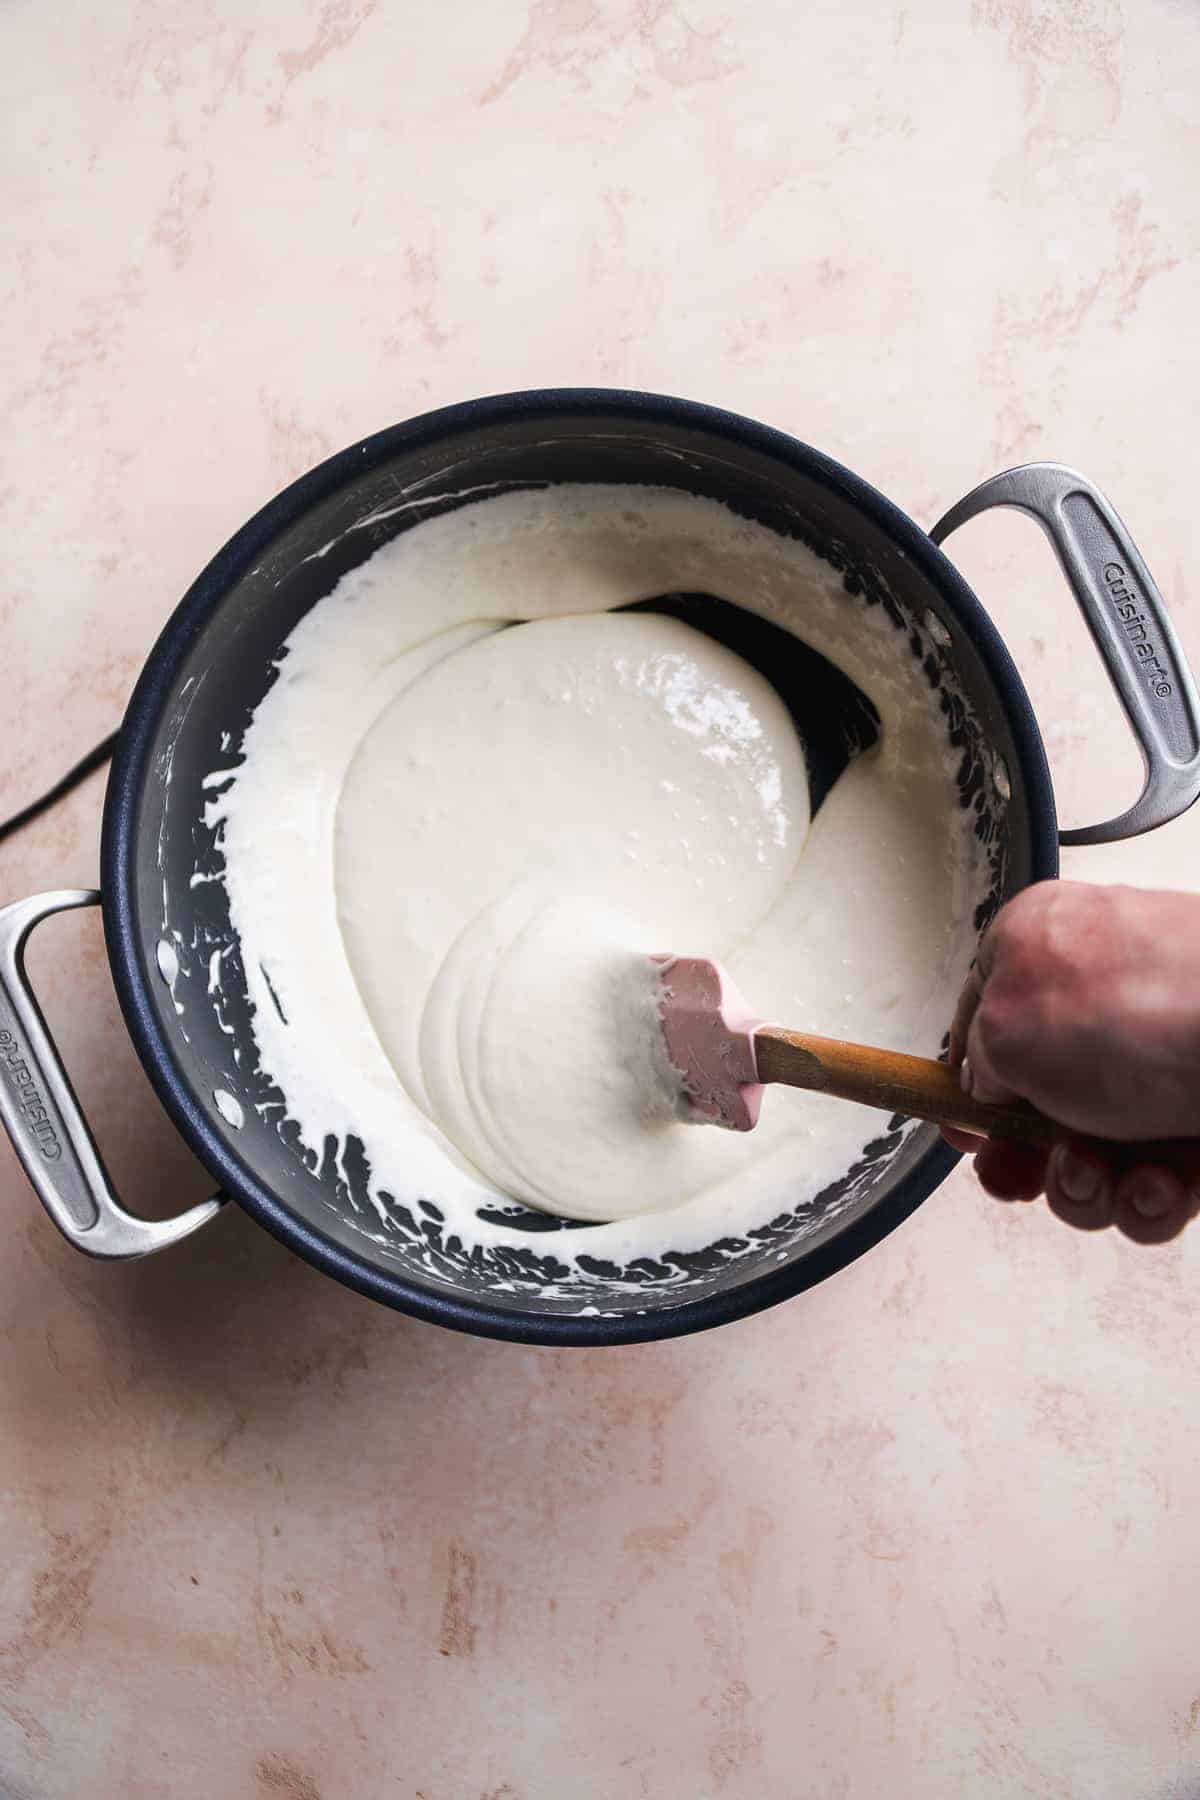
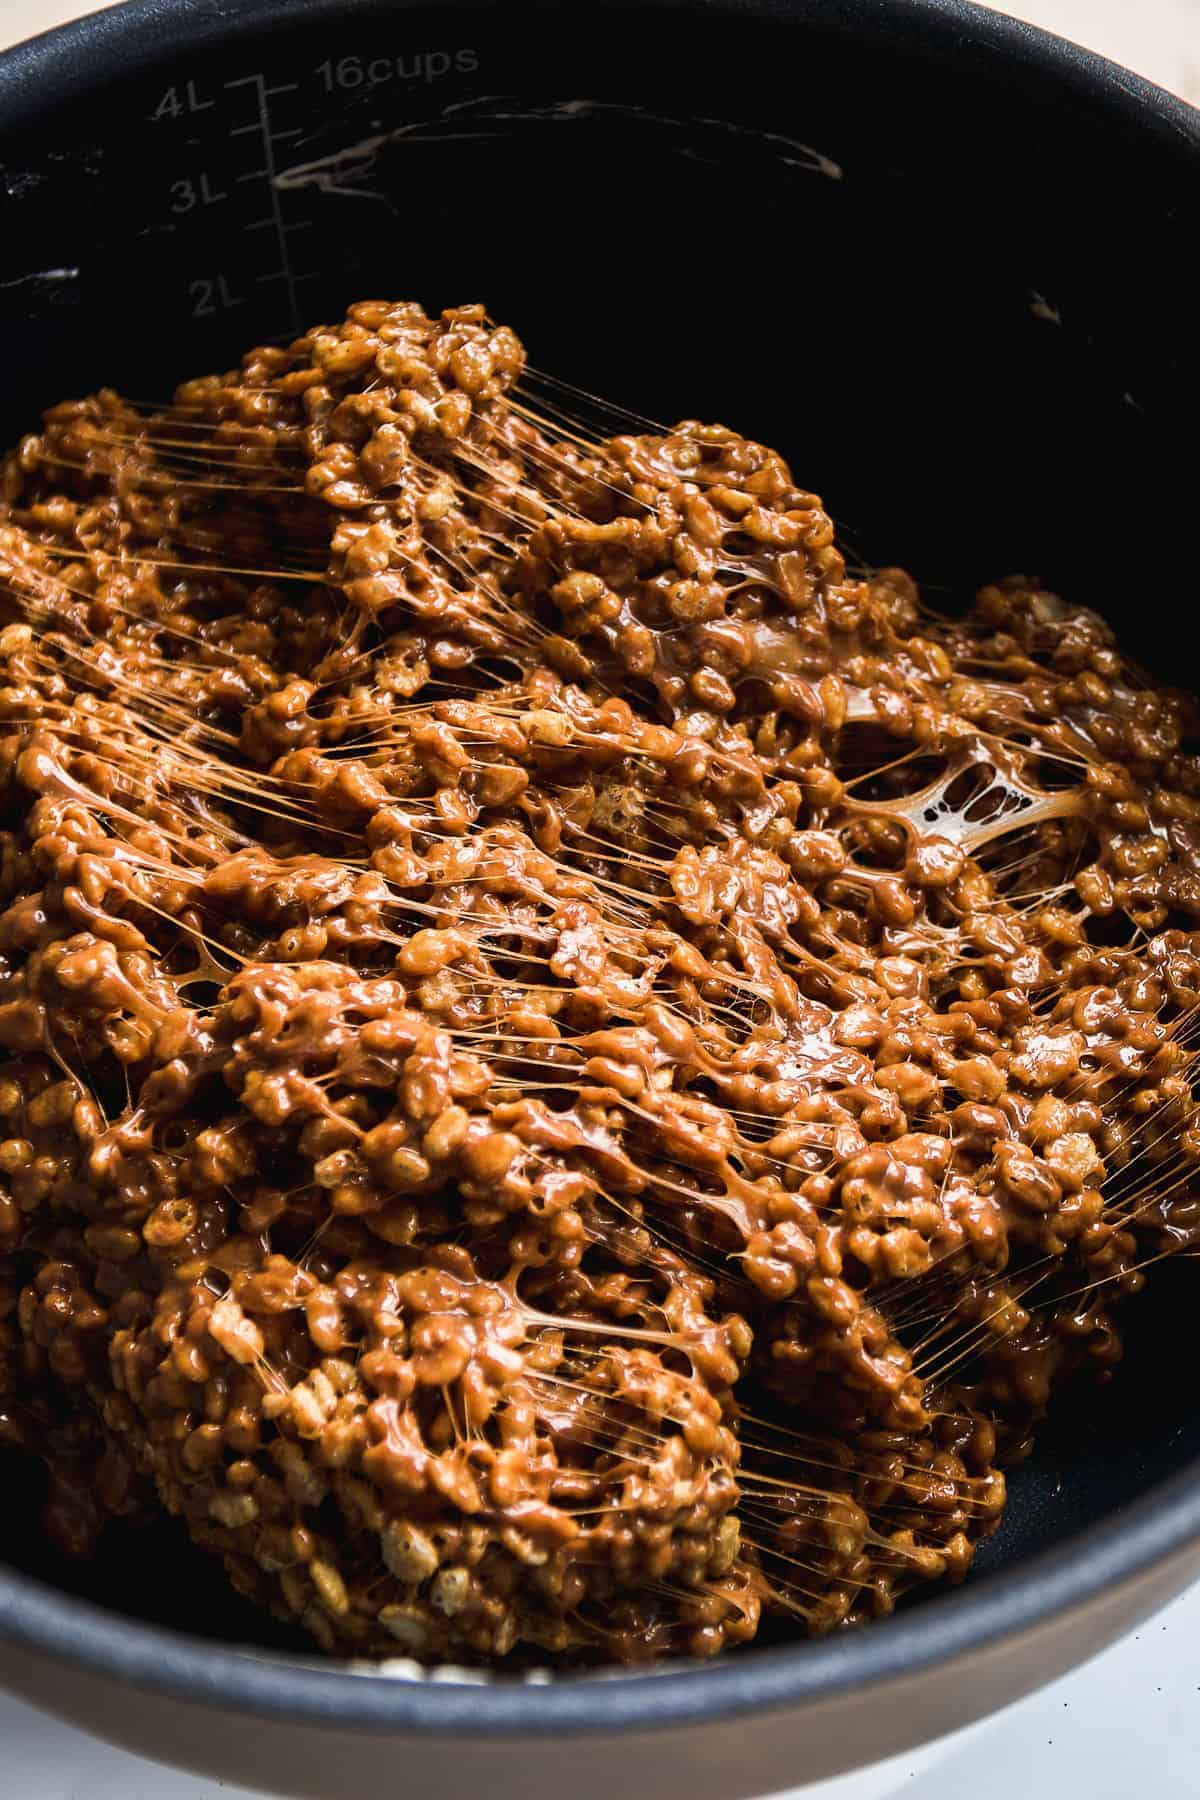
Heat the pot over medium heat and add the butter and mini marshmallows. Stir the marshmallows to distribute the butter as it melts. Continue to stir until the marshmallows become soft and melted.
There should be no clumps in the marshmallows and the mixture should easily run off the edge of your rubber spatula.
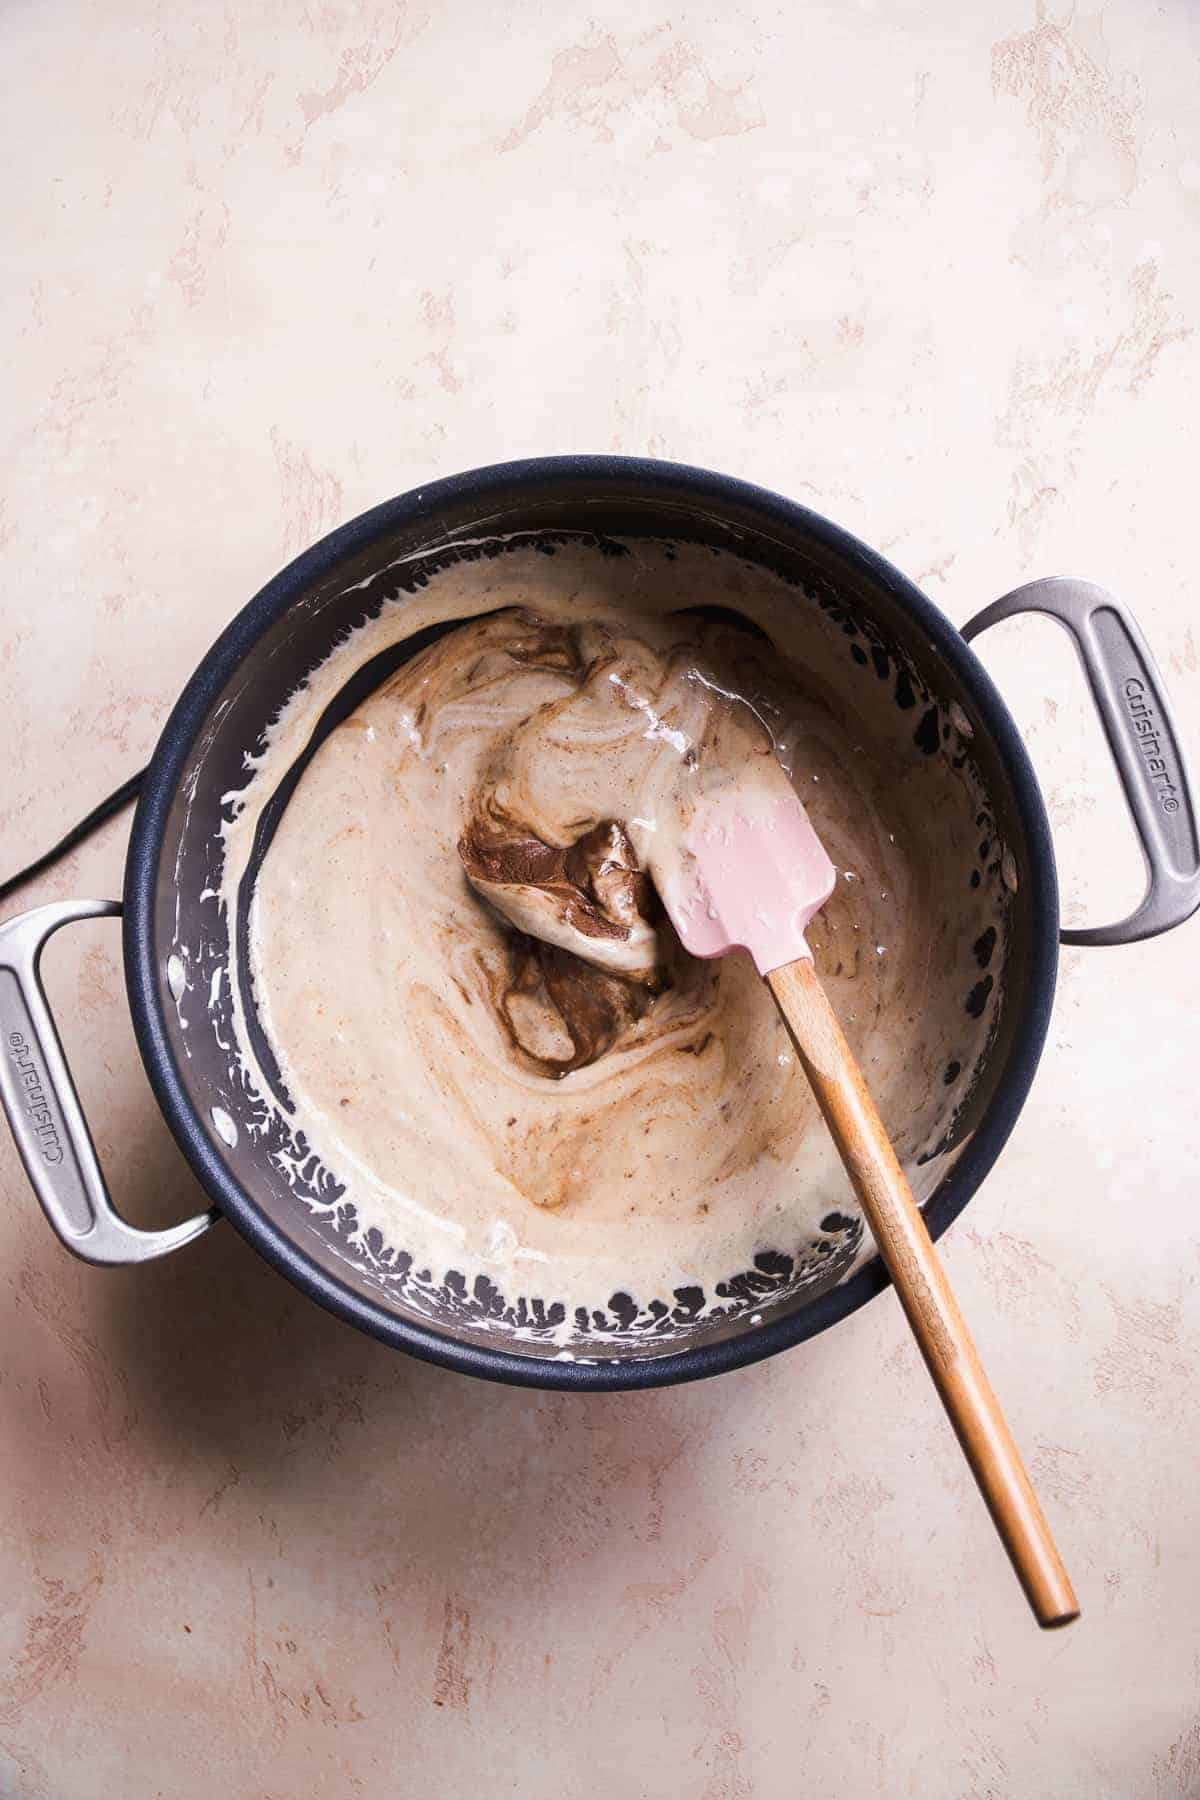
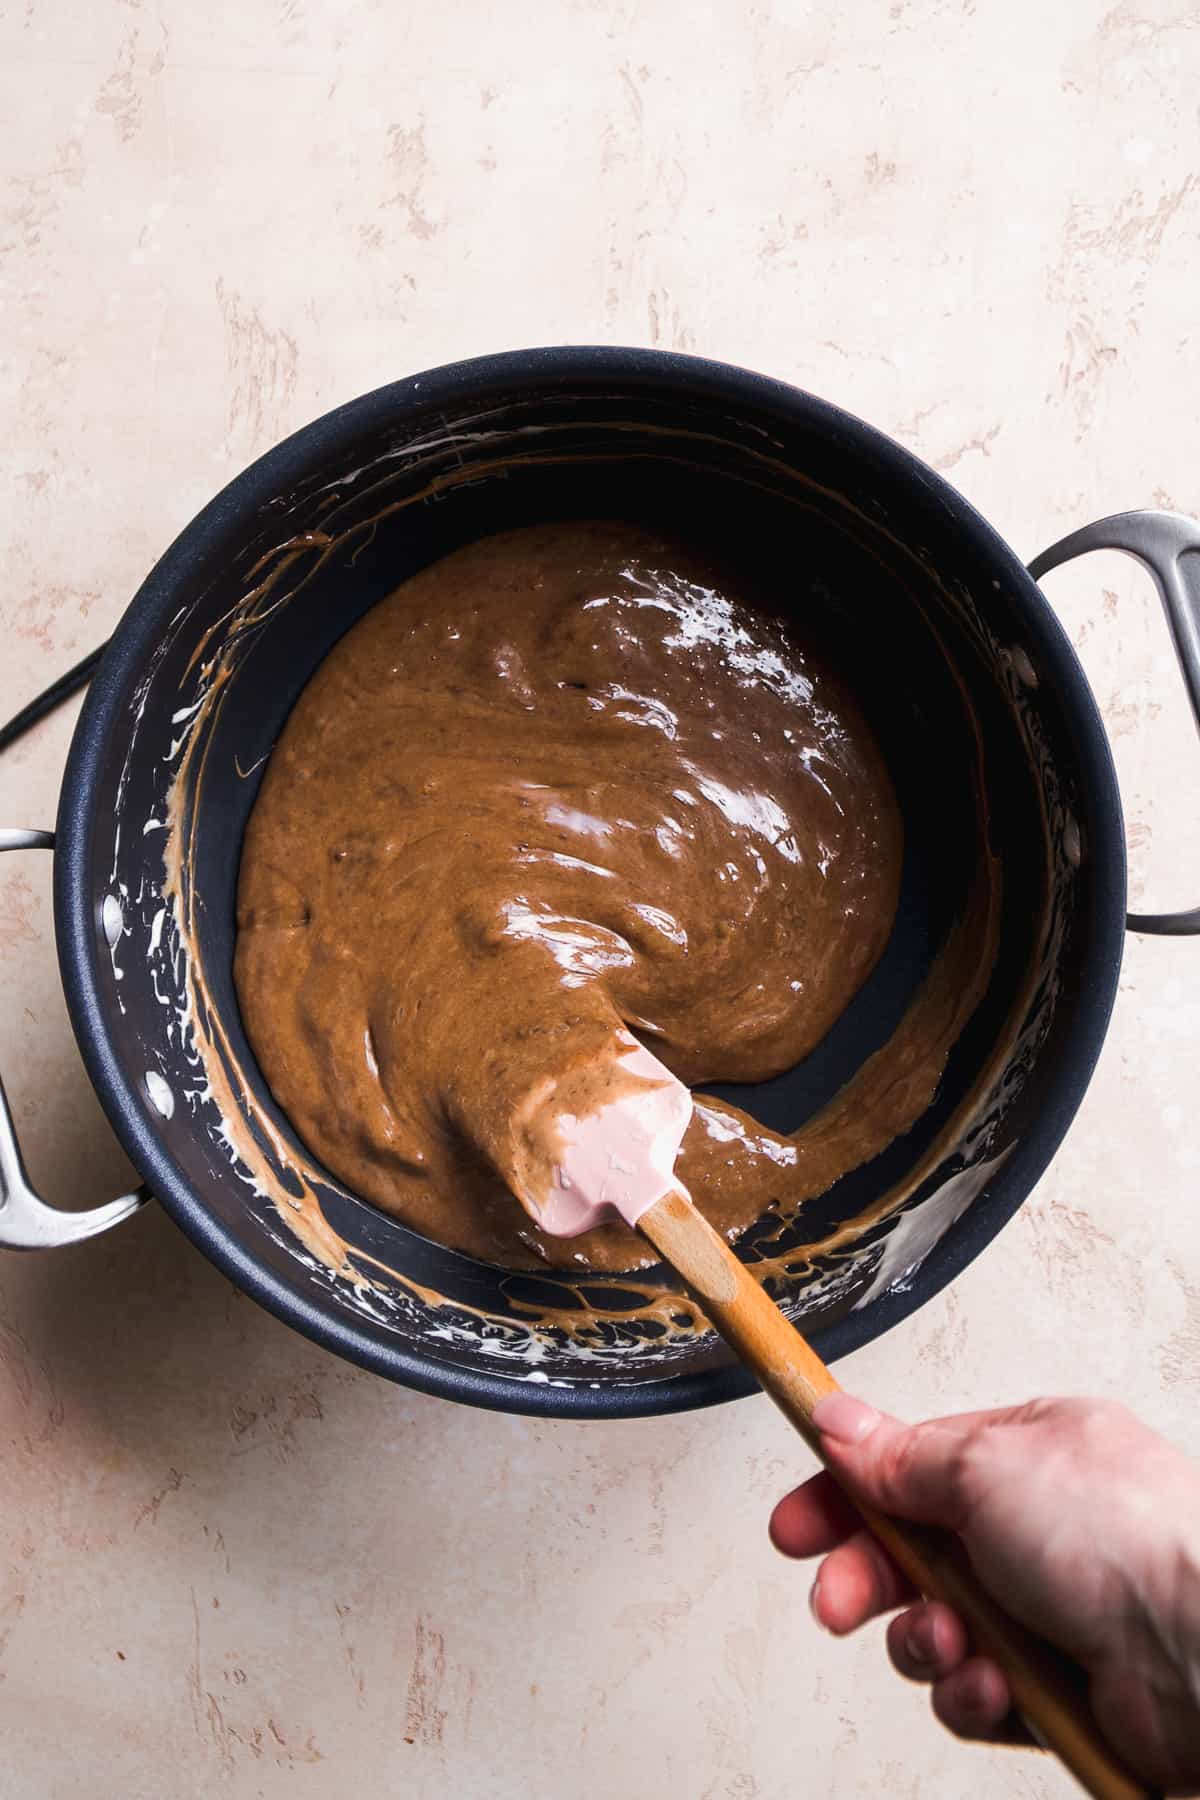
Step 2 : Add the chocolate sunflower butter
Once the marshmallows are melted, add in the chocolate sunflower butter and stir well to distribute. The sunflower butter should begin to melt into the marshmallow mixture. Continue to stir until no clumps remain.
Step 3 : Stir in the brown rice cereal
Reduce the heat to low and pour the brown rice cereal into the pot and mix with a rubber spatula. It's best to do this by mixing in ½ of the cereal and then adding in the other half. This helps evenly distribute the marshmallow mixture.
Timing is key with this step as you want the marshmallow mixture to still be warm since it's thinner and easier to mix with heat. Continue to stir until all the cereal is coated.
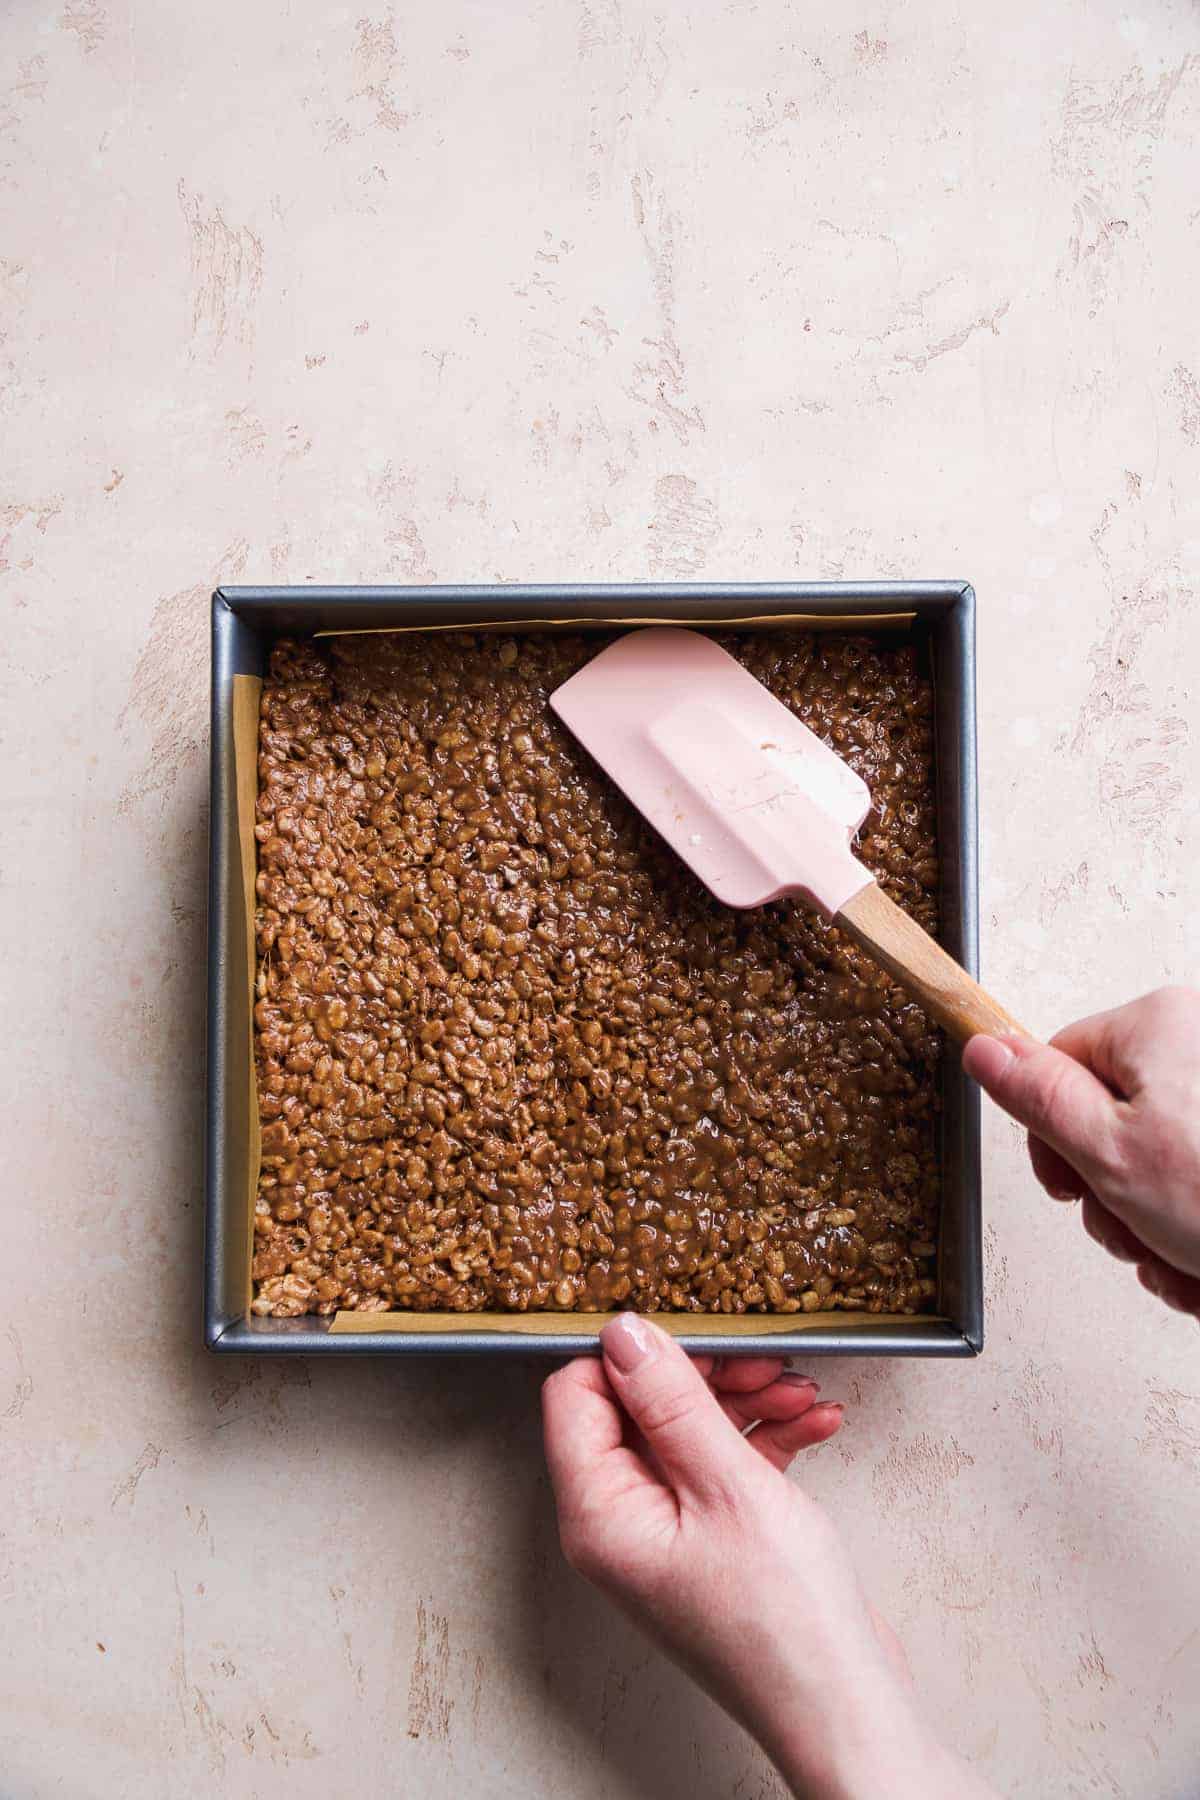
Step 4 : Press into a pan
Line an 8 x 8 or 9 x 9 pan with parchment paper for easy clean up. Then pour in the rice krispie mixture and press it into the pan to pack it down. You can use your rubber spatula for this or use your hands if you don't mind getting a little messy.
Once the mixture is well packed into the baking pan, sprinkle a few mini chocolate chips over top if desired. Do this right away while the rice krispies are still warm so the chips will stick on top.
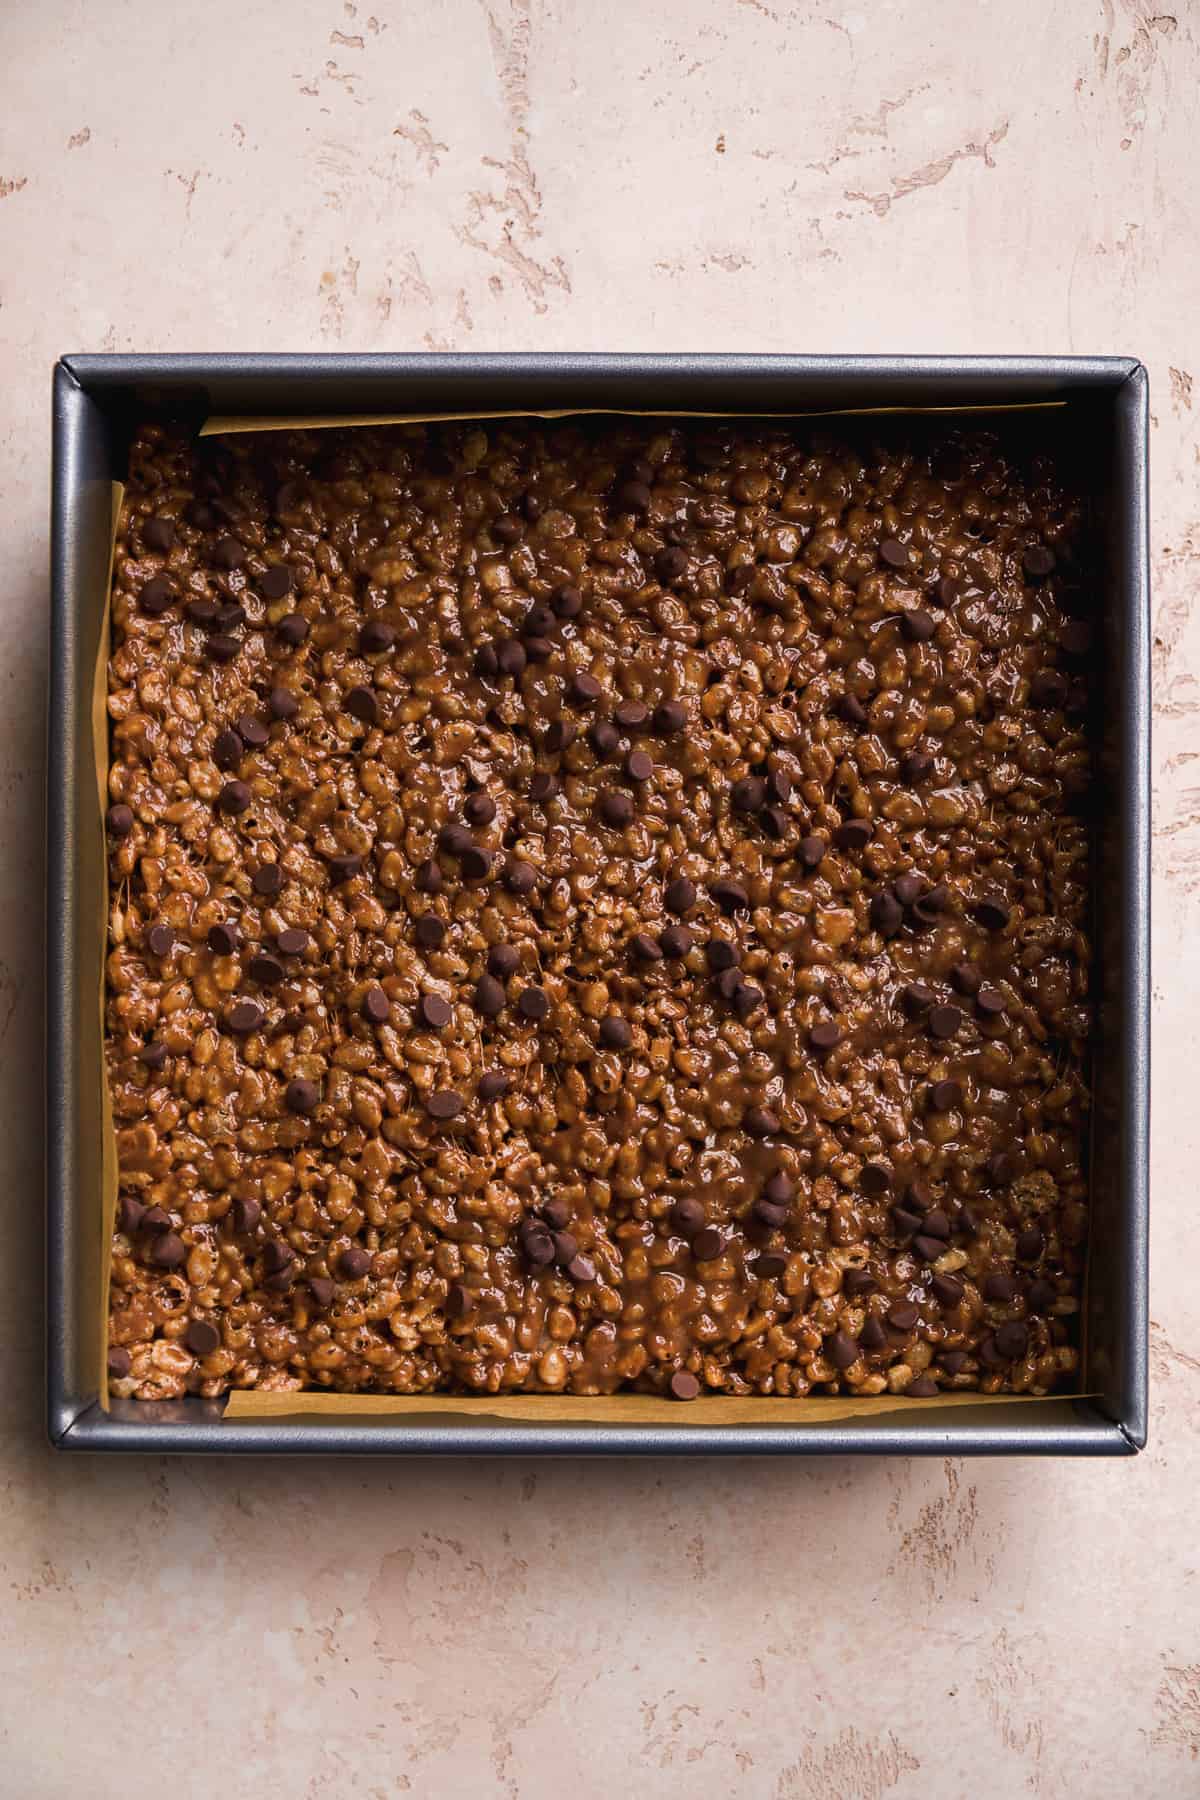
Place the pan on a clean space on the counter for an hour to set or you can speed things up by chilling it in the fridge for 20 minutes.
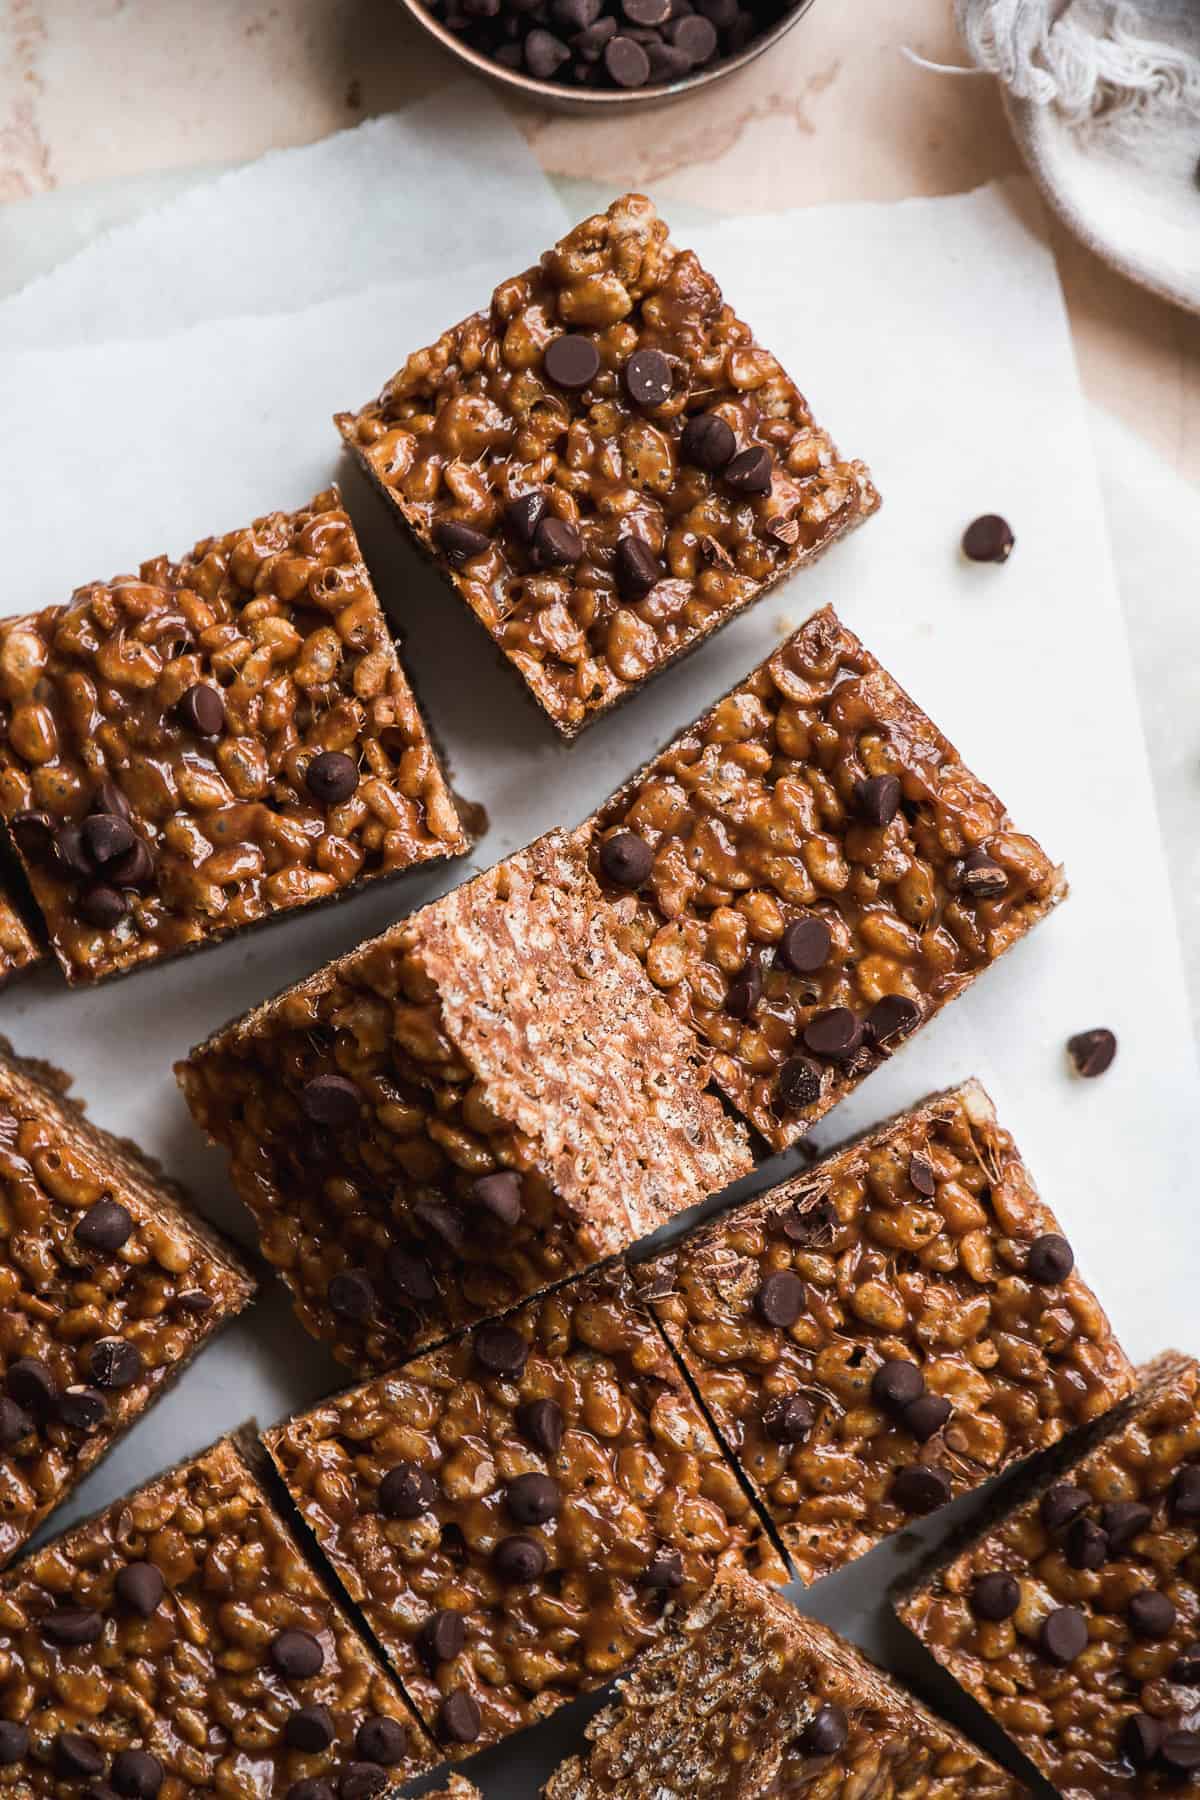
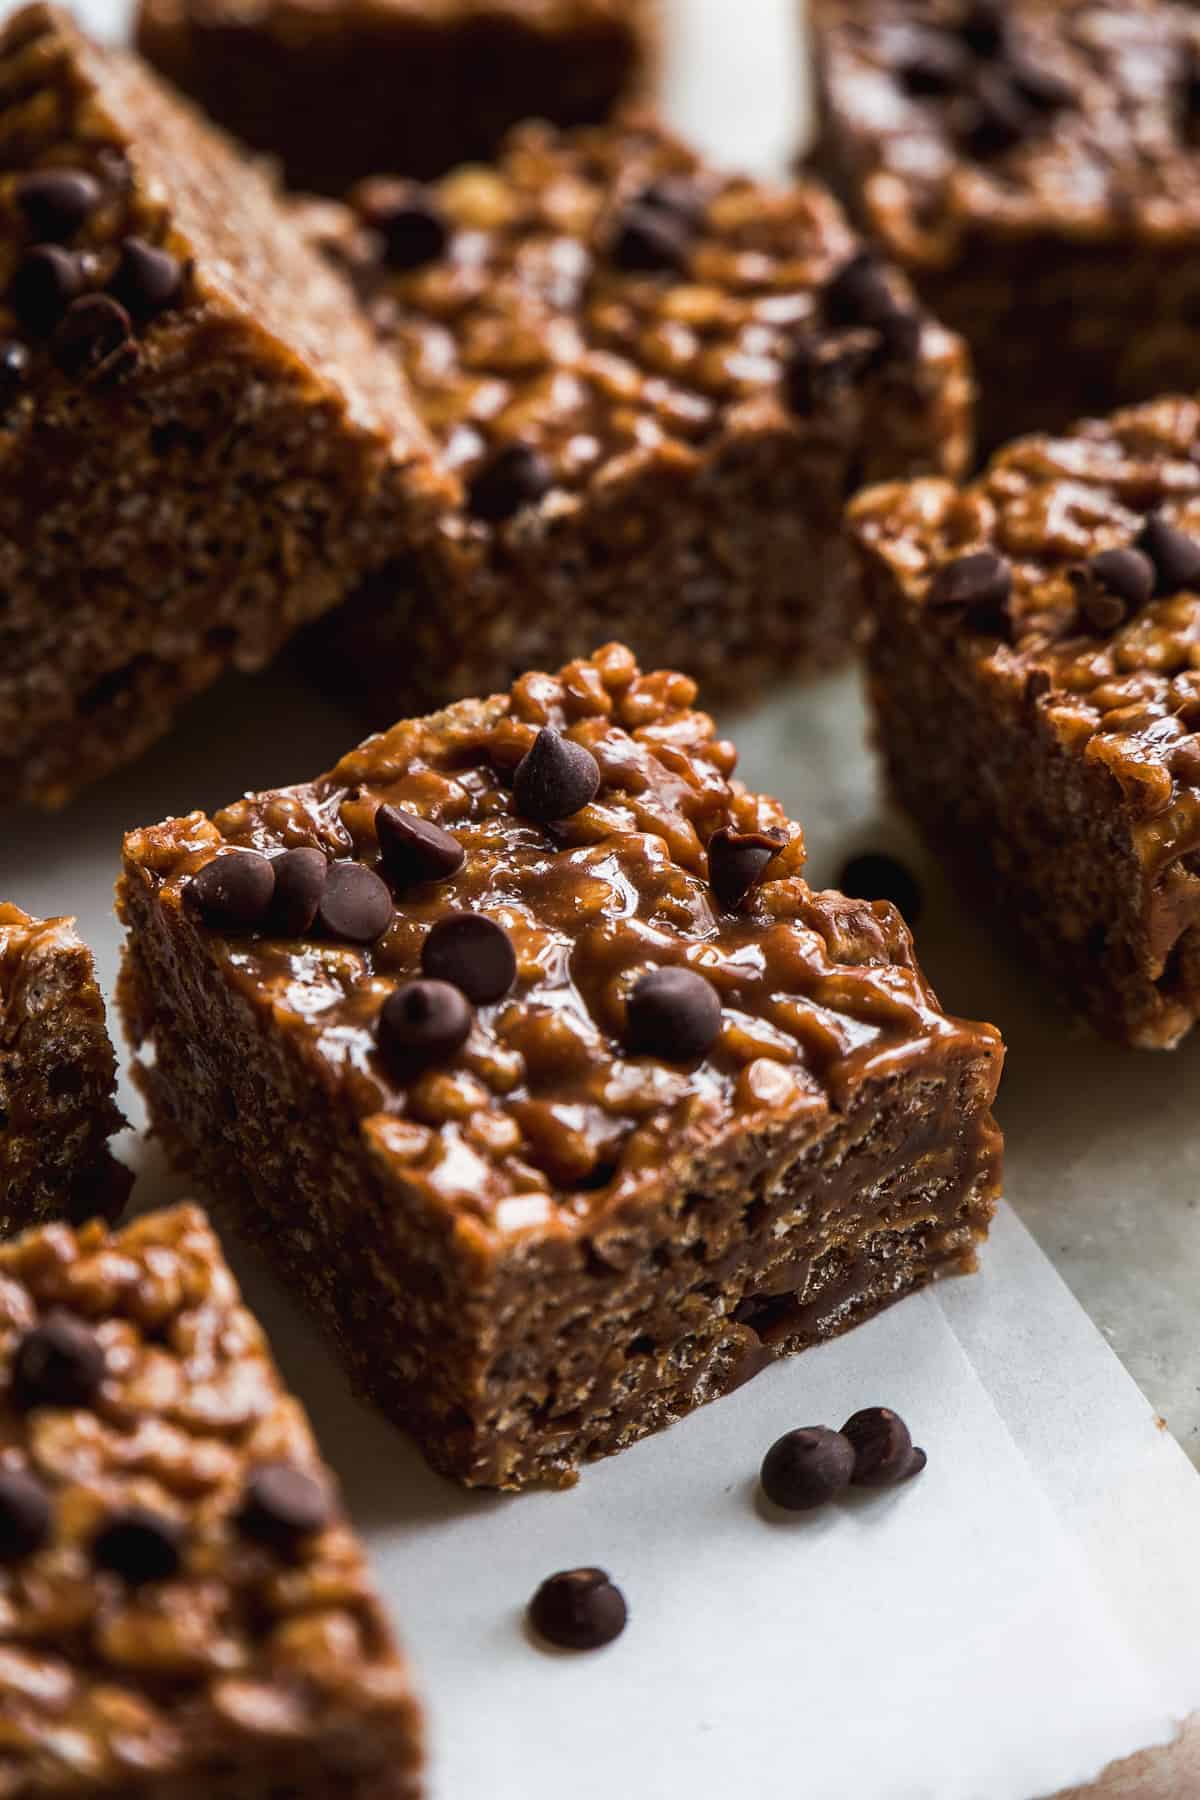
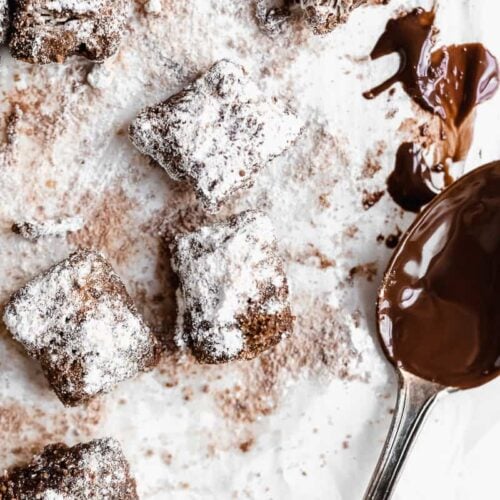
How to slice
To get nice even slices, use an extra sharp knife to cut the rice krispies into squares. I like to slice them into 16 squares by making 4 rows vertically and horizontally. You can also make bigger squares by making 3 rows or make smaller squares by making 5 or 6 rows.
Frequently asked questions
These rice krispies will last for up to a week when stored in an airtight container out on the counter. You can also store them in the fridge but they will be harder so I recommend letting them come to room temperature before biting into one.
Yes, wrap each rice krispie individually in wax paper or saran wrap to prevent them from sticking together then store them in a freezer bag or airtight container. Store them in the freezer for up to 3 months. Thaw out on the counter until they reach room temperature and enjoy.
Yes, add the butter and marshmallows to a large microwave safe bowl and heat in the microwave in 30 second intervals until melted. Then stir in the chocolate sunflower butter. If needed, you can heat the bowl back up in 20 second intervals until the sunflower butter is melted.
Add the brown rice cereal to a separate large mixing bowl. Pour the melted marshmallow mixture over top and mix well to distribute.
Press the rice krispie mixture into a square baking pan, sprinkle some mini chocolate chips over top, and allow it to set before slicing into squares.
For more chocolatey treats, check out my:

PS : If you make this recipe, be sure to leave a star review and comment below! Also be sure to follow along with me on Instagram and Pinterest to stay up to date on all tasty recipes here at The Fit Peach!
Recipe

Chocolate SunButter Rice Krispie Treats
Ingredients
- 4 tablespoon butter - substitute vegan butter or coconut oil if needed
- 10 oz mini marshmallows - about 6 cups
- ½ cup Chocolate SunButter
- 4 cups brown rice cereal
- Mini chocolate chips - optional
Instructions
- Add the butter and marshmallows to a large pot and heat over medium heat. Stir continuously until the marshmallows are melted. There should be no lumps and the marshmallow mixture should run off the edge of a rubber spatula.
- Add the chocolate SunButter to the pot and stir into the marshmallow mixture until incorporated.
- Reduce the heat to low and add in ½ of the brown rice cereal and begin to mix. Add the other half of the cereal and mix again until all of the cereal is coated in the marshmallow mixture.
- Line an 8 x 8 or 9 x 9 pan with parchment paper for easy clean up and pour the rice krispie mixture into the pan. Use a spatula or your hands to pack down the mixture into the pan. If desired, sprinkle a few mini chocolate chips of top while the cereal is still warm. Set the pan aside on the counter for at least an hour to set or place it in the fridge for 20 minutes to speed up the process.
- Once set, use a sharp knife to cut the rice krispies into 16 squares and enjoy!

I just made these yesterday and they have a great flavor to them!! I even added a little bit of PB but the only thing is the texture is extremely hard to bite into. It’s not as soft as a regular rice krispy treat. Is there something I can do differently next time so they come out softer?