This gluten free banana cake is soft and moist with fresh banana flavor and a delicious maple cinnamon frosting! It's like banana bread in cake form and sure to be a crowd hit.
Jump to:
If you love classic banana bread, you will love this gluten free banana cake! It's a great way to use up overripe bananas and paired with the silky smooth cinnamon maple frosting (the best part IMO), it's a cake everyone will love.
Check out my Chocolate Chip Banana Bread and Banana Pudding for more banana fun!
Ingredients and Substitutions
For the Cake
- Overripe Bananas - You want bananas that have some brown spots and are somewhat soft. This will ensure a moist cake when baked.
- White sugar - This sweetens the cake and creates a soft and fluffy texture. I have tried this recipe with only brown sugar and it works well, the texture is just a tad denser.
- Brown sugar - Adds a caramel-like flavor to the banana cake. You can also use coconut sugar if needed.
- Eggs - Helps bind the ingredients together and allows the cakes to rise in the oven.
- Butter - We use melted butter to mix into the sugars and bananas. Any type of neutral oil like coconut oil or vegetable oil will work too.
- Milk - Any type of unsweetened and plain milk will work in this recipe. I used almond milk.
- Apple cider vinegar - No, you won't taste it. Combined with the milk to act as a "buttermilk" which gives the leavening agents something to react with so the cakes can rise. You can also use a little lemon juice if needed too.
- Gluten free 1:1 flour - I used Bob's Red Mill 1:1 flour blend and also like King Arthur's gluten free flour. Substitute with all purpose flour if desired.
For the Icing
- Butter - Use room temperature butter that has been sitting out on the counter for at least 30 minutes. It should be soft but not melted.
- Powdered sugar - Sift the powdered sugar for best results. If you don't sift it, you will want to beat it with the butter for longer in the bowl.
- Maple syrup - Pure maple syrup will give you the best maple flavor.
- Milk - Only use a little, if any, to achieve optimal icing consistency.
How to Make Gluten free Banana Cake
You will need a large mixing bowl with a hand mixer or a stand mixer with the paddle attachment and three 6-inch cake pans to make this delicious banana cake.
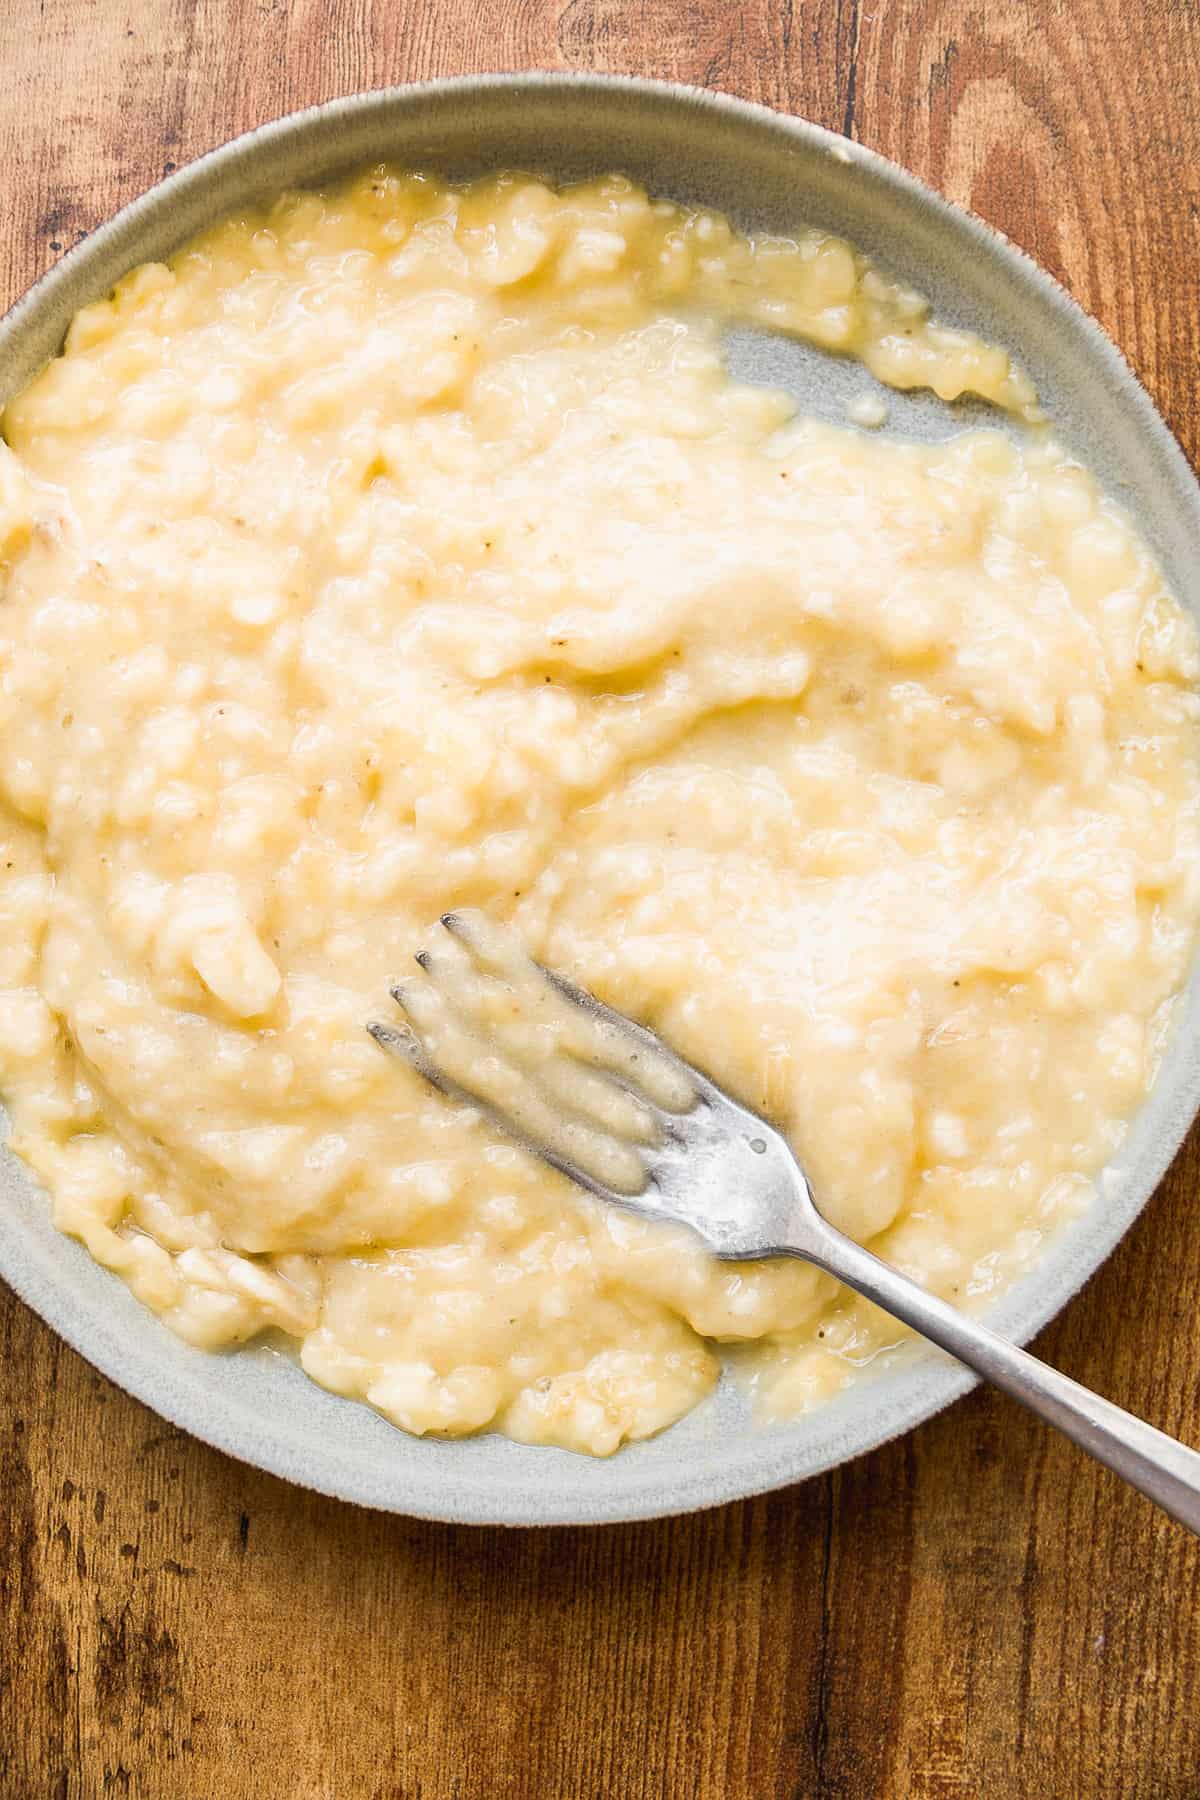
Step 1 : Mash the bananas. Do this on a plate with the back of a fork for best results. You can also throw the overripe bananas into the bowl of a stand mixer with the paddle attachment and mix until no large clumps remain.
Step 2 : Mix the wet ingredients and sugars. In a large bowl, combine the mashed bananas, eggs, sugar, brown sugar, melted butter, milk, apple cider vinegar, and vanilla extract. Mix well to incorporate the ingredients until the sugars have dissolved into the mixture.
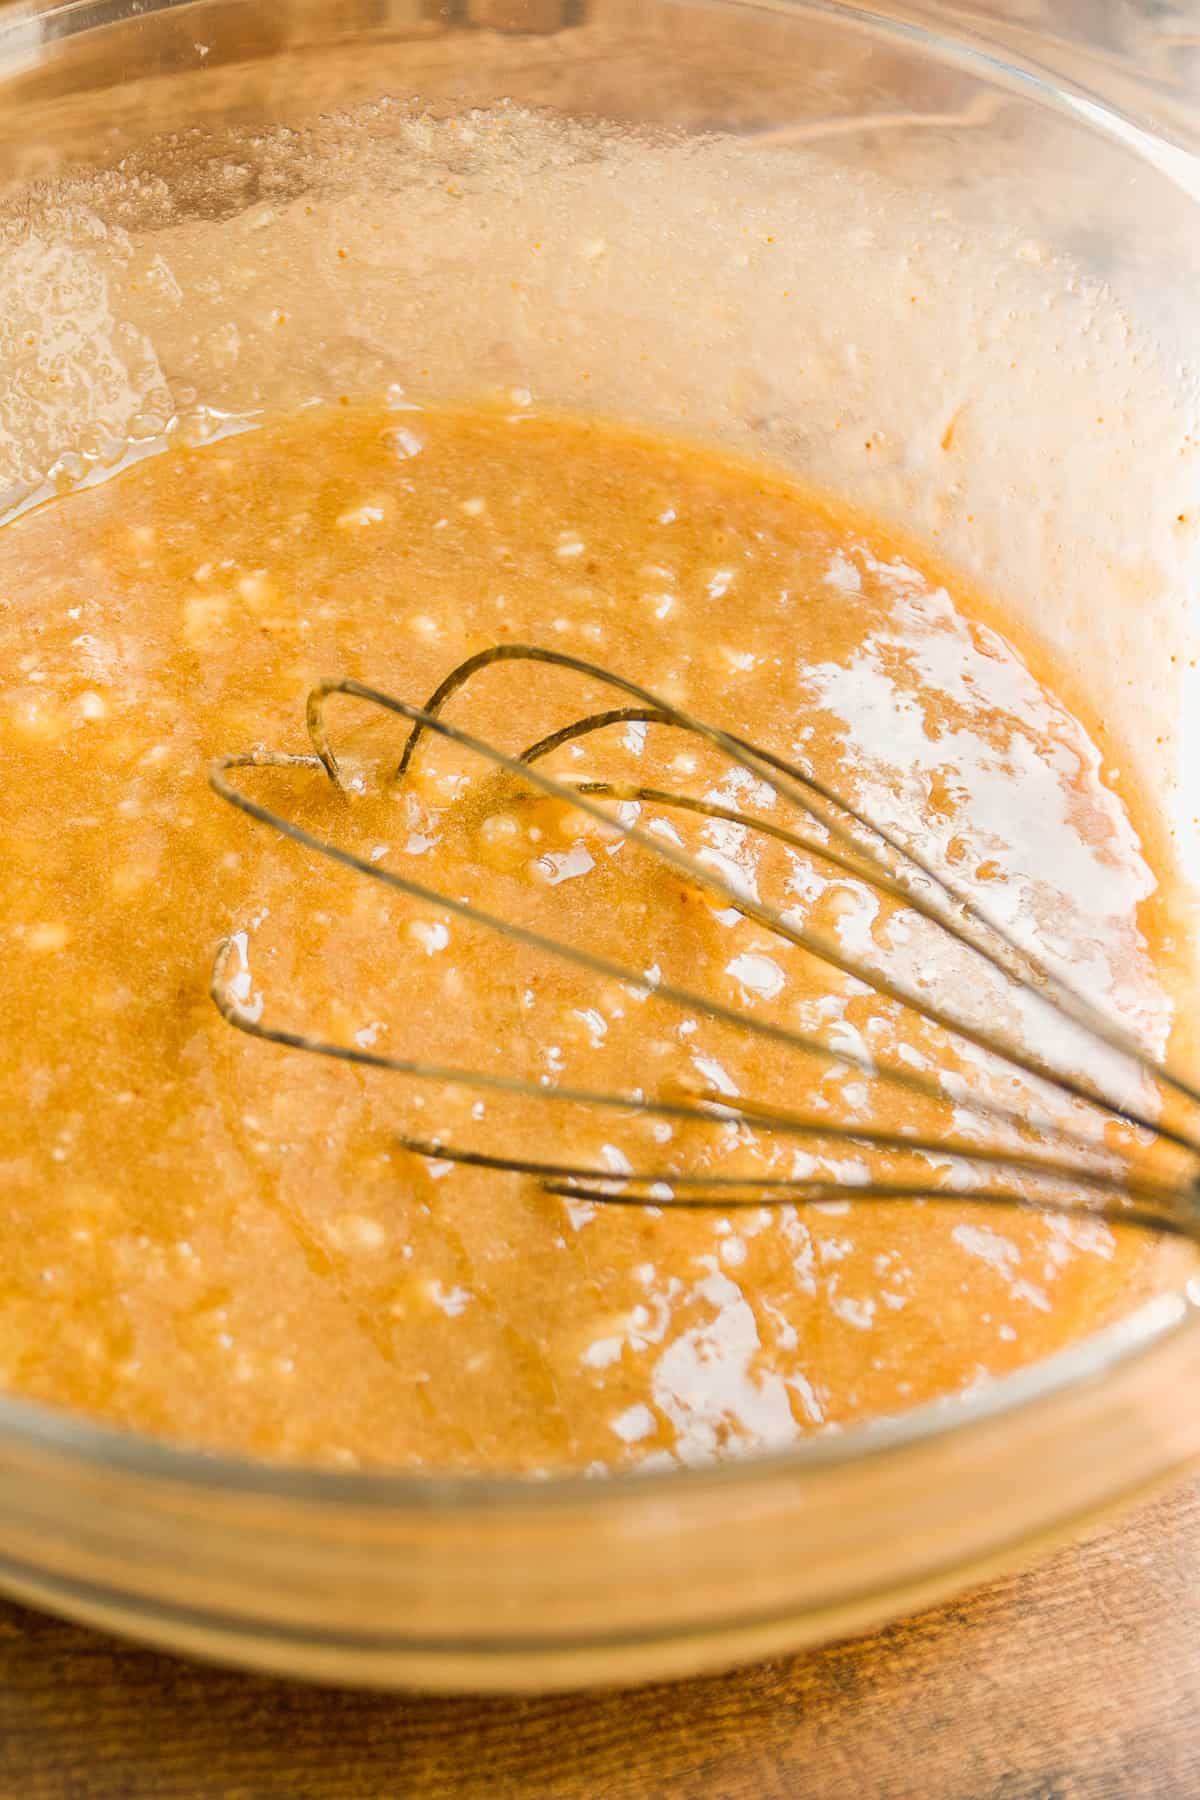
Step 3 : Fold in the dry ingredients. Add the gluten free 1:1 flour, cinnamon, baking powder, and salt to the bowl and gently fold into the batter until no flour clumps remain.
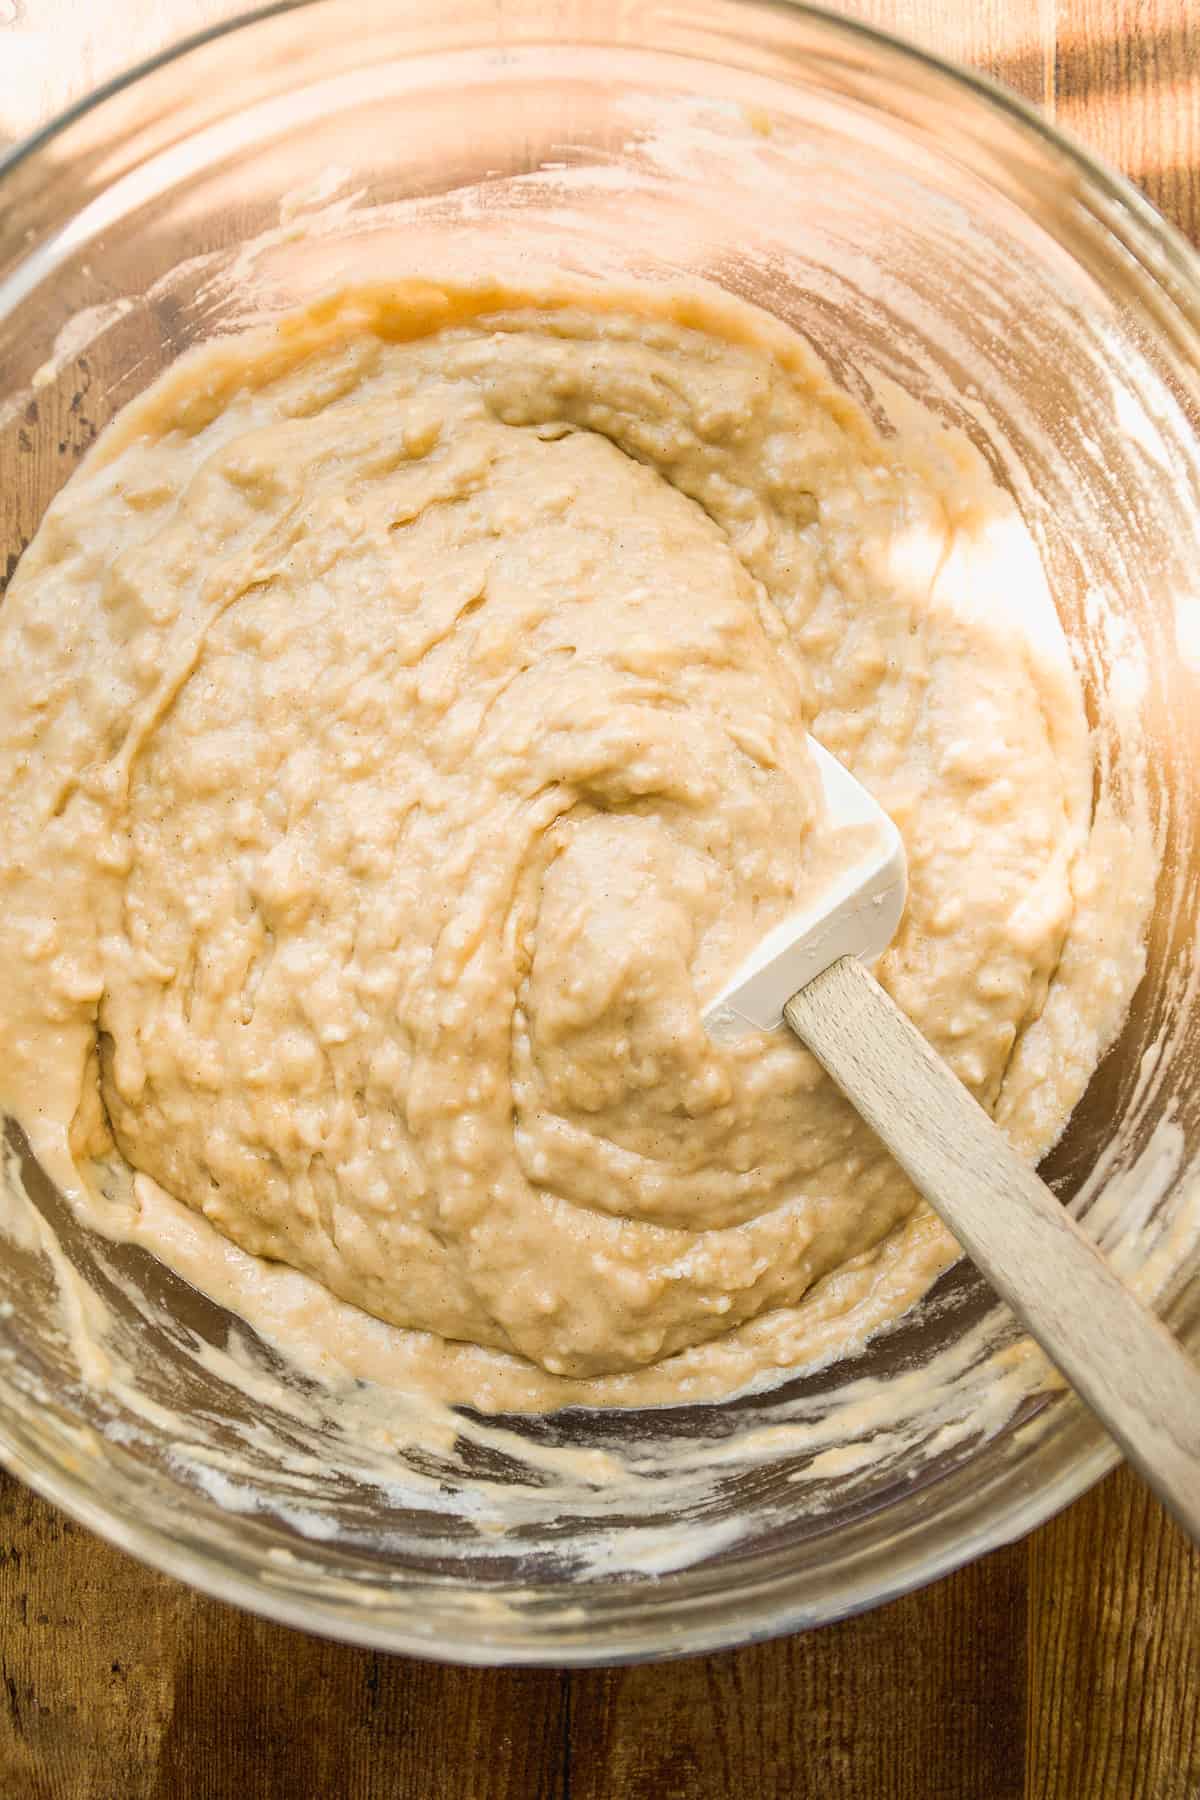
Step 4 : Bake! Evenly portion out the batter into three 6-inch cake pans that have been greased with oil. The best way to do ensure each cake is the same size is to use a food scale to weigh the batter in each pan. You can also use a large cookie scoop and evenly scoop the batter into the pans.
Bake the cakes in the oven until they have risen and are golden brown. Stick a toothpick in the center of one to make sure it's done. If the toothpick comes out clean, the cakes are done. If there is some wet batter left on the toothpick, they need another few minutes to bake.
Step 5 : Prepare the icing. First, you want the cakes to be completely cool before icing or you will be left with a big mess. I recommend waiting at least a few hours after the cakes are done before adding the icing.
When ready to assemble, make the icing by beating the softened butter until smooth and creamy. This can take a few minutes. Then add the cinnamon, maple syrup, and 1 cup of powdered sugar and mix again to incorporate. Continue to add the powdered sugar in ½ cup increments until you reach your desired consistency.
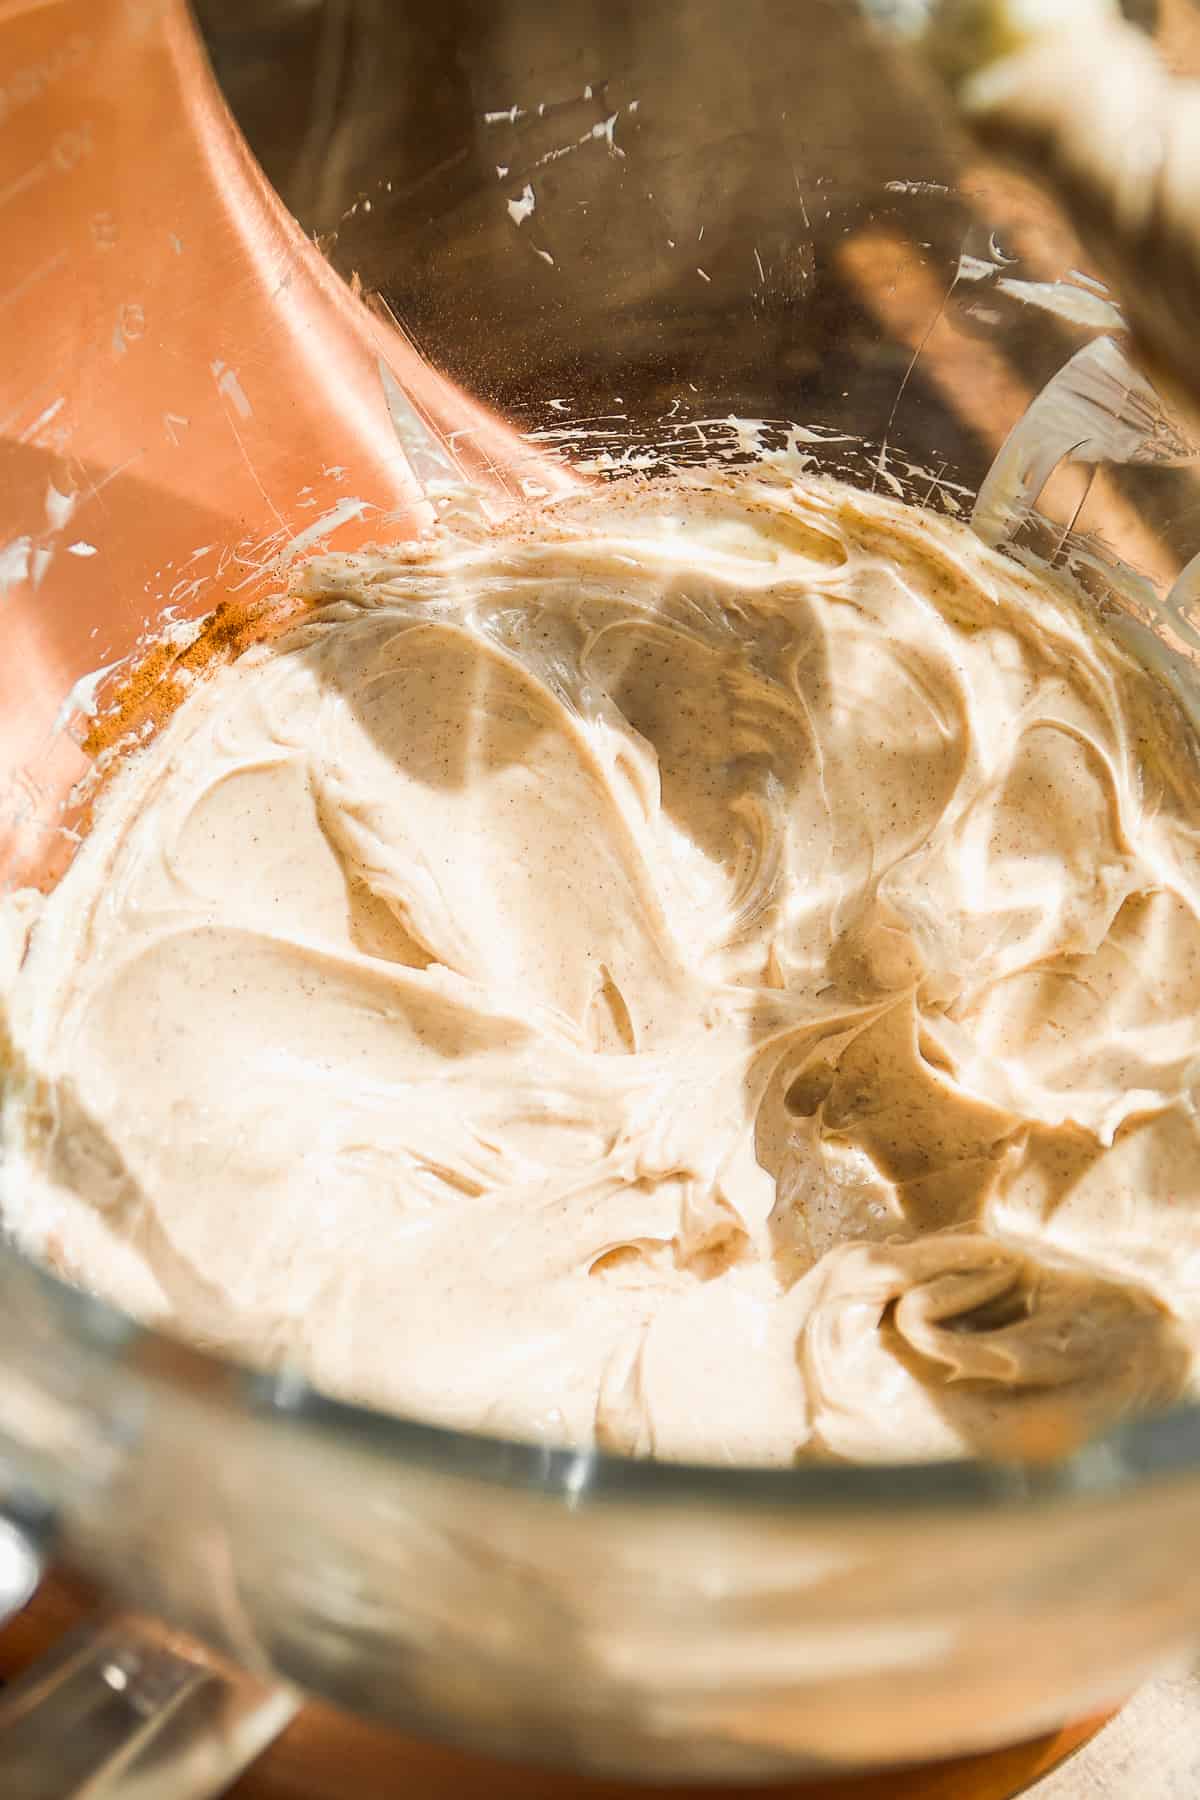
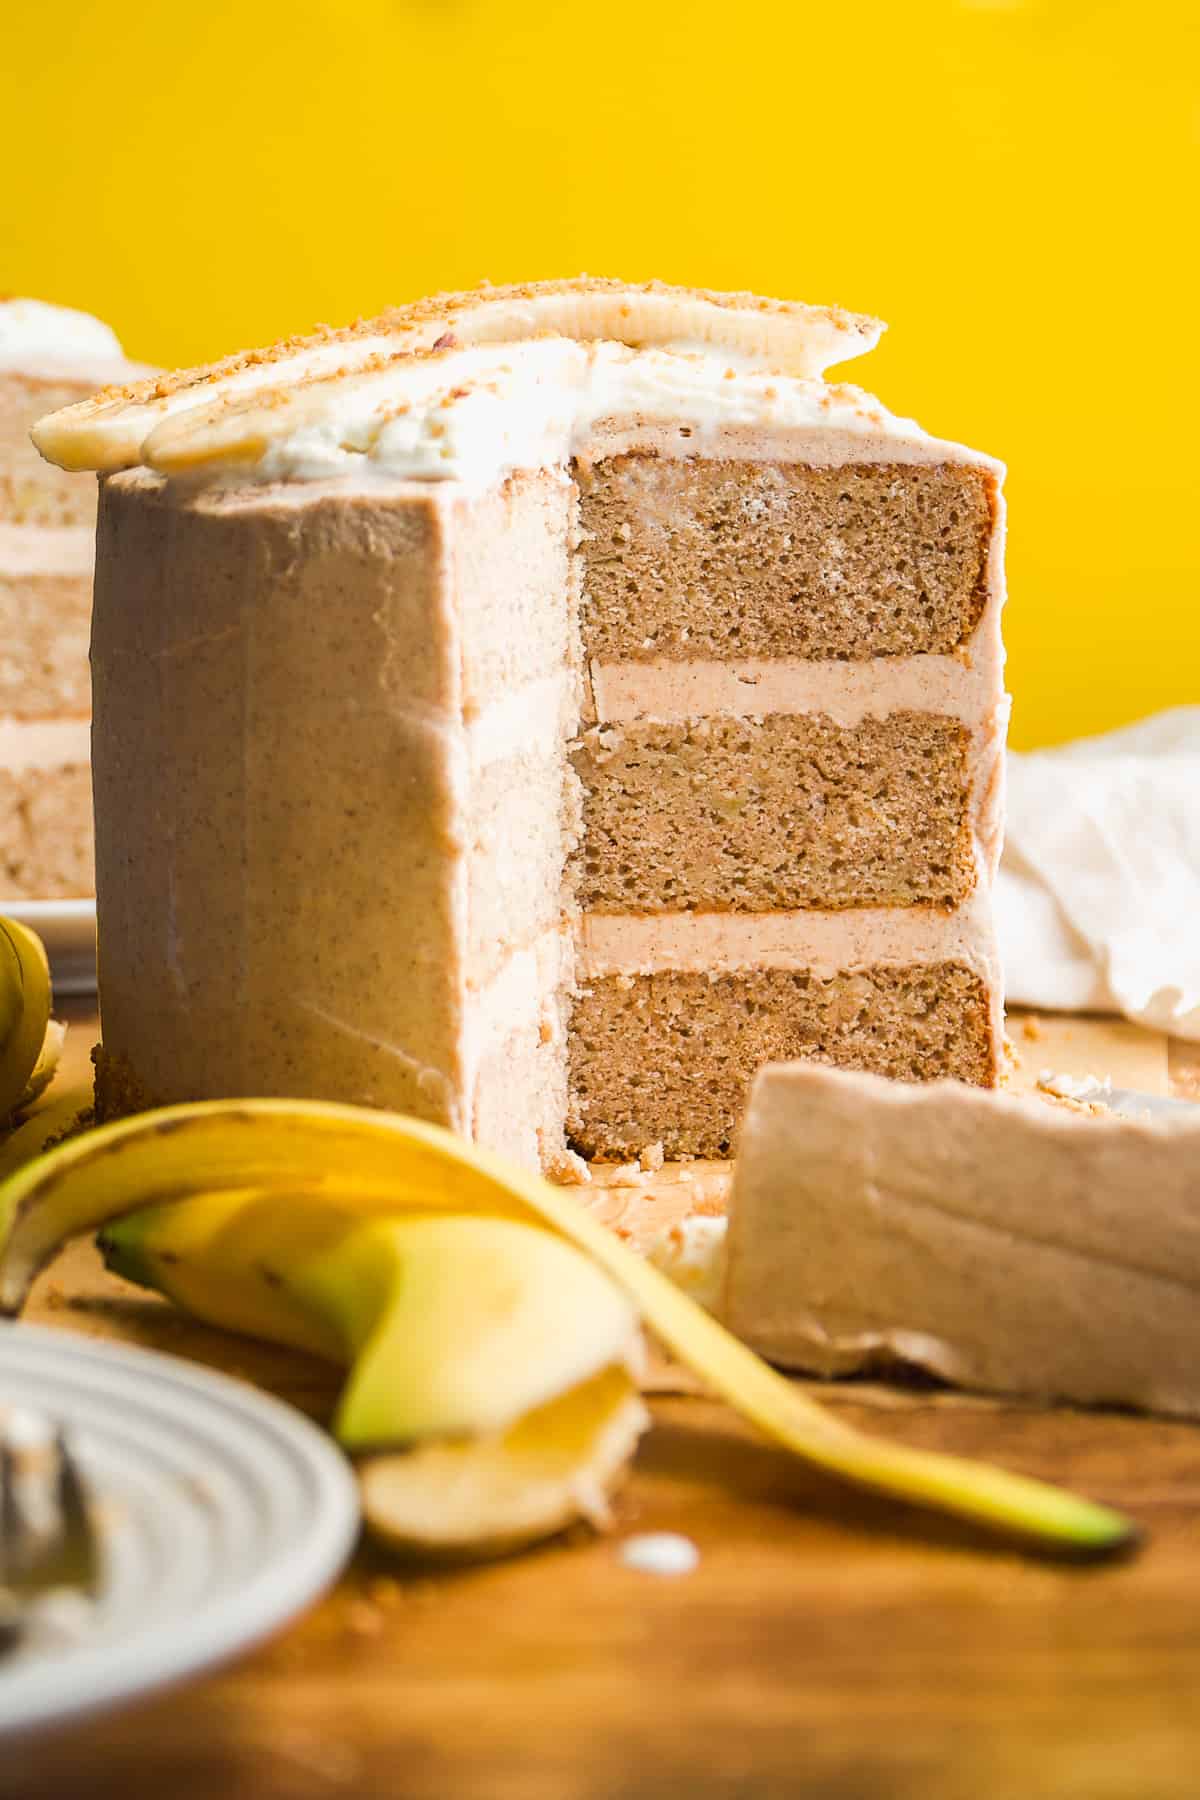
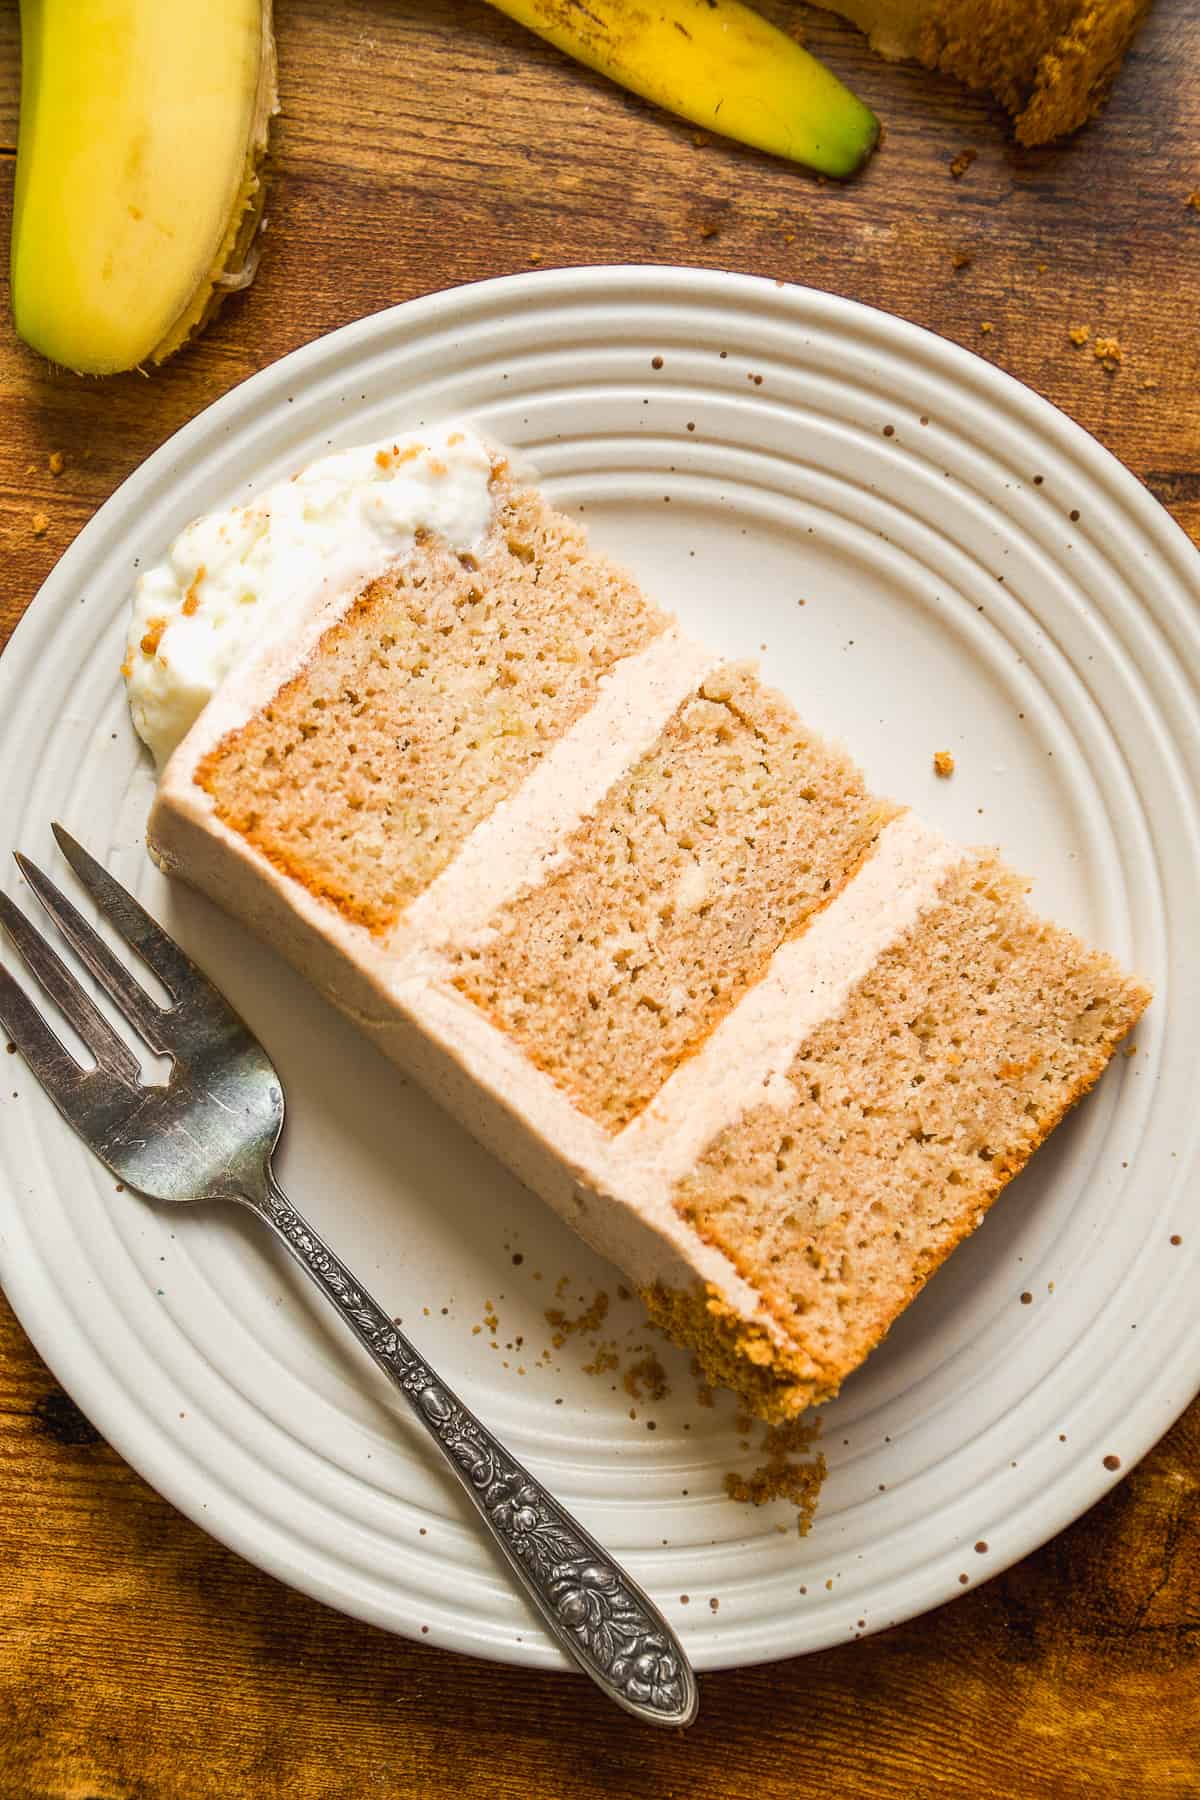
Step 6 : Assemble the cake. For clean, even layers I recommend shaving the tops of each cake so it's flat on top and not overly rounded. A serrated knife is best for this.
Place one of the cake layers on a cake stand and then position the cake stand on a turn table, if using. Use a large cookie scoop to scoop the icing on top of the cake. Spread the icing out evenly over top of the cake with an offset spatula, pushing the icing just barely off the edges of the cake.
Repeat this step with the other two cake layers. Then spread the icing that you pushed off the edges around the sides of the cake. Use extra icing if needed to get a nice crumb coat over the entire cake. Place the cake in the fridge or freezer to set the crumb coat.
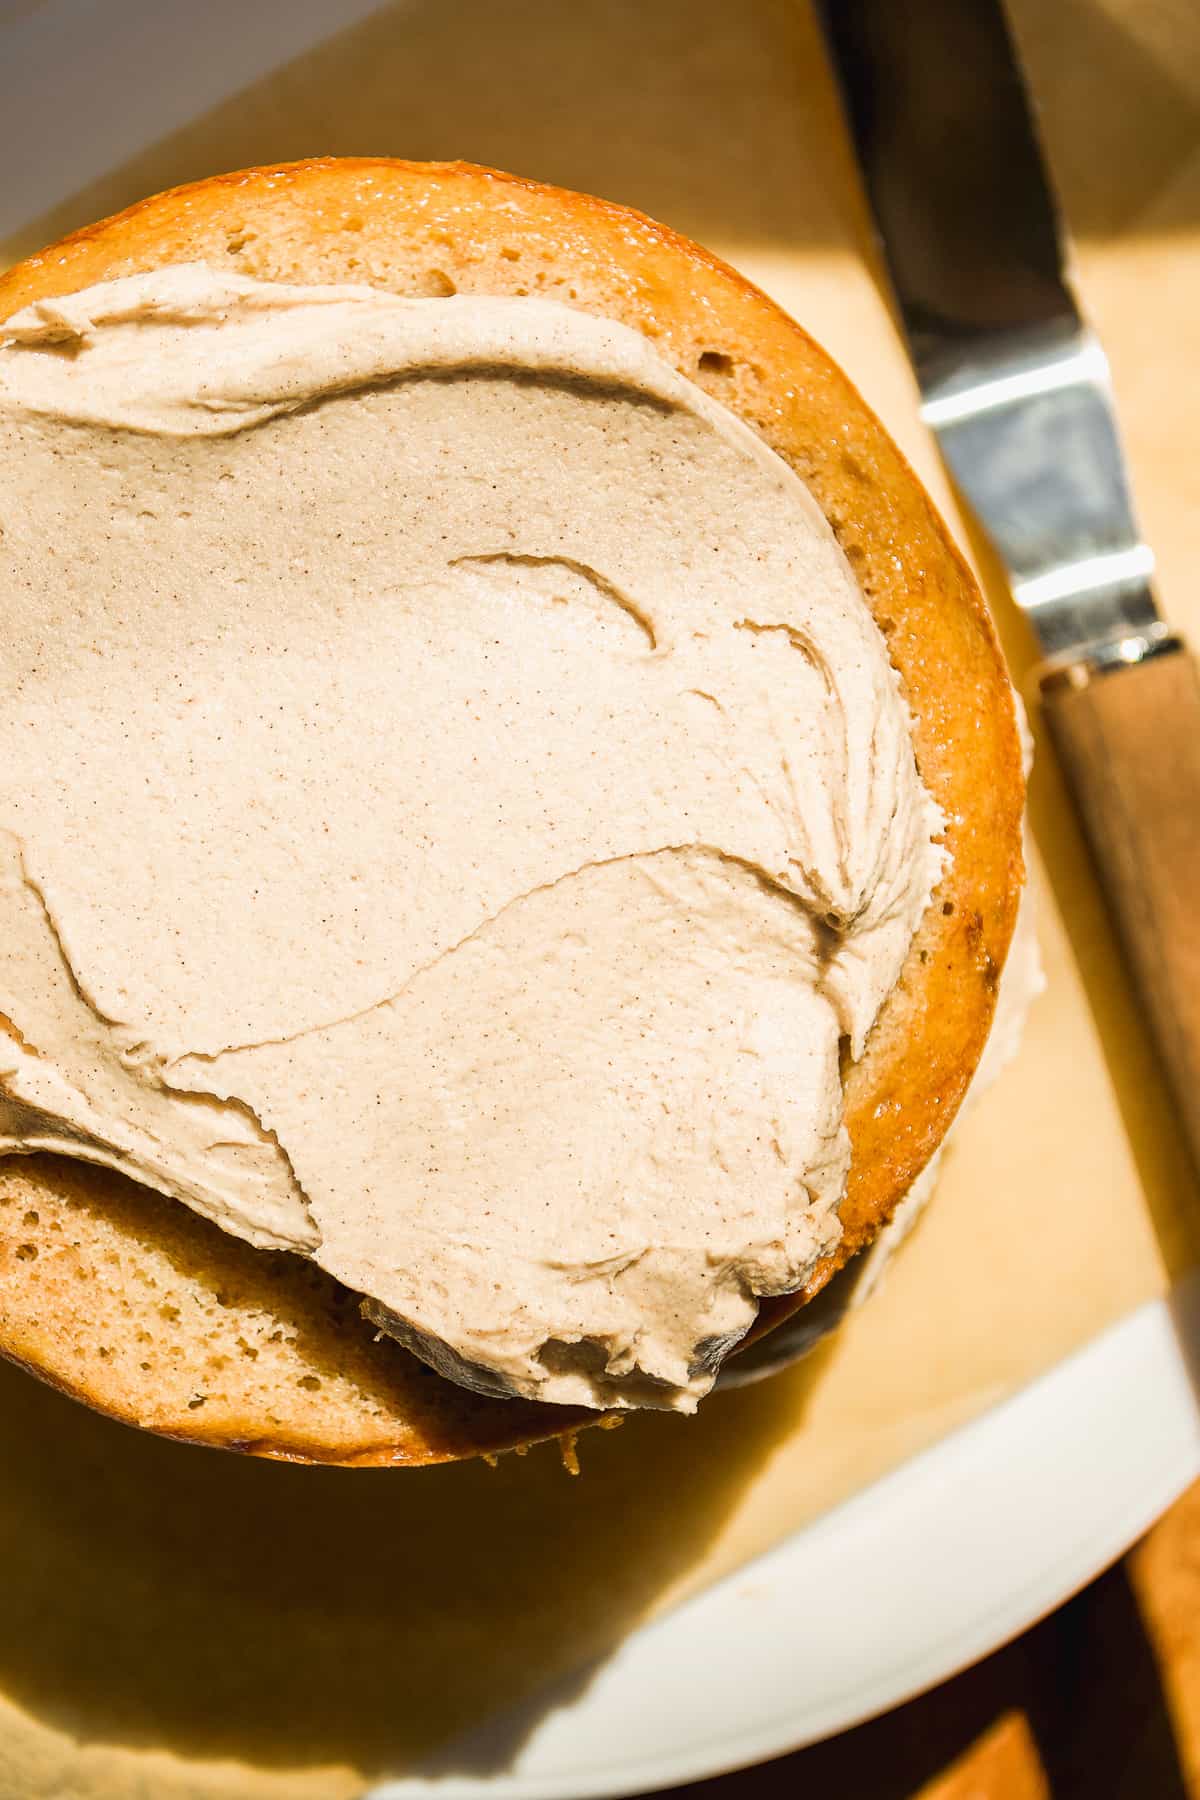
Once the crumb coat has set, spread a nice layer of icing over the entire cake with an uneven spatula. Take a cake smoother and run it around the edges of the cake and on top to remove extra icing and create a smooth even layer.
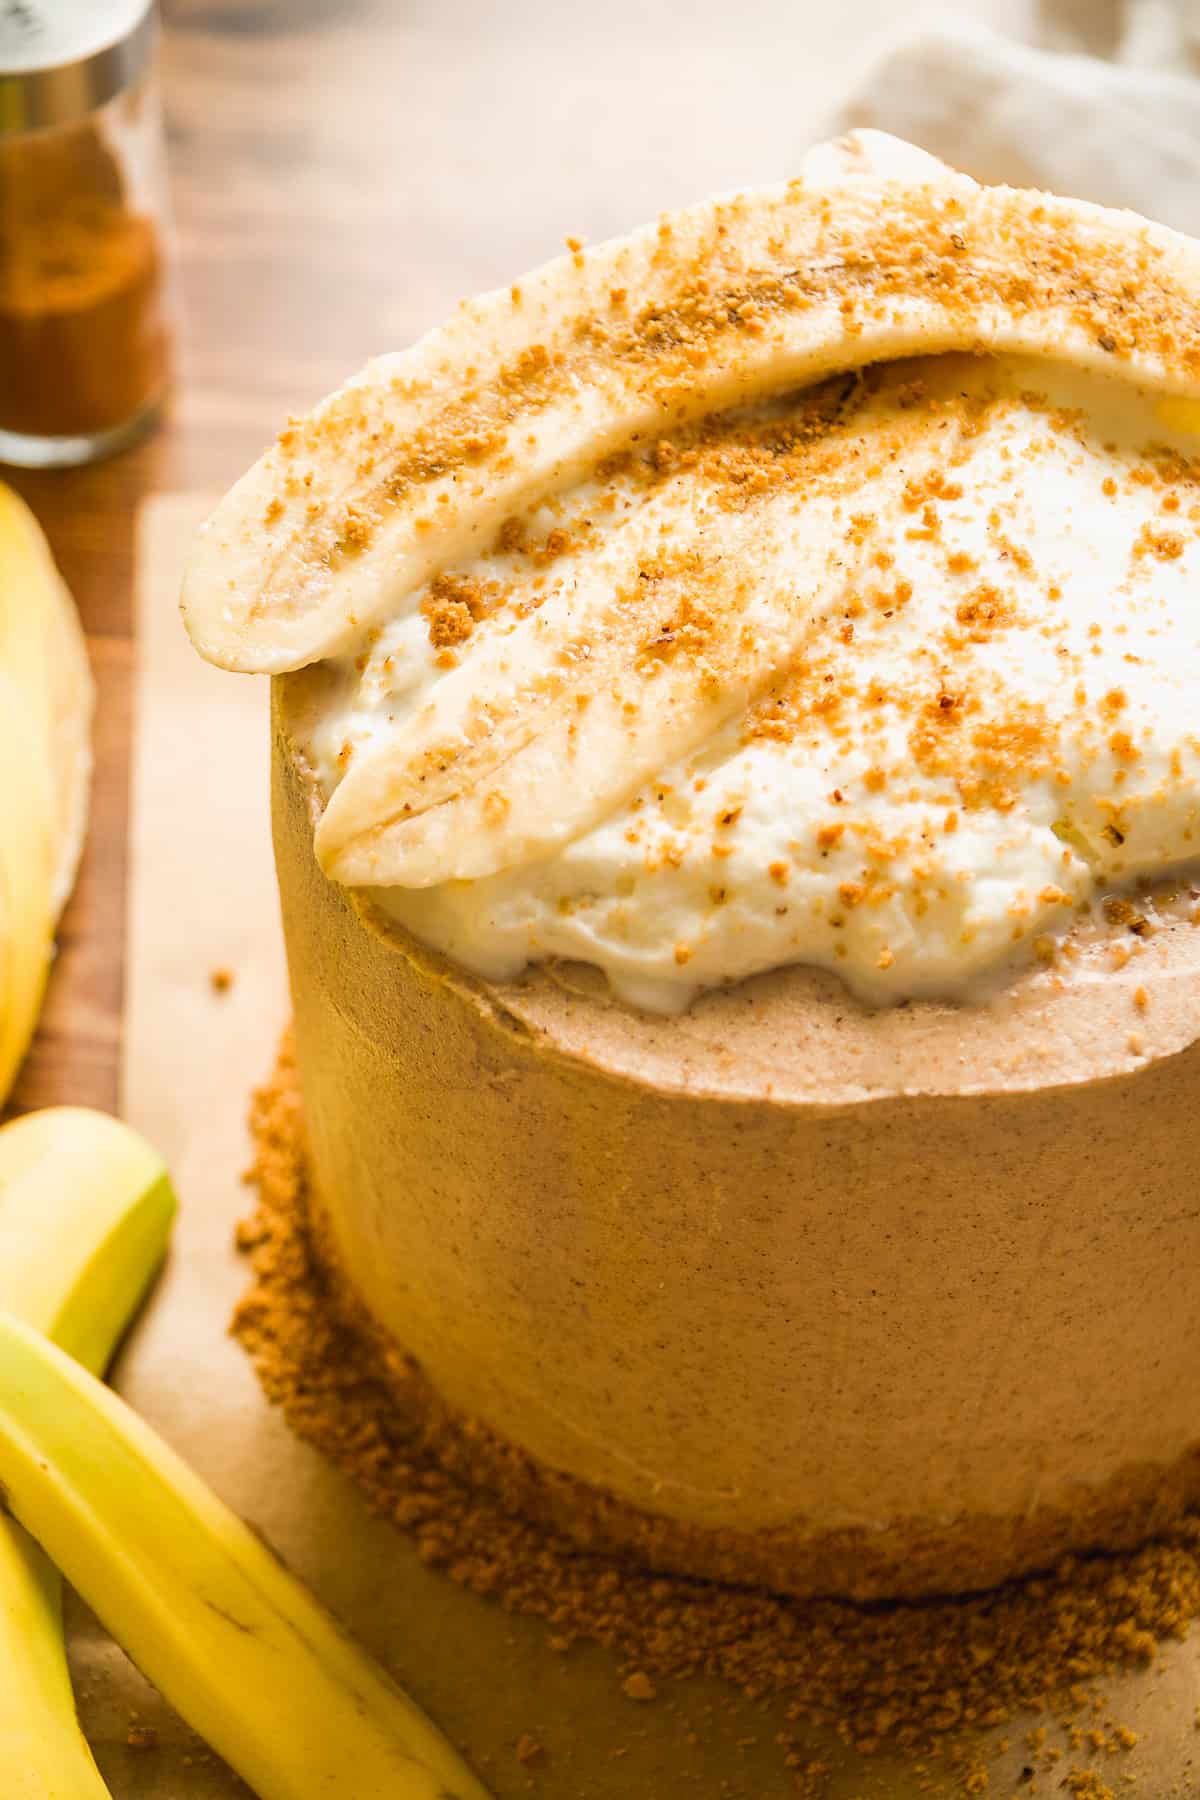
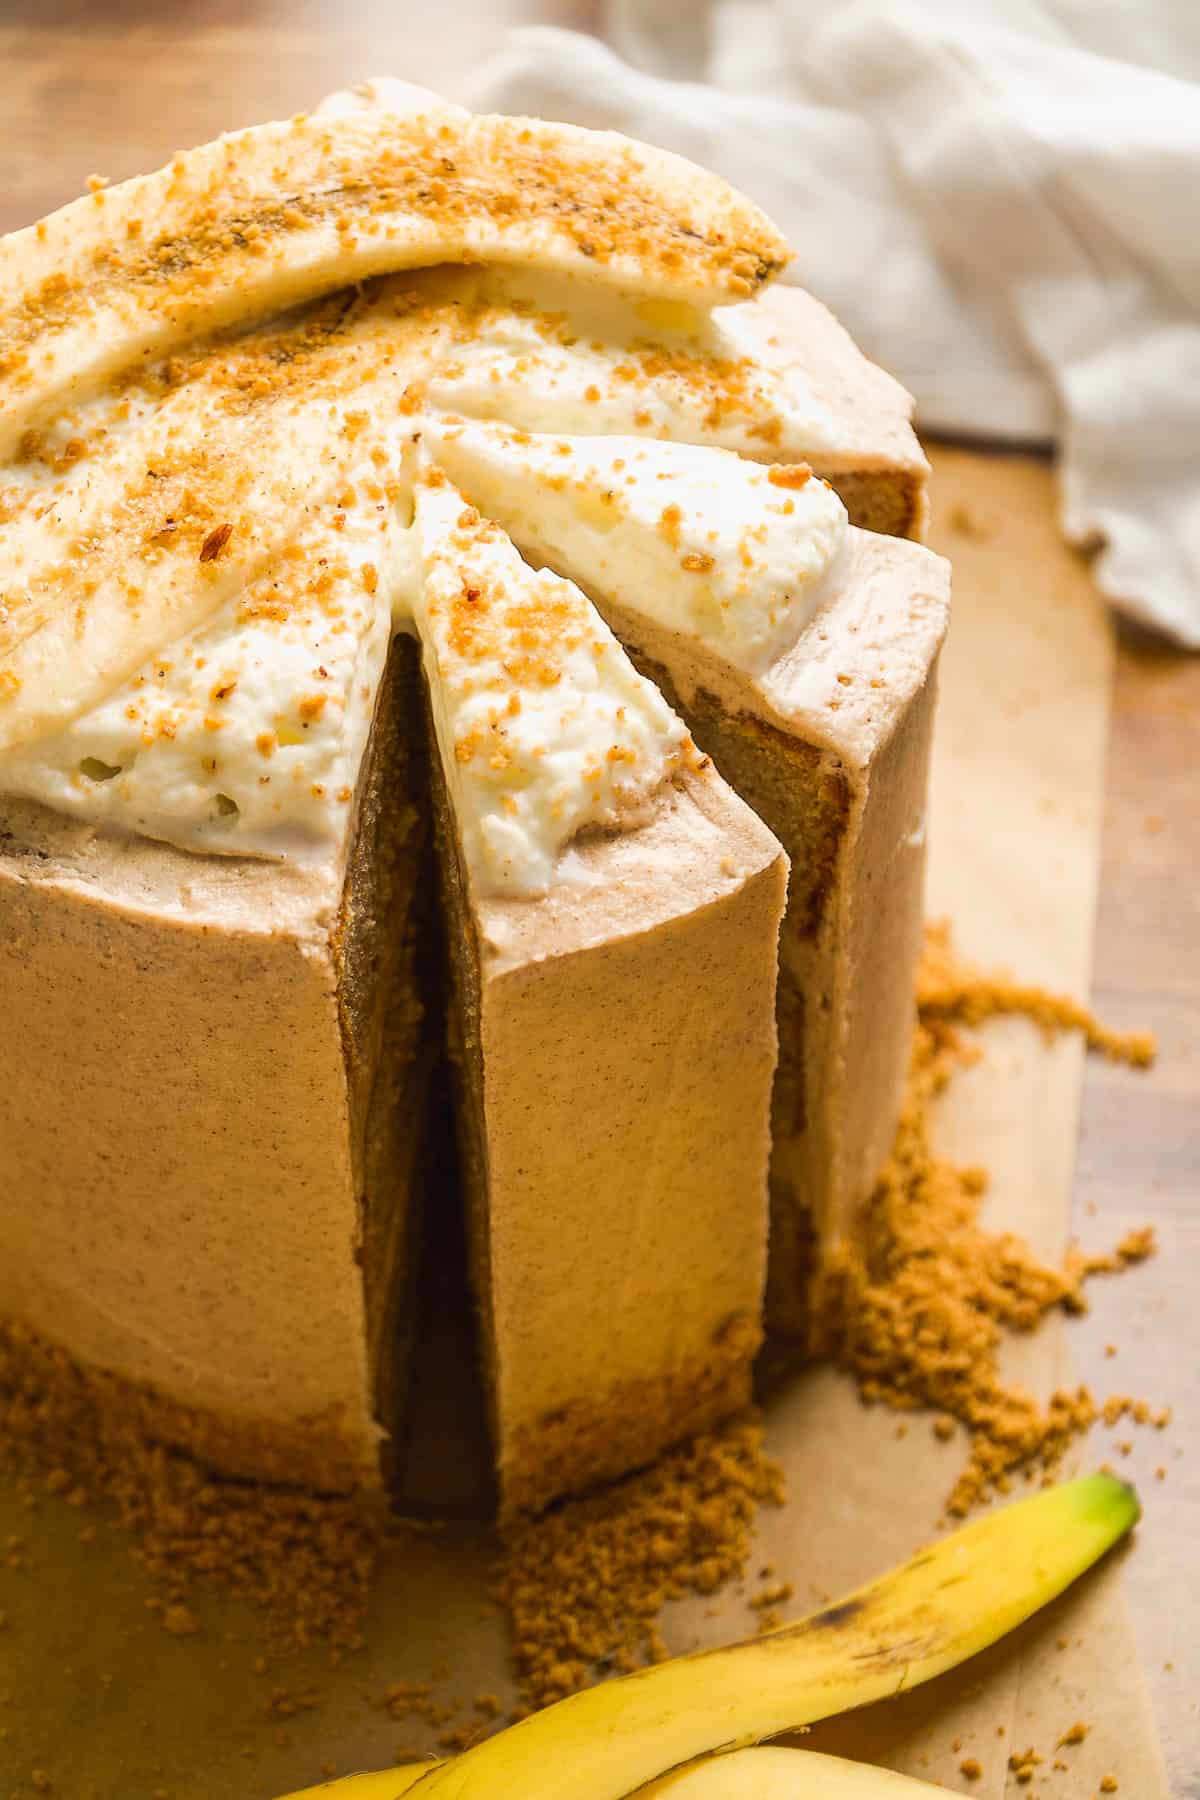
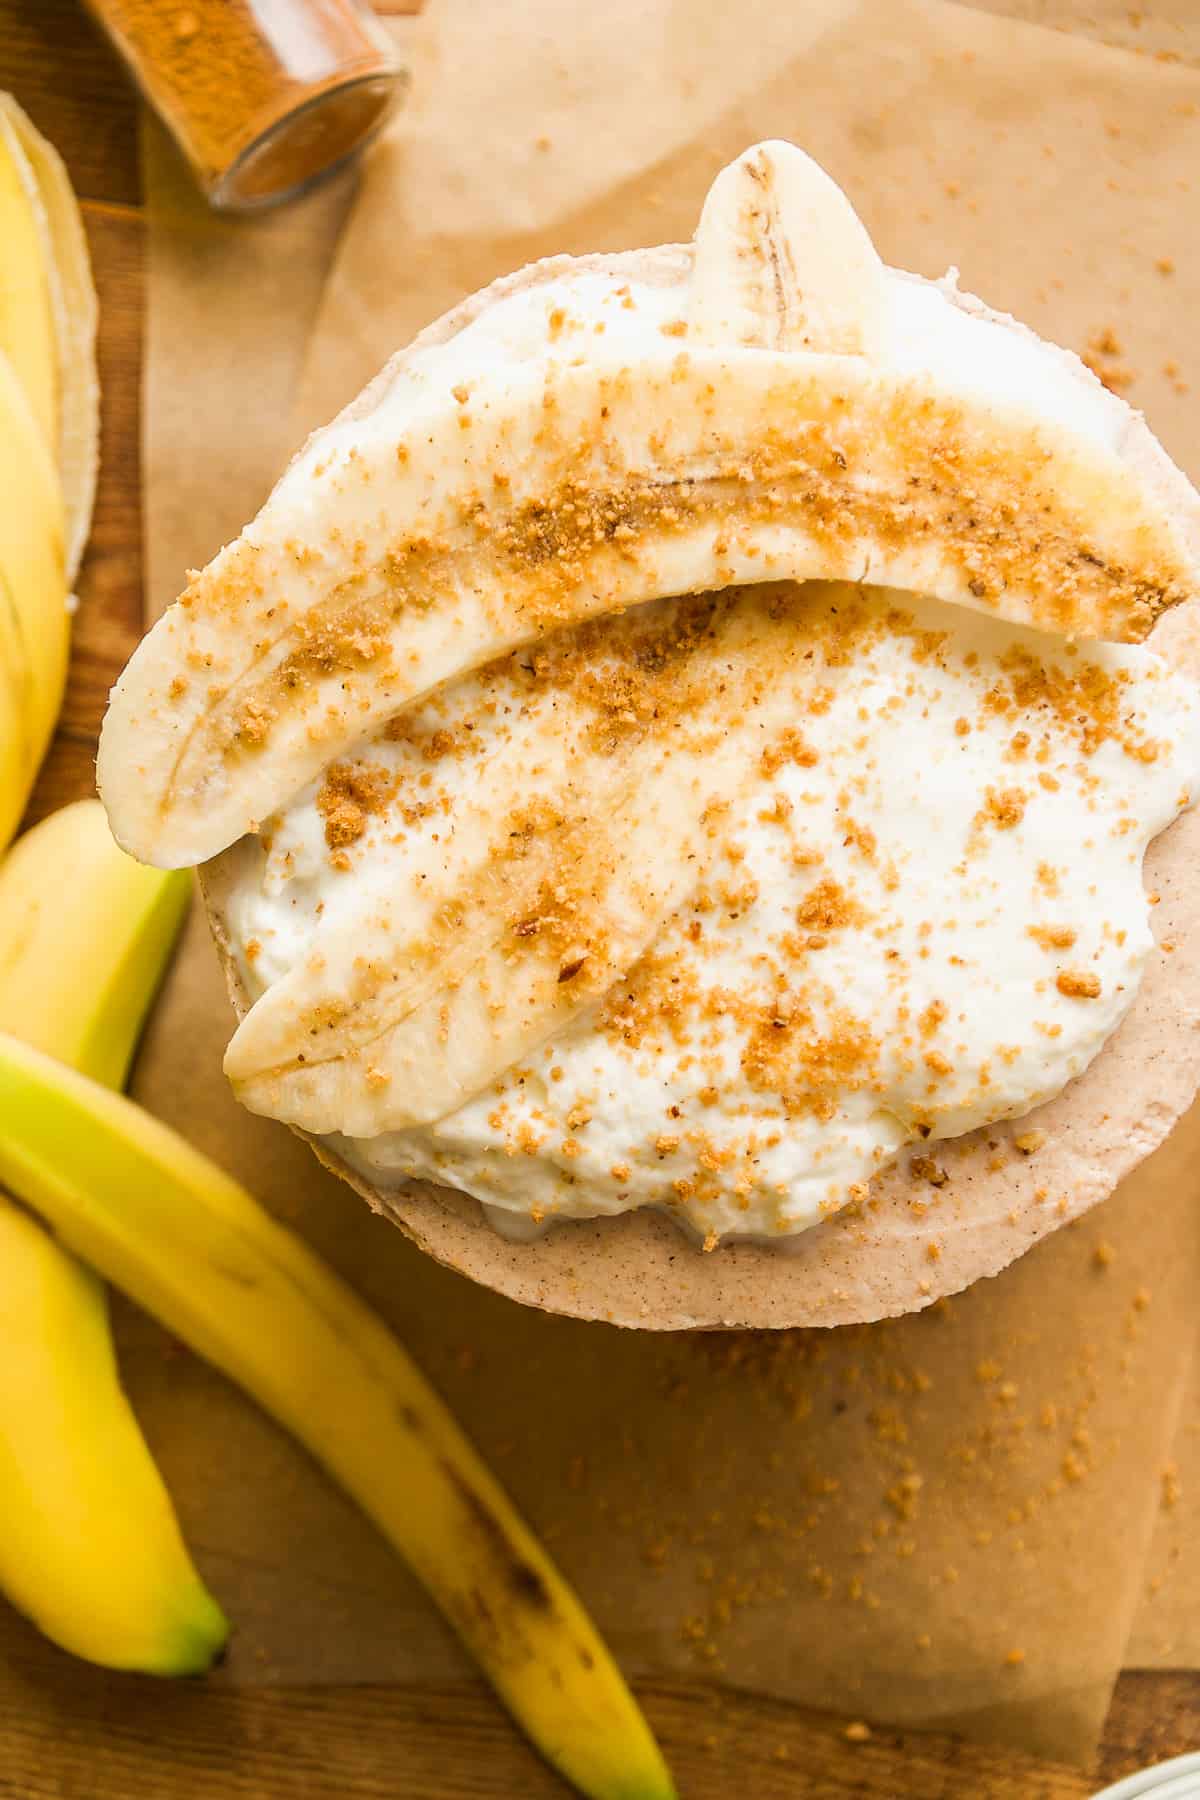
To decorate, spoon some whipped cream on top of the cake followed by a banana, thinly sliced vertically, and a sprinkle of crushed graham crackers if desired.
How to Store
Store the cake in an airtight container. It will keep for up to 4 days on the counter or a week in the fridge. If stored in the fridge, let the cake or slice of cake come to room temperature.
You can also store this cake uncovered with a piece of parchment paper placed alongside the cut side of the cake to keep it from drying out.
Expert Tips
- Make sure to mash up the bananas well. When well mashed, they create moisture needed to keep the cake soft and tender.
- Grease your cake pans well with oil and put a piece of parchment paper in the bottom for good measure.
- Let the cakes cool completely before icing. If the cakes are even a little bit warm the icing will melt and create a mess.
- Use softened butter for the icing. This is butter that has been sitting out on the counter for at least 30 minutes.
Frequently Asked Questions
Yes, use an oil or vegan butter in place of the melted butter in the cake as well as a dairy-free milk. Also use a dairy free butter for the icing to make it dairy free.
Yes, use the same amount of all purpose flour in place of the gluten free 1:1 flour.
This recipe can easily be made into a snack cake. Simply divide the ingredients below by 3 and make a single layer 6-inch cake.
Check out these recipes for more delicious cake recipes:
PS : If you make this recipe, be sure to leave a star review and comment below! Also be sure to follow along with me on Instagram and Pinterest to stay up to date on all tasty recipes here at The Fit Peach!
Recipe
Gluten free Banana Cake
Ingredients
For the cake
- 3 bananas - overripe (approx. 1 ½ cup mashed)
- 1 cup sugar
- ⅓ cup brown sugar - or coconut sugar
- 3 eggs
- ½ cup butter - melted, or neutral oil
- ½ cup milk - any type of milk will work, I used almond milk
- 1 tablespoon apple cider vinegar
- 2 teaspoon vanilla extract
- 2 ½ cup gluten free 1:1 flour
- 2 teaspoon cinnamon
- 2 teaspoon baking powder
- ½ teaspoon salt
For the icing
- 1 cup butter - softened
- 3 cups powdered sugar - sifted
- 2 tablespoon maple syrup
- 2 teaspoon cinnamon
- 1 - 2 tablespoon milk
To top
- Whipped cream - optional
- Banana halves - optional
- Crushed up graham crackers - gluten free, optional
Instructions
- Preheat oven to 350 F. Mash the bananas with a fork on a separate plate until no large clumps remain. You can also use an electric mixer or stand mixer with the paddle attachment to mash the bananas.
- Add the mashed bananas, sugar, brown sugar, eggs, melted butter, milk, apple cider vinegar, and vanilla extract to a bowl and mix until well combined.
- Fold in the gluten free flour, cinnamon, baking powder, and sea salt into the batter until no flour clumps remain.
- Pour the batter evenly into three 6-inch cake pans that have been greased with oil. You can weigh the batter to make sure it’s distributed evenly or use a cookie scoop or measuring cup to evenly portion it out. Tap the pans on the counter a few times to release any air bubbles. Bake in the oven for 35 - 38 minutes until the edges of the cake are golden brown and you can insert a toothpick into the center and it comes out clean.
- Let the cakes cool completely before icing. I like to pop them in the fridge so they have a chill to them before icing.
- For the icing, beat the softened butter in a mixing bowl until light and fluffy. This can take a few minutes. Add 1 cup of the powdered sugar along with the maple syrup and cinnamon. Continue to mix to incorporate. Add the rest of the powdered sugar to the bowl in ½ cup increments. If needed, add 1 tablespoon of milk at a time to achieve your desired consistency.
- When ready to assemble, shave the tops of the cakes so they are flat on top and not overly rounded. This will ensure nice even layers of icing. Place the first layer on a cake stand and then a turntable, if using. Spread a thin layer of icing on top of the cake layer with an uneven spatula or knife, pushing excess icing off the edges. Repeat this process with the second and third layers.
- Use your knife or uneven spatula to spread a thin layer of icing around the sides of the cake. This is the crumb coat. Transfer the cake to the fridge or freezer for about 20 minutes so the icing can set.
- Use the rest of the icing to apply a thick layer around the entire cake. Take a cake smoother and run it around the sides and top of the cake to create a smooth thick coat of icing.
- To decorate, spoon a few spoonfuls of whipped cream on top of the cake, leaving some room around the edges as it will settle. Slice a banana in half vertically and lay the two slices on top of the cake followed by a dusting of crushed graham crackers. You can also use extra crushed graham crackers and press them around the bottom of the cake.
- Use a thin sharp knife to slice the cake into pieces and enjoy!


Comments
No Comments