Apple Pop Tarts
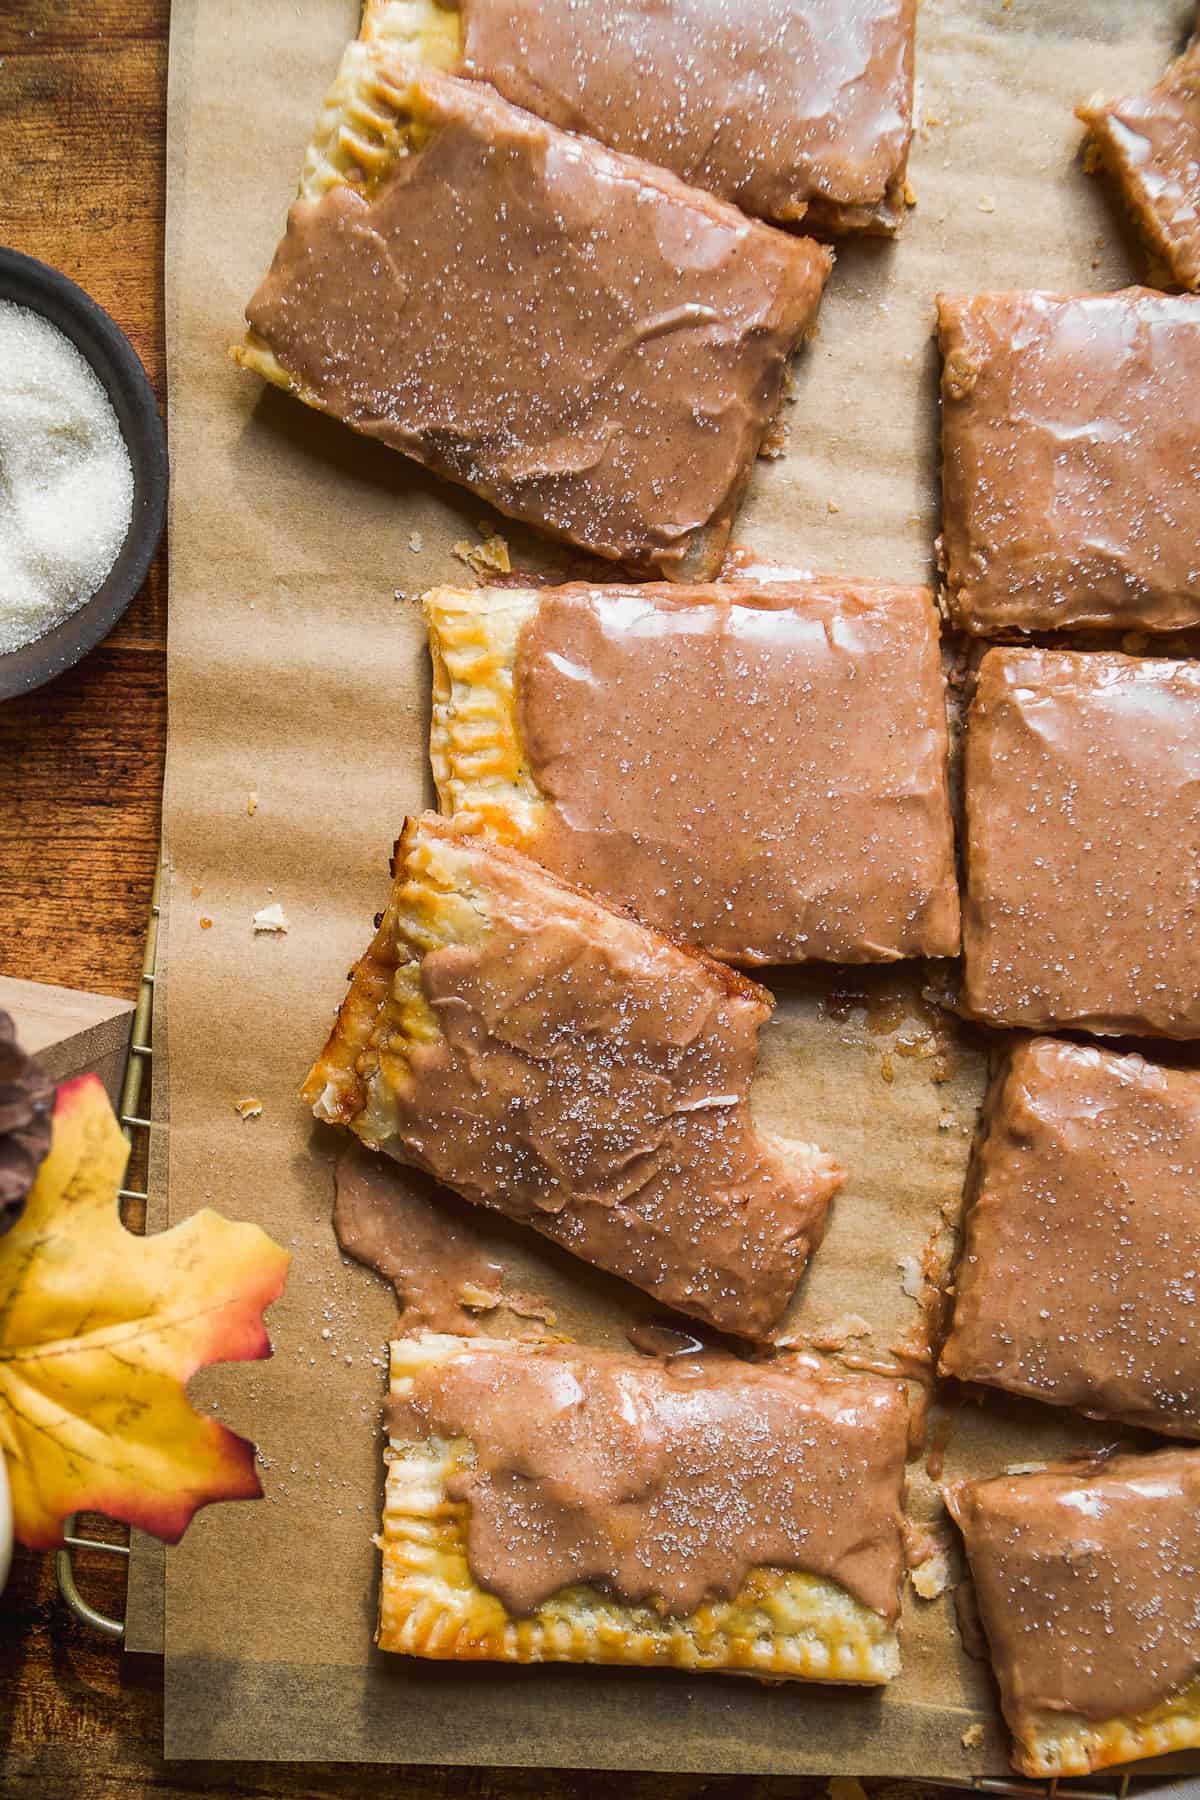
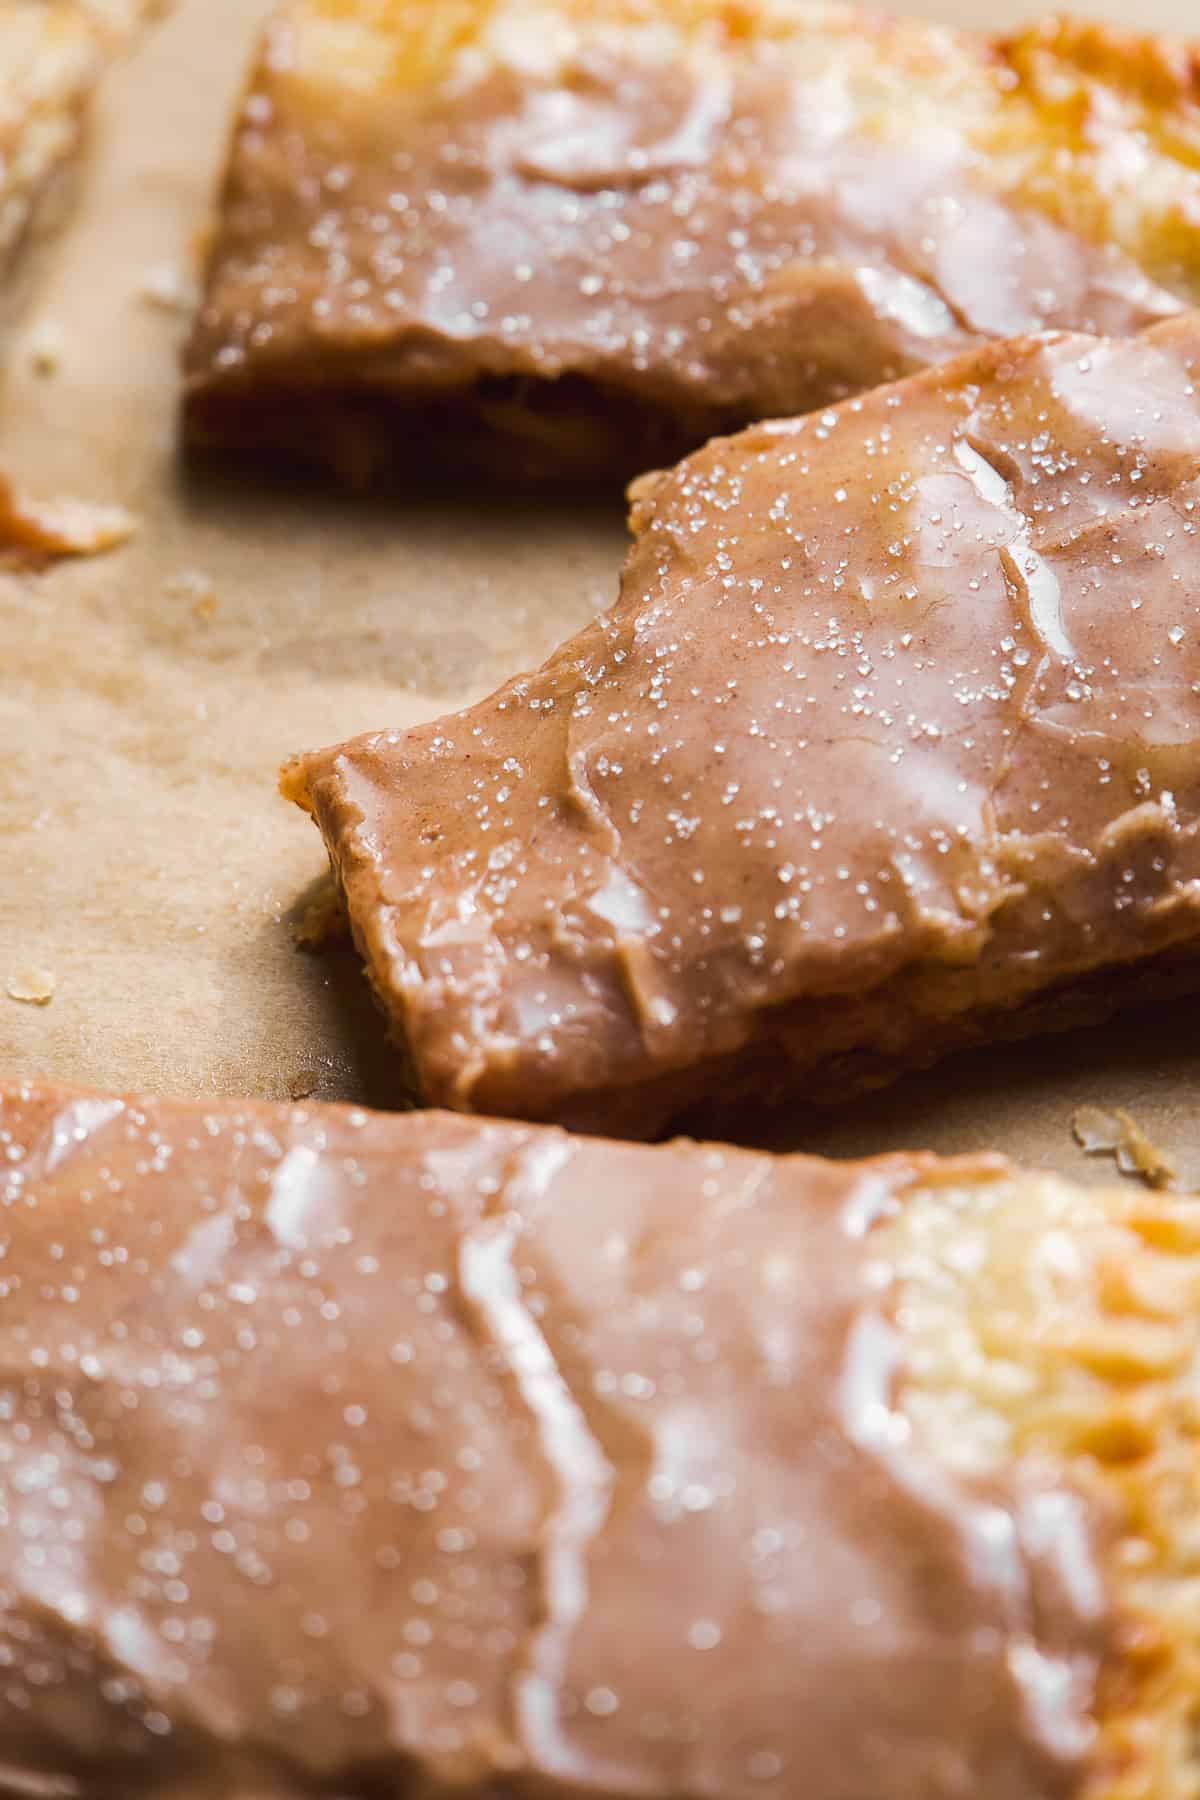
These apple pop tarts have a crispy golden brown crust, sweet apple butter filling, and a delicious cinnamon frosting. It's the perfect festive fall treat to serve for brunch that kids and adults alike will love!
Jump to:
Pop tarts are the quintessential childhood treat. If I were to definite 'nostalgia' I would say opening up that silver package with two frosted pop tarts in the morning before school (although we weren't allowed to have them too often).
But why do kids get to have all the fun?? These cinnamon apple pop tarts are designed for both kids AND adults and are sure to bring back some fond memories. They're filled with cinnamon flavor, similar to the brown sugar pop tarts we know and love, with an apple filling twist. Like a cinnamon apple toaster pastries in pop tart form!
The pop tart is actually baked as one giant pop tart and then sliced into pieces that make it great for serving to a crowd. Think Thanksgiving brunch, Christmas morning, or a special birthday breakfast surprise!
Check out my gluten free blueberry pop tarts, cinnamon coffee cake, and chocolate covered strawberry pop tarts!
Ingredients and Substitutions
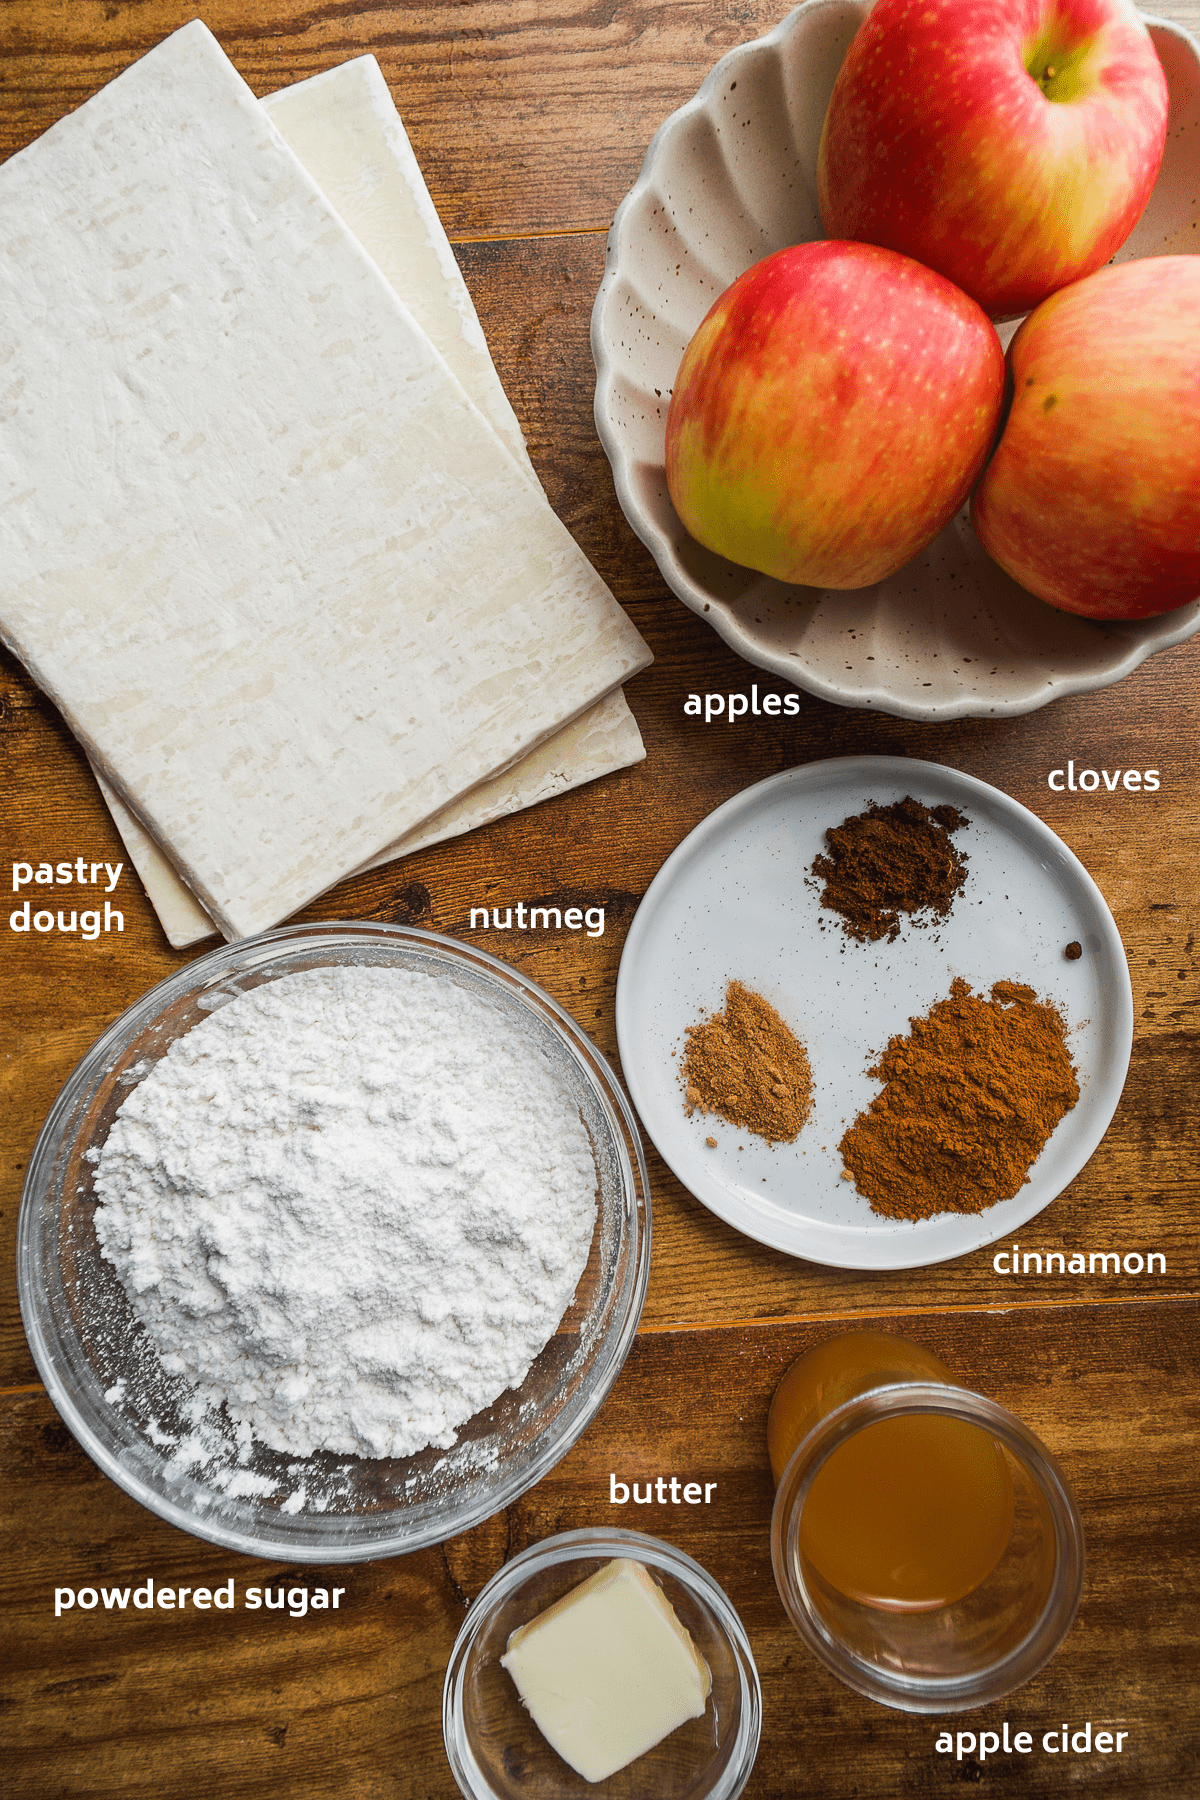
- Pie dough - I used pre-made pie dough from the store but you can also make your own. I have an almond flour pop tart dough recipe you can use if you want to make homemade gluten free dough too. If you want a flaky crust, use pastry dough.
- Apples - I recommend using honey crispy apples or red delicious. They are sweeter and will add more flavor to the apple butter filling. I left the skins on but you are more than welcome to peel them if desired.
- Cinnamon, nutmeg, and cloves - All three of these spices are used in the apple butter filling and the frosting. You can also use an apple pie spice blend if you have it.
- Apple cider - A little is added to the apple slices as they cook down in a skillet and in the frosting for some extra apple flavor. You can also use apple juice or just water if needed.
- Powdered sugar - The base of the frosting. Sift it ahead of time if you want super silky smooth frosting.
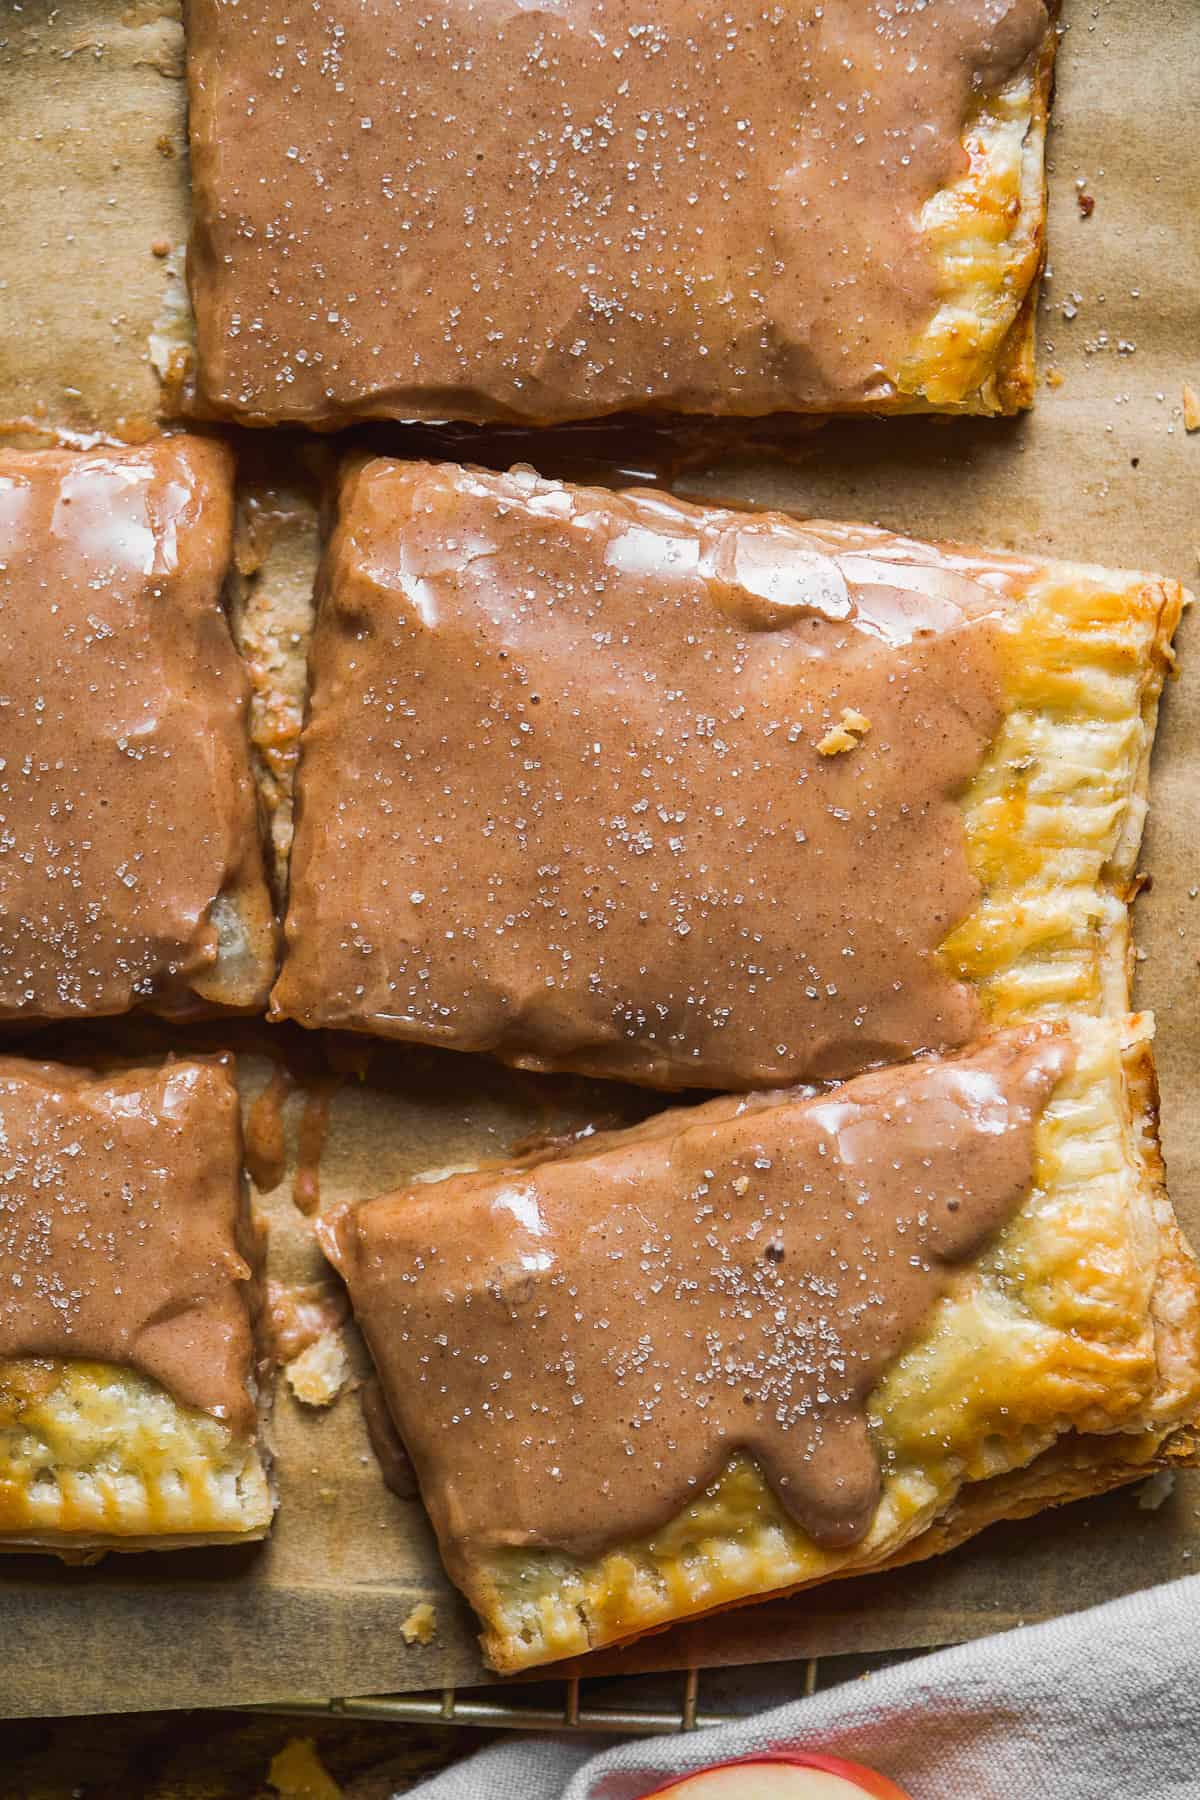
Why pie dough is best?
- Store bought - I used store bought dough when I created this recipe to keep things simple. I have used the Pillsbury brand and the Dufour pie dough which uses palm oil for a dairy free and vegan option.
- Gluten free - For a gluten free option, I recommend using a recipe online, like the one in my mini pumpkin pies, or a mix, like this King Arthur pie crust mix. Remember, you will need two large pieces so use a recipe that makes 2 pie crusts or double the recipe.
- Almond flour - I also have an almond flour pop tart dough recipe that is a reader favorite! You will want to double the recipe so you have enough dough.
How to Make Apple Pop Tarts
You will need a skillet to cook the apples, a food processor or blender to make the apple butter, and a rolling pin and large baking sheet to assemble the giant apple pop tart.
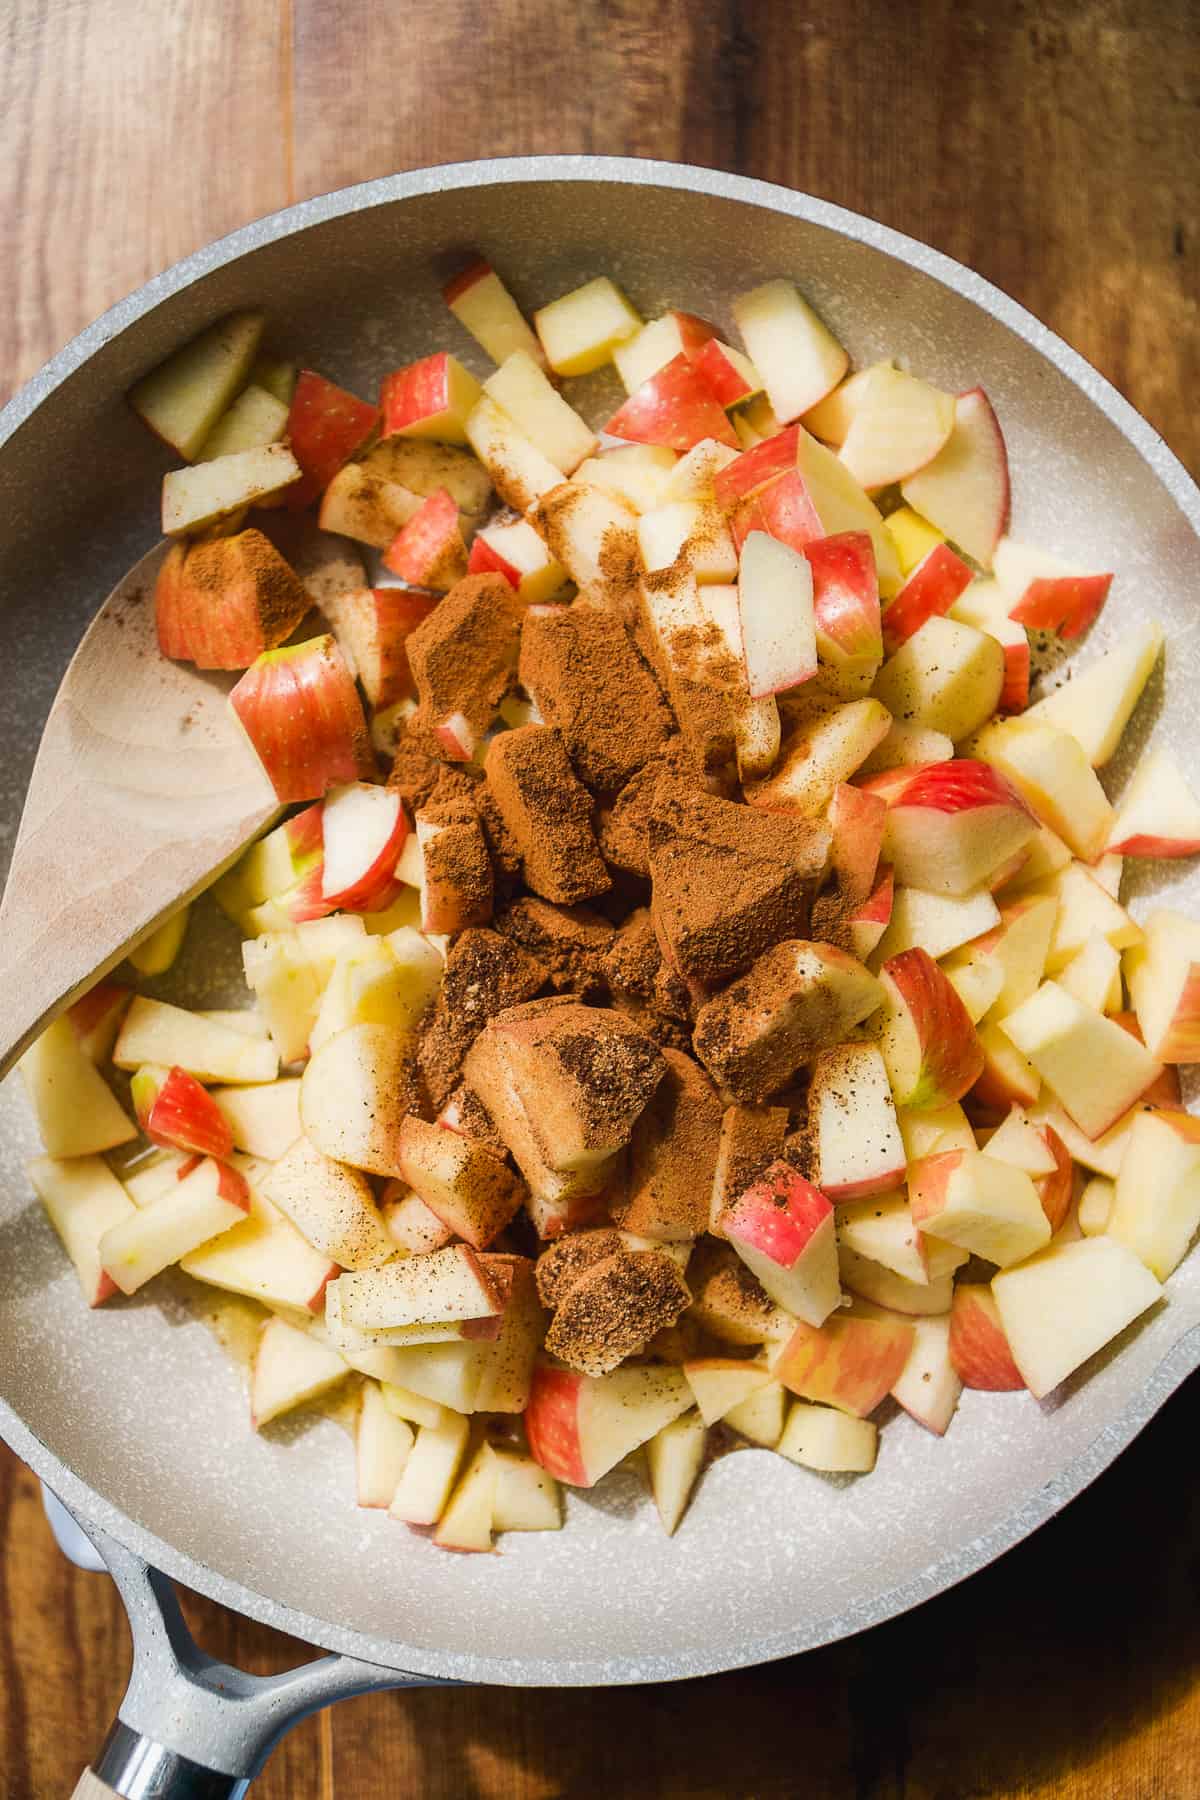
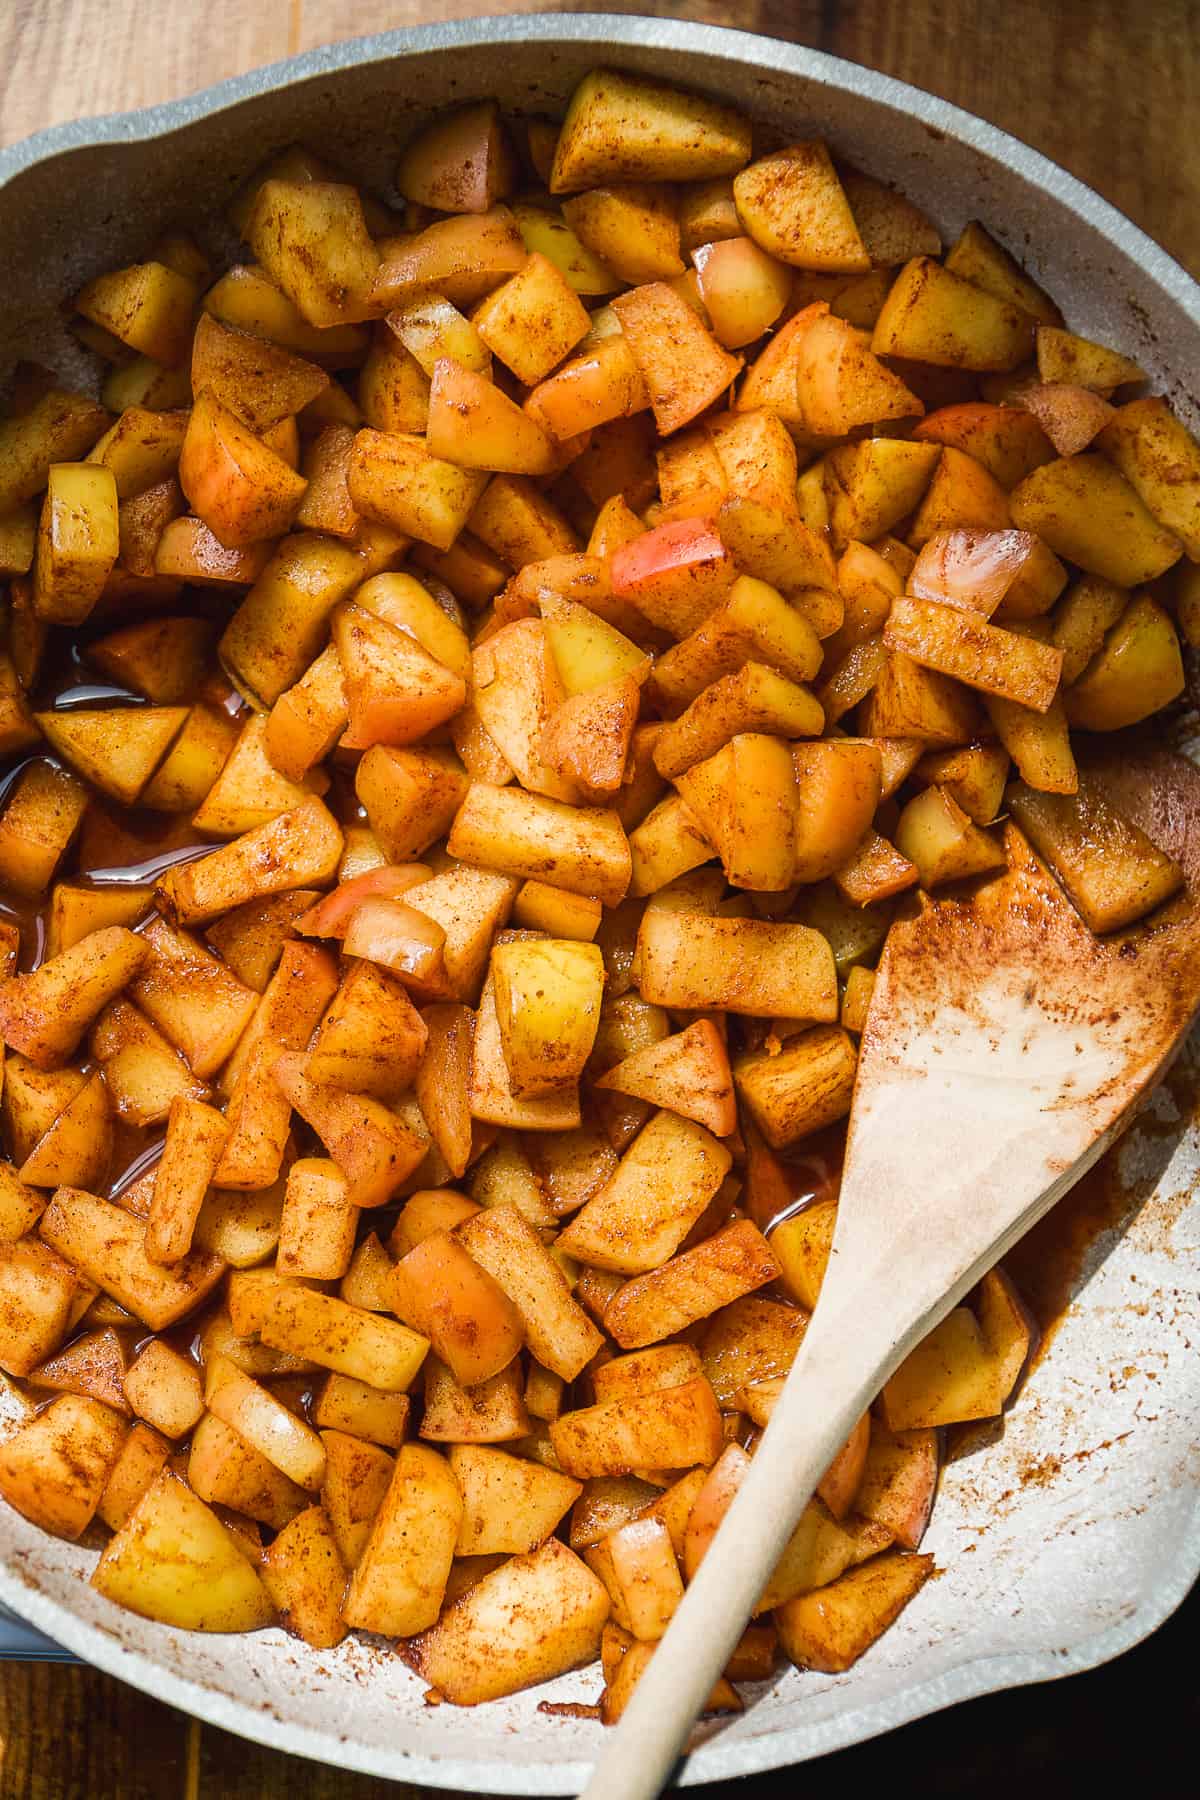
Step 1 : Cook the apples. Dice up the apples into small pieces and add them to a skillet with the butter, apple cider, cinnamon, nutmeg, and cloves. Cook on medium low with the lid on top of the skillet until the apples get warm and soft. This will take about 10 minutes.
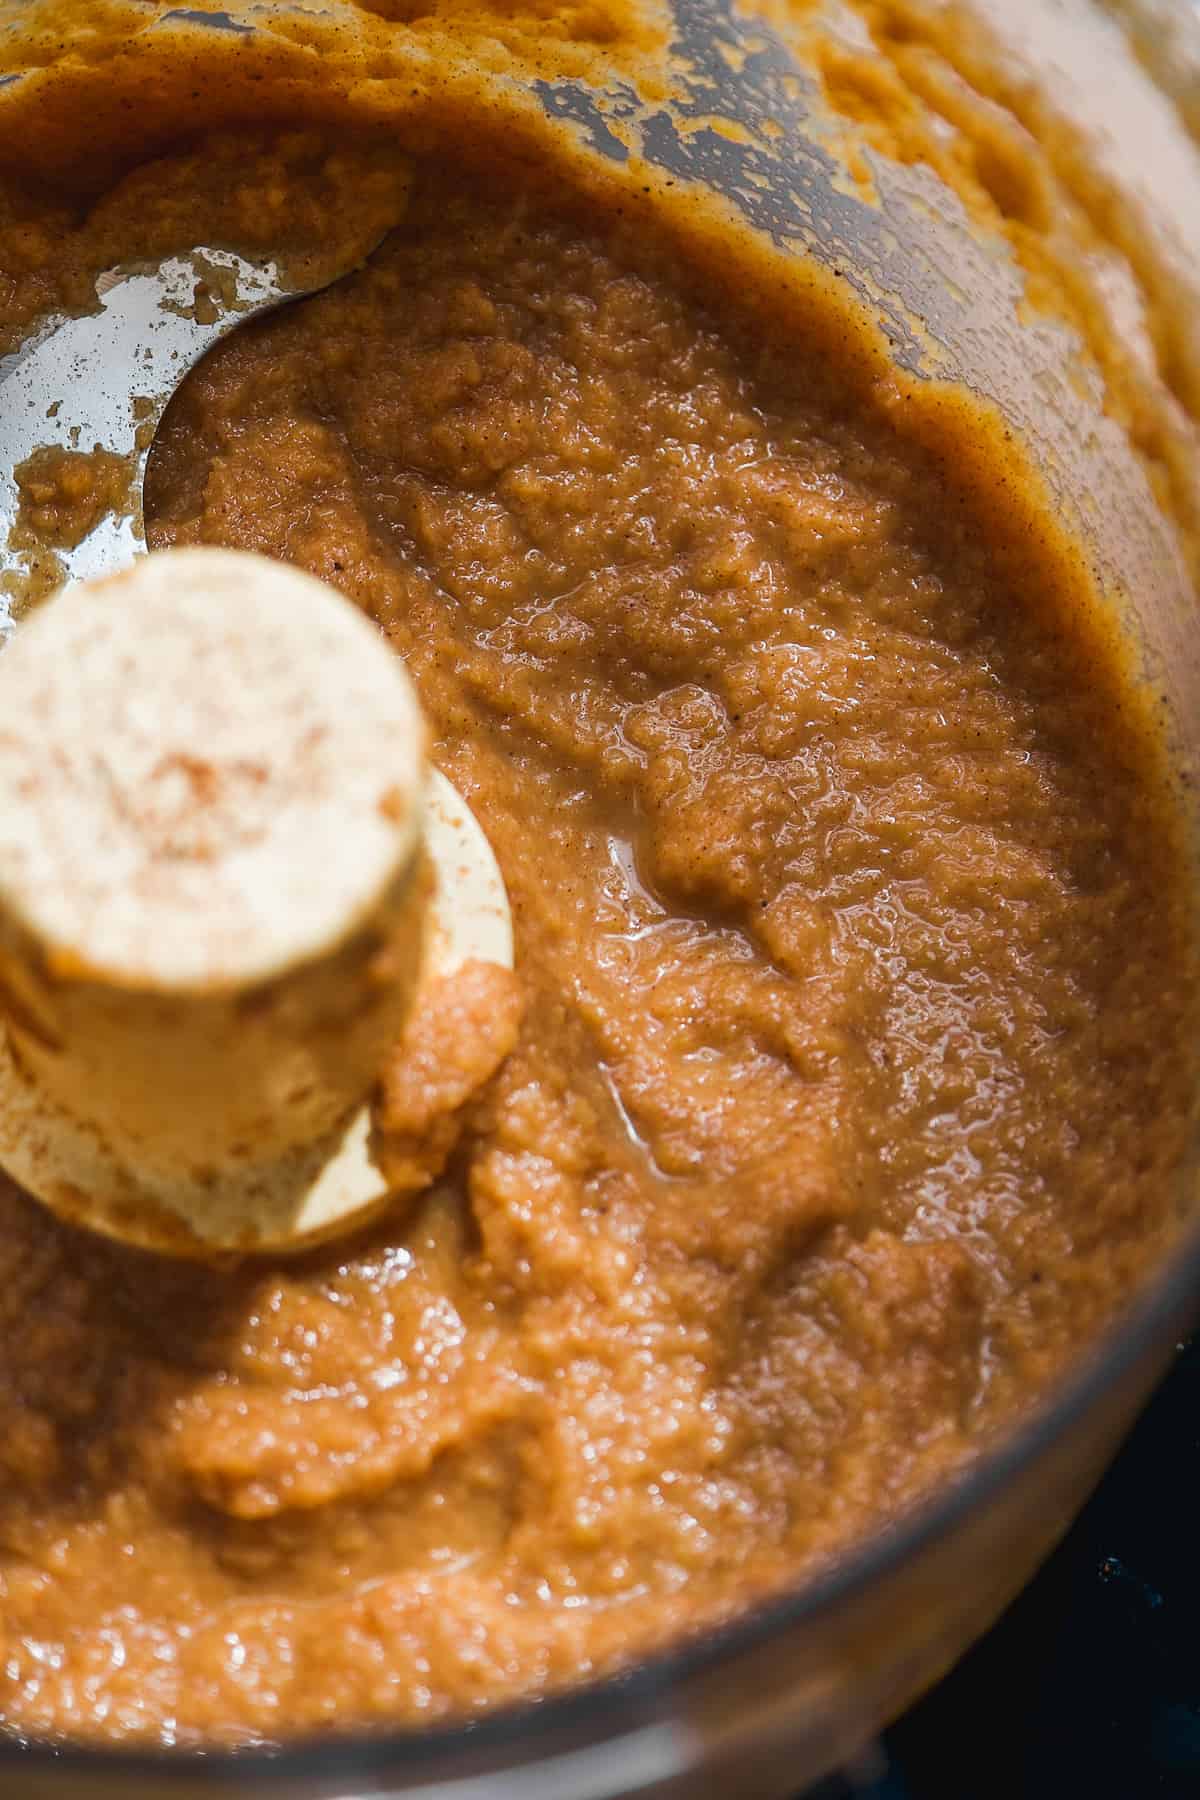
Step 2 : Make the apple butter. Once the apples are soft, scoop them into a blender or food processor. Try to leave behind most of the juices in the skillet. Blend up the apples until they reach a jam like consistency and there aren't any large chunks of apple left.
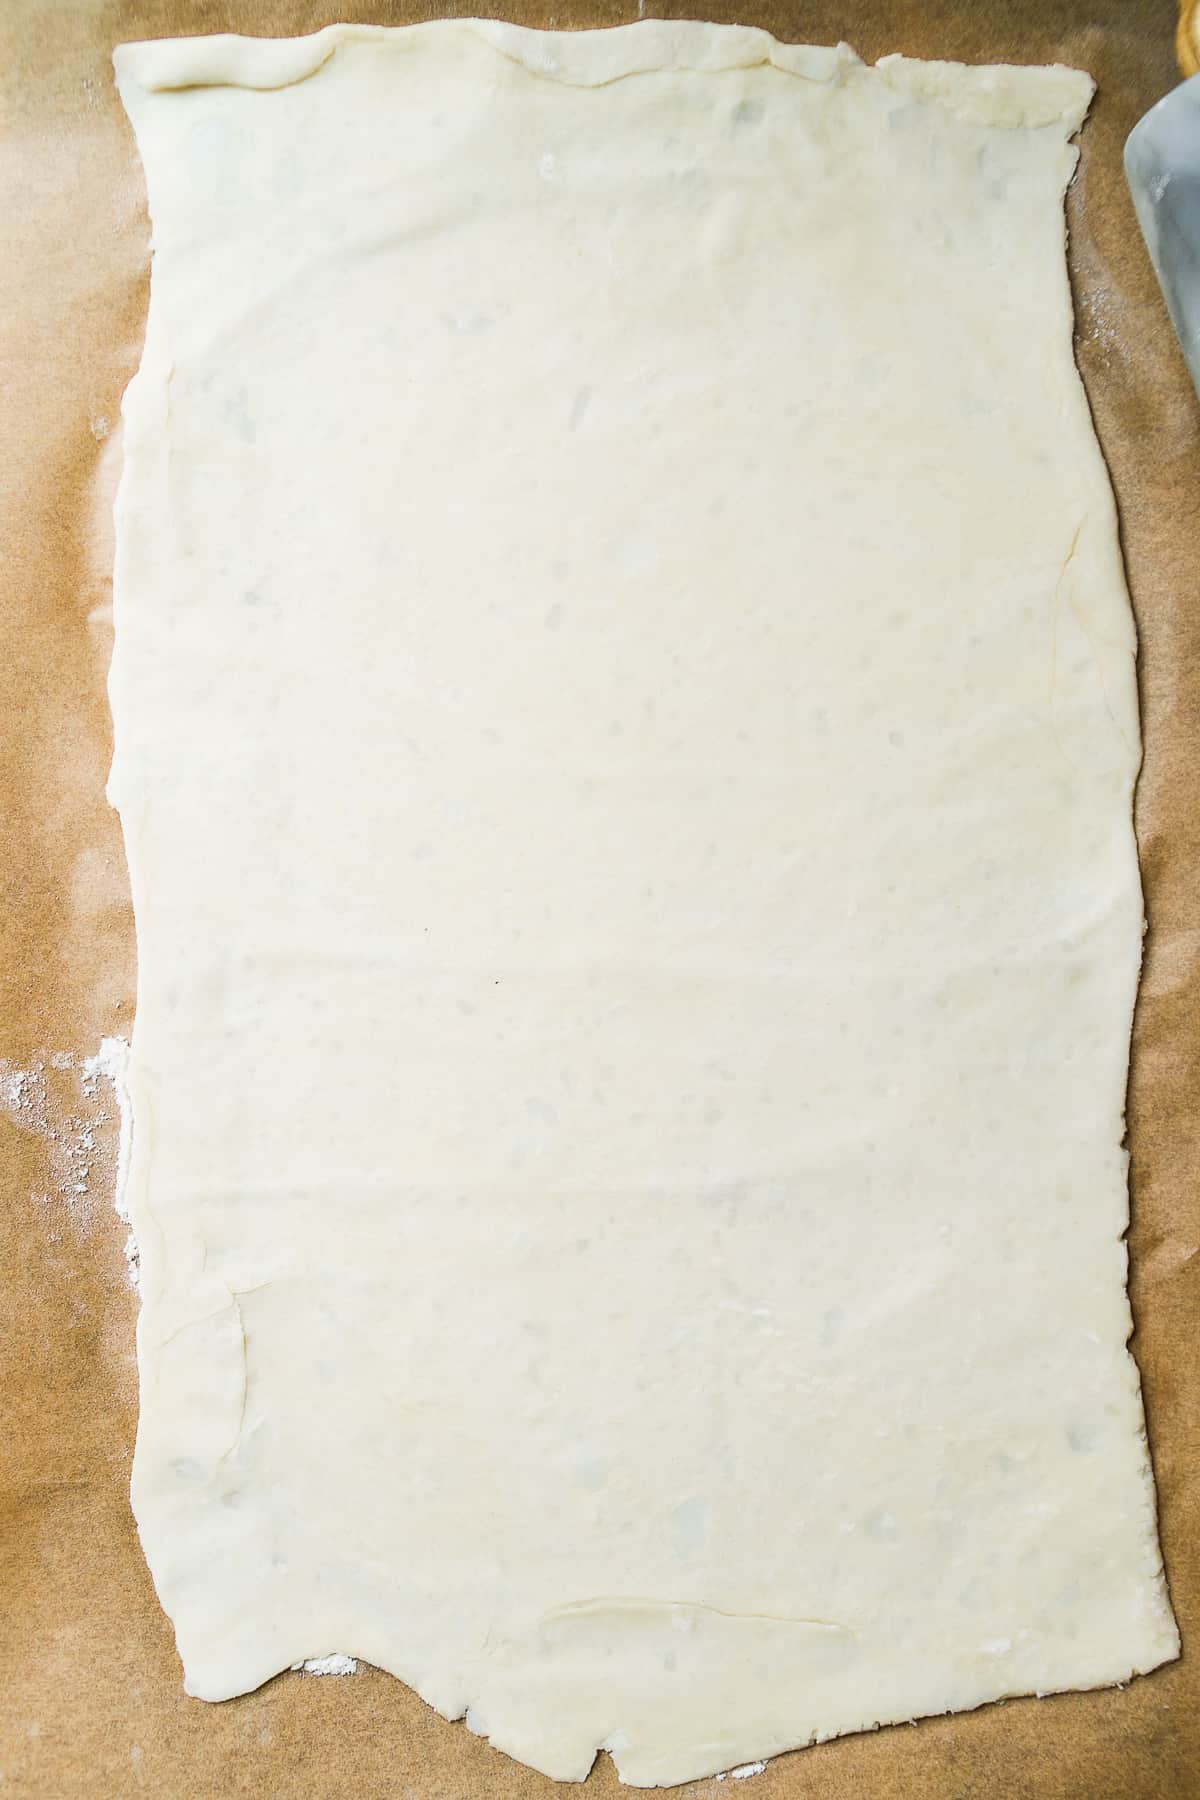
Step 3 : Roll out the dough. Take one of the pieces of pie dough, or use half of the dough if you made it from scratch, and roll it out on a piece of lightly flowered parchment paper. Roll it out into an 8 x 12 large rectangle about ¼ inch in thickness.
Do the same thing with the other half of the dough on a separate piece of parchment paper.
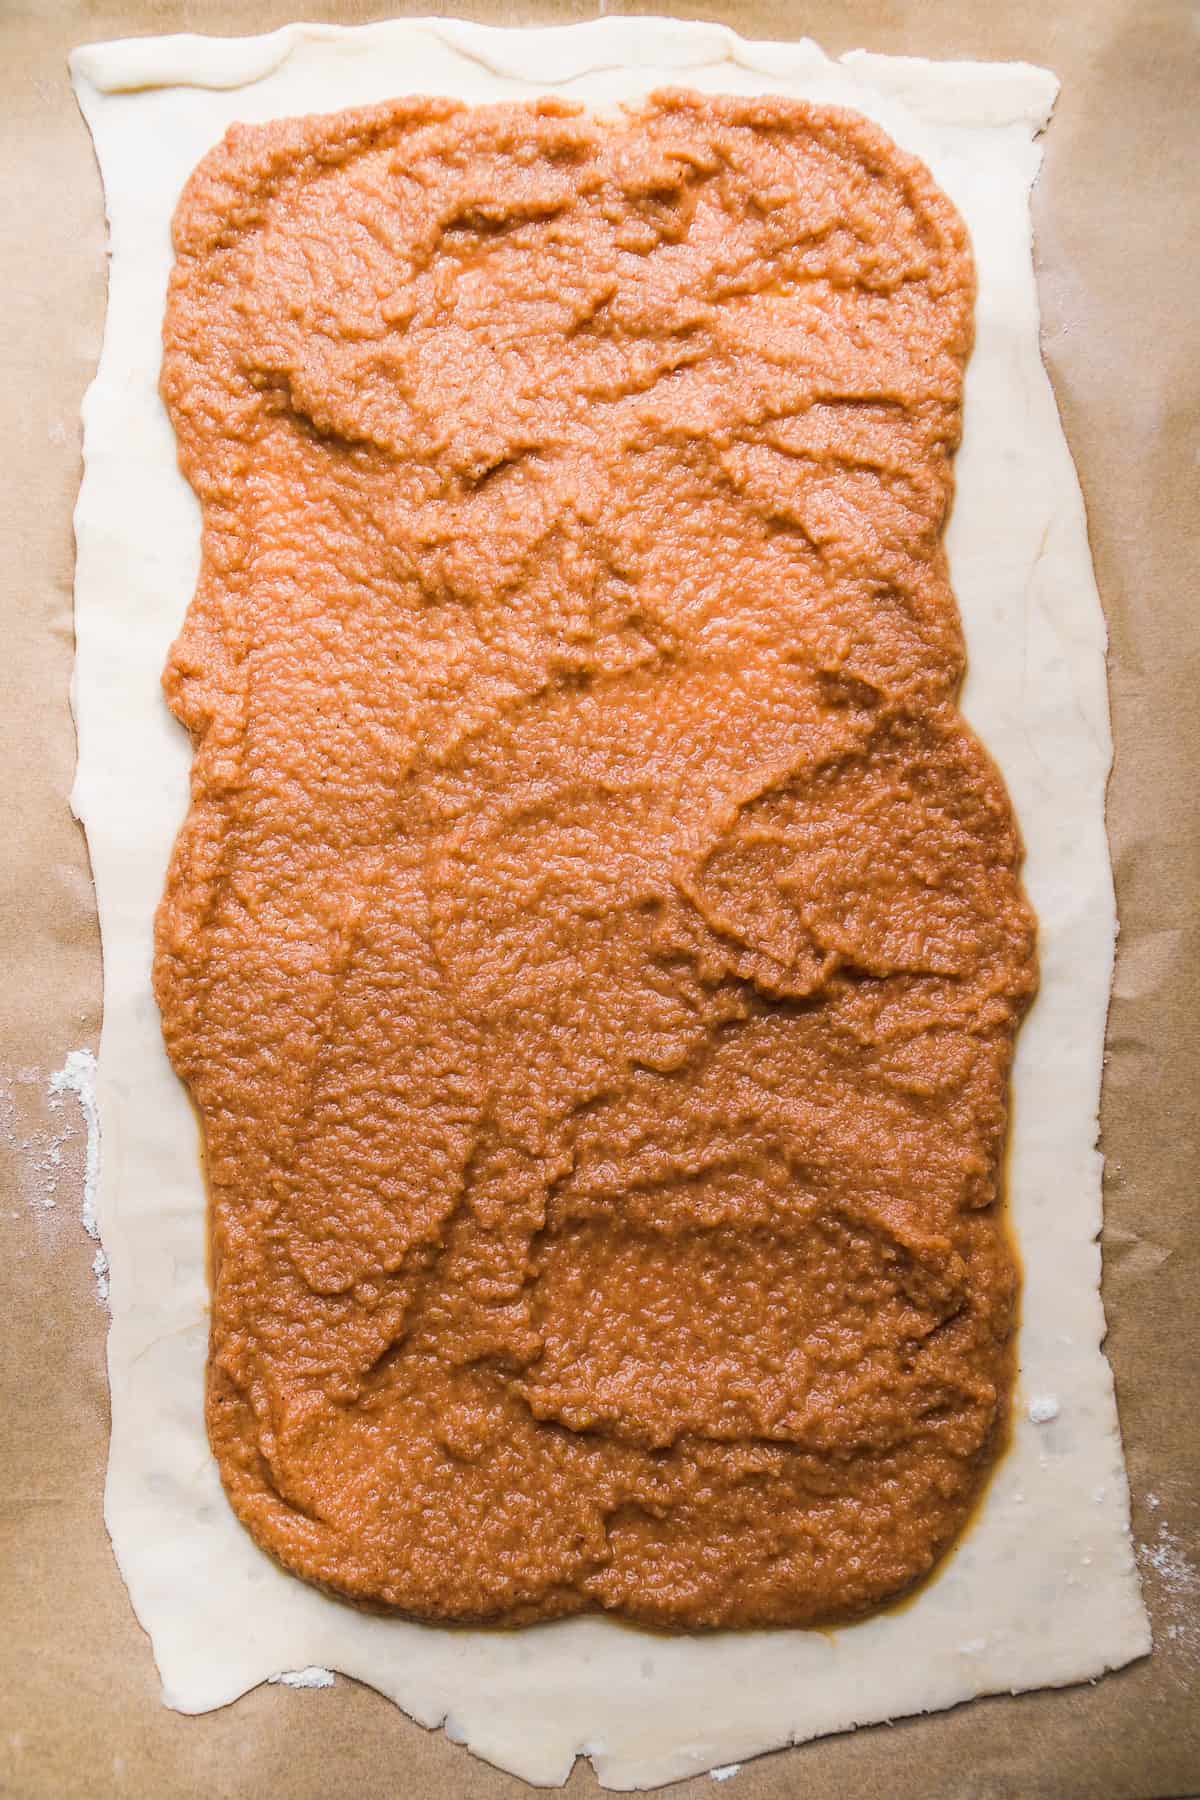
Step 4 : Assemble the pop tart. Spread the apple butter on top of one of the rectangular pieces of dough, leaving about an inch around the edges. Carefully place the other rectangular piece of dough on top. I like to use the parchment paper to help guide the dough on top of the other piece of dough and then peel the parchment paper off the top.
Use a fork to crimp the edges of the pop tart all around. This is what keeps the filling inside. Poke a few holes into the top layer of the pop tart so air has somewhere to escape in the oven.
Brush the entire thing with an egg wash, if desired, and bake in the oven until golden brown.
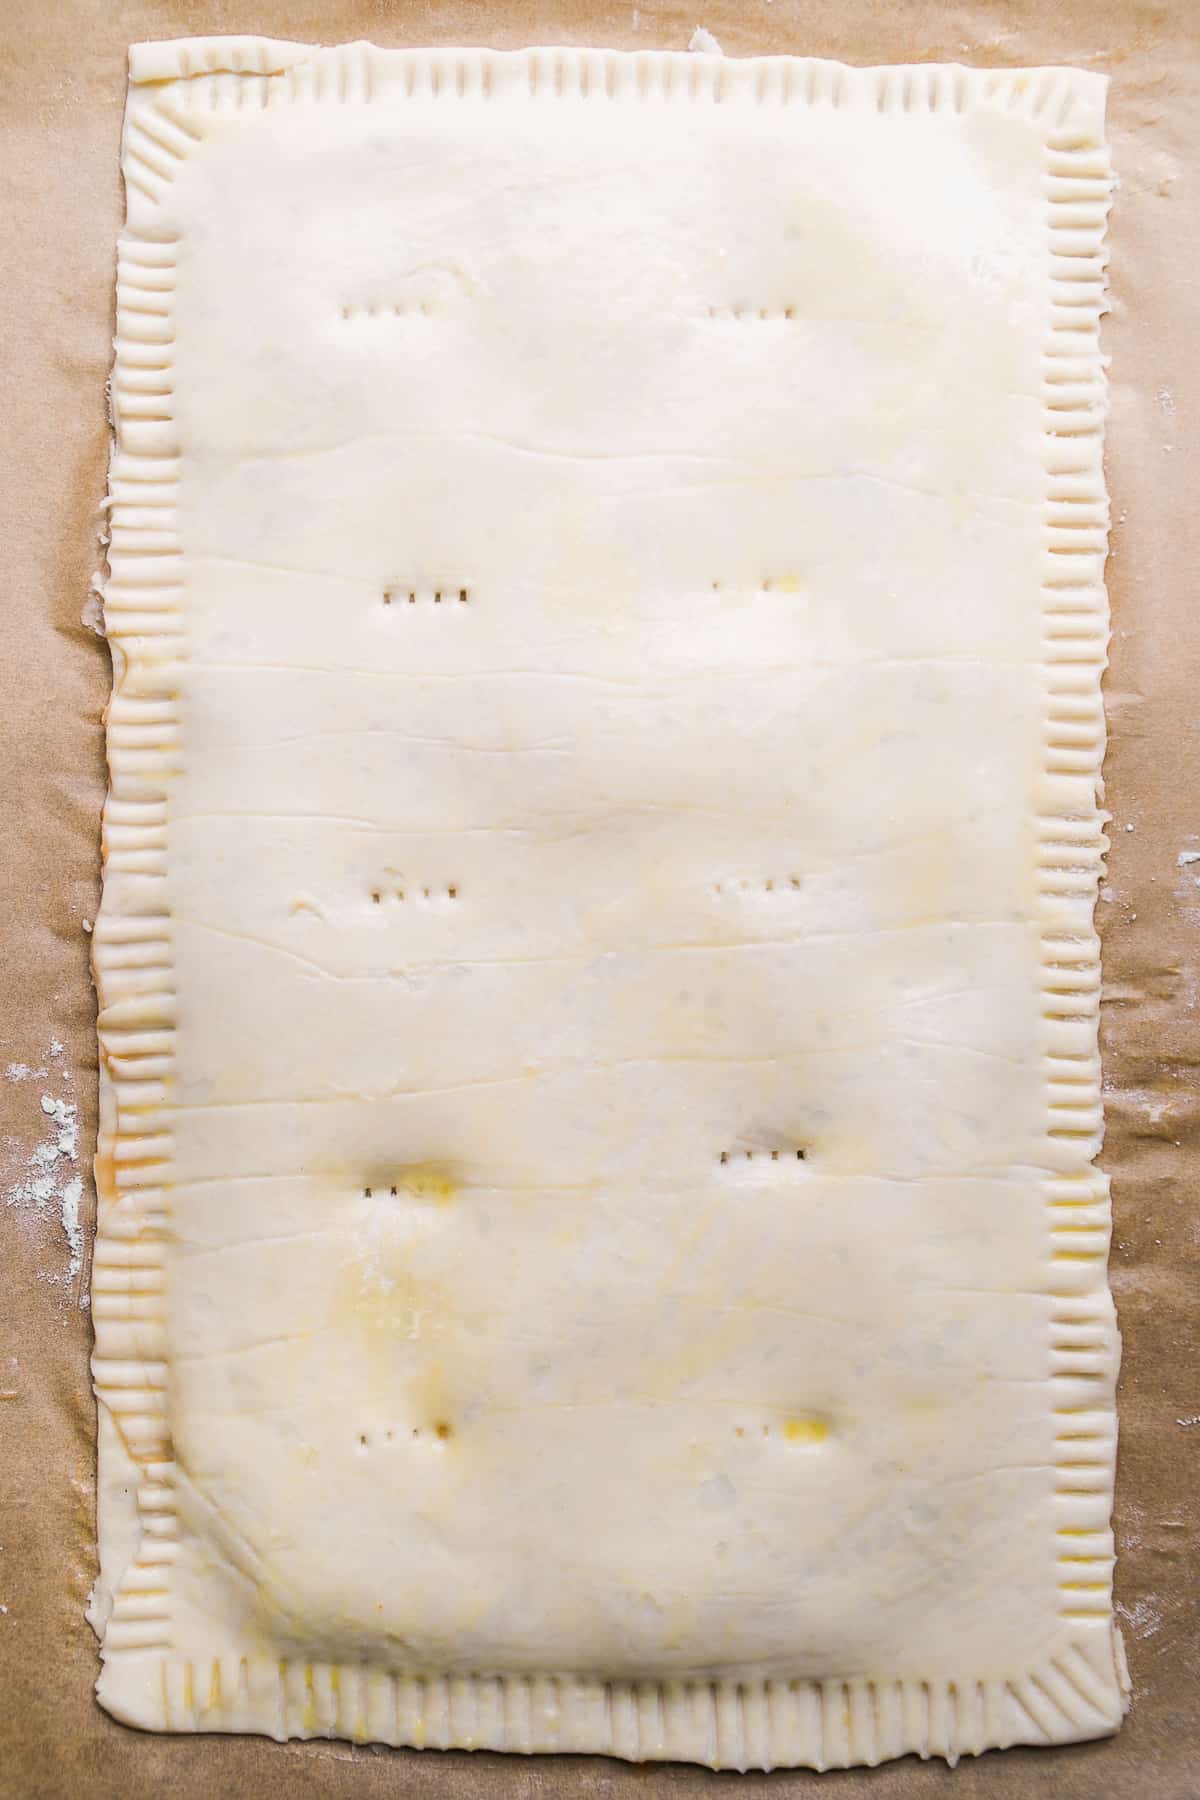
Step 5 : Add the frosting! First, make sure the pop tart has cooled down slightly before adding the frosting. It's okay if it's slightly warm but you don't want it piping hot or the frosting will melt. I personally like to wait until it's at room temperature.
In a small bowl, whisk together the powdered sugar, cinnamon, nutmeg, cloves, and apple cider until smooth.
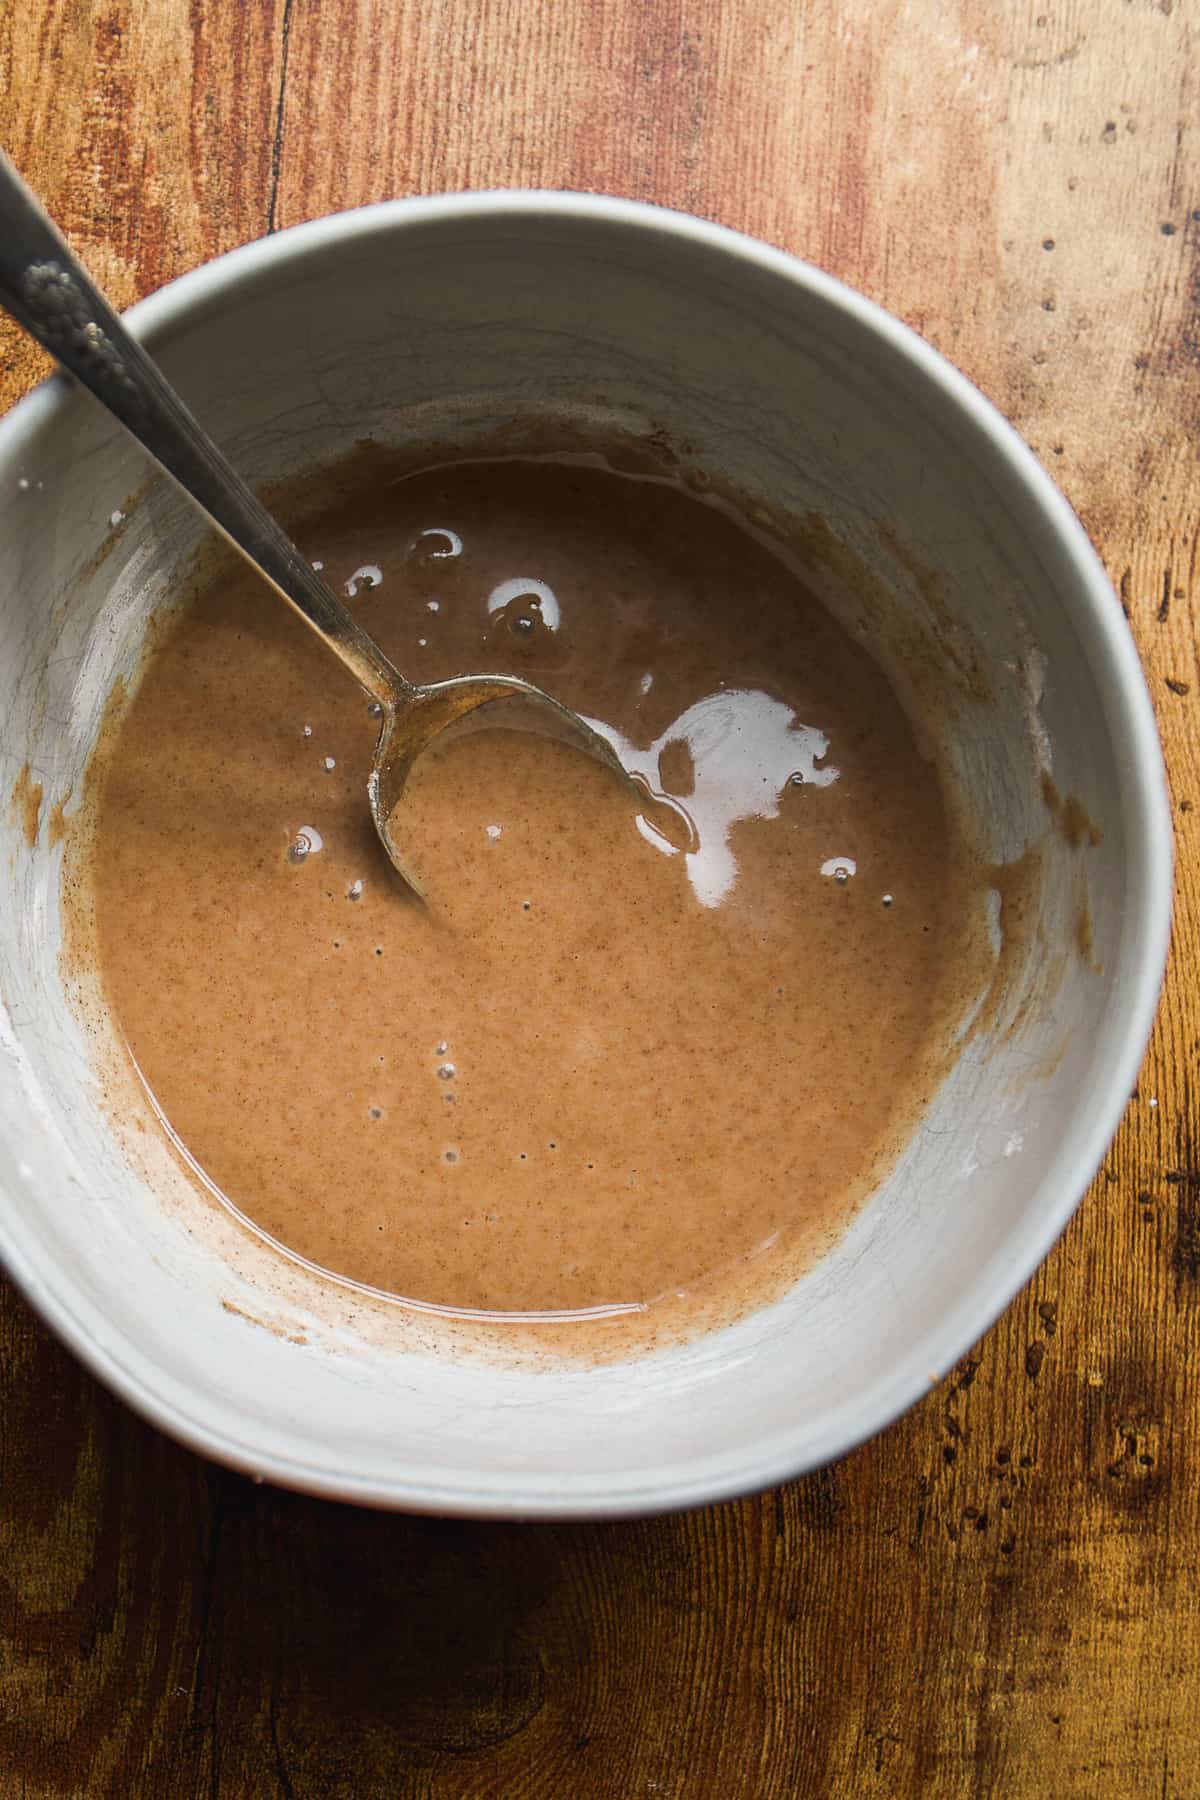
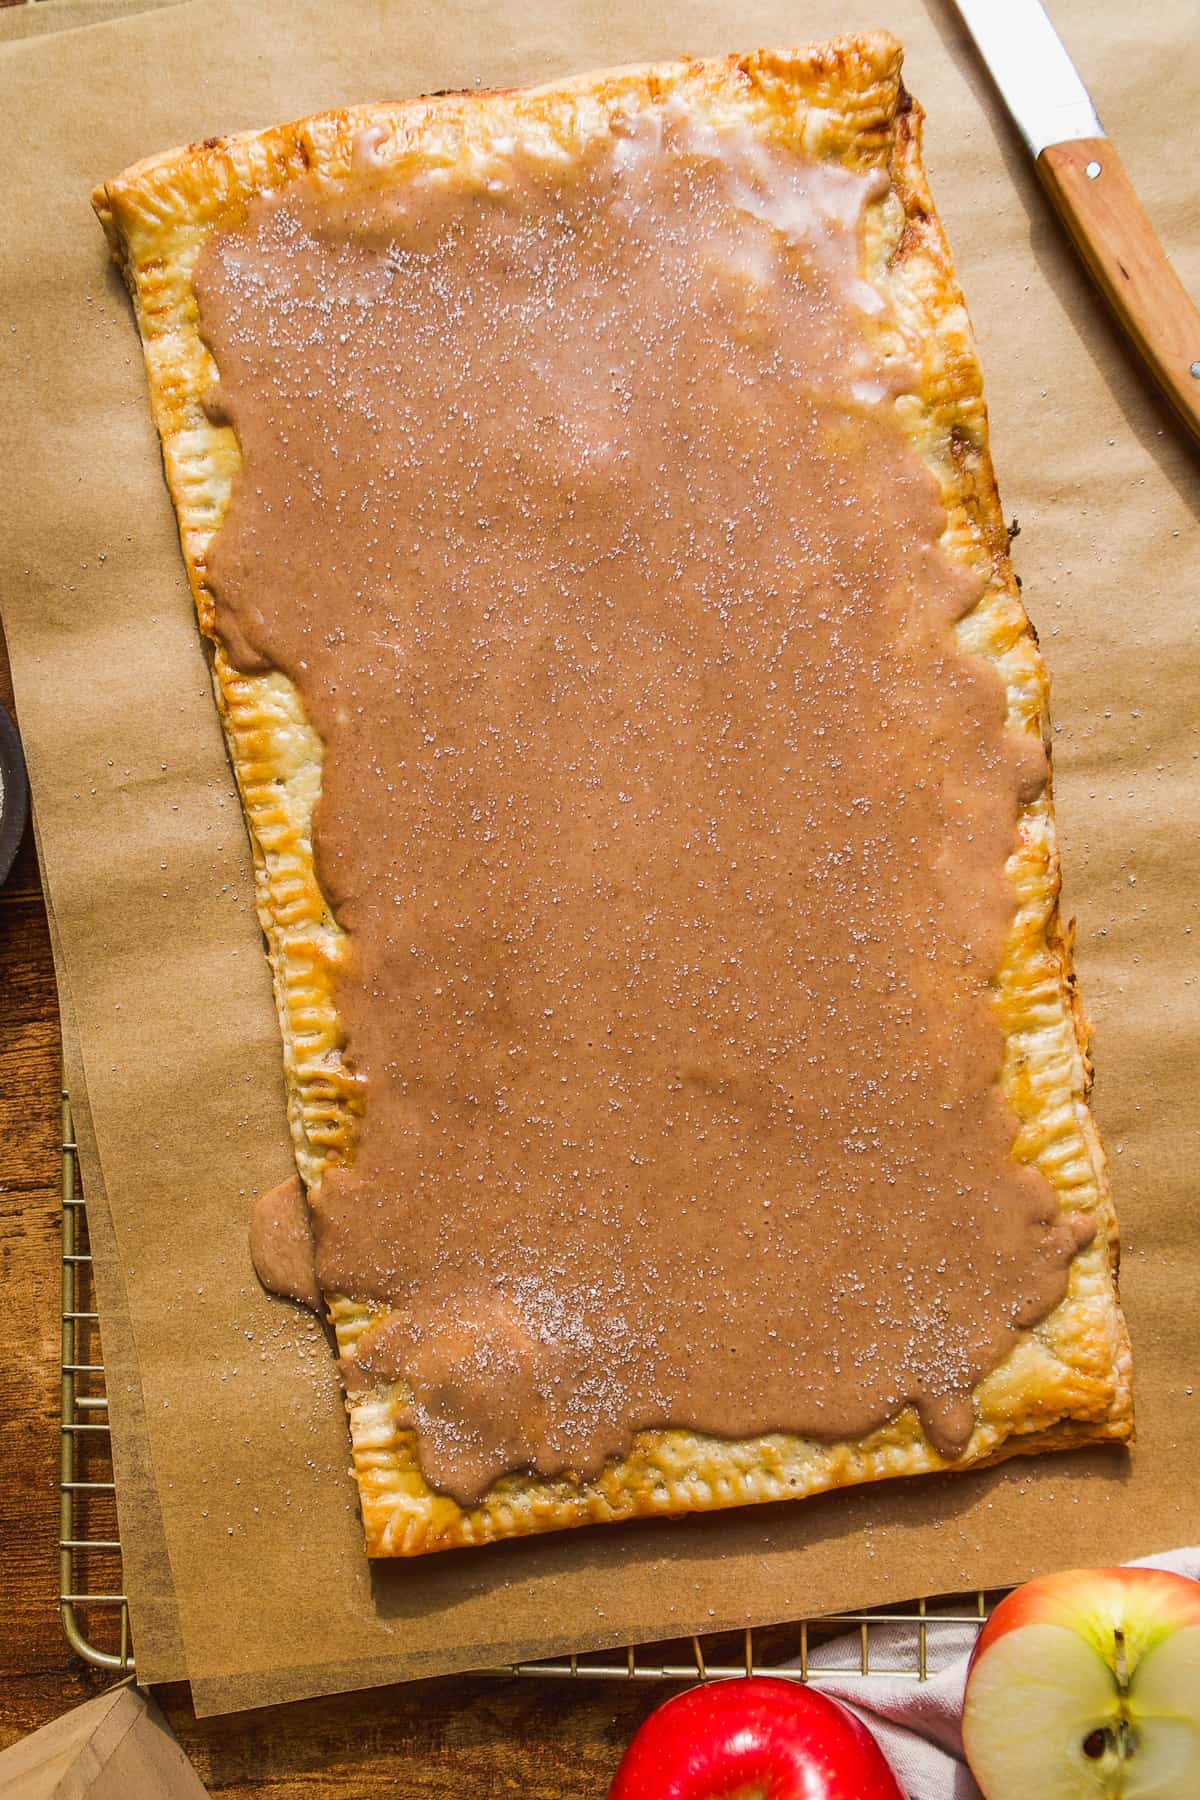
Pour the frosting on top of the pop tart and use the back of a spoon or rubber spatula to spread it almost to the edges.
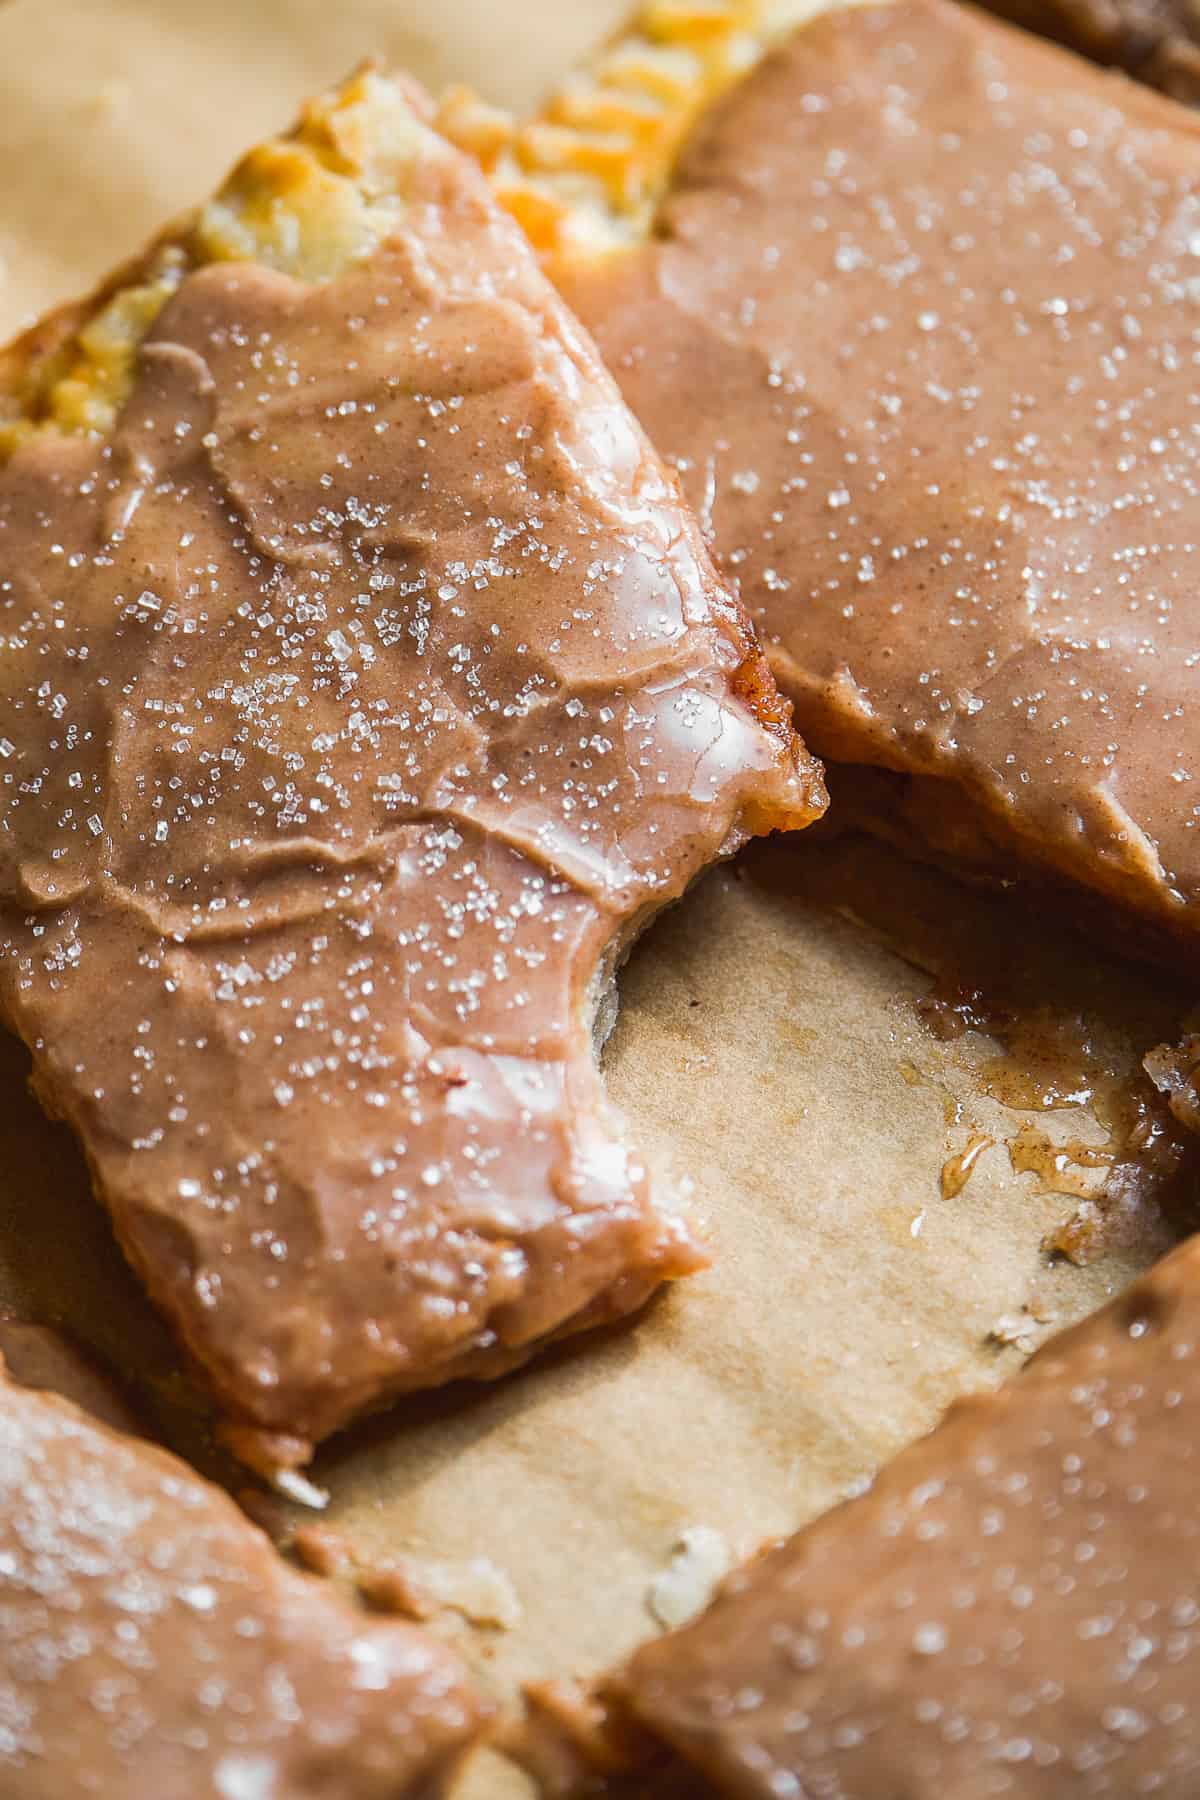
Sprinkle some coarse cane sugar on top, if desired. The icing will set within 10 minutes and then you can use a sharp knife to cut large rectangles to make individual pop tarts and enjoy!
Can I Make Individual Pop Tarts?
It's easy to make these into smaller individual crisp apple pop tarts. Simply follow the steps as directed but slice the dough into 3 x 4 inch rectangles after you have rolled out the dough. Fill half of the rectangles with the apple filling and place another rectangular piece on top. Make sure to seal the edges and poke a few holes in top and bake! I recommend shaving a few minutes off the baking time if you're making smaller pop tarts. Start with 10 minutes and check them to see if they're golden brown enough.
How to Store
Make sure the frosting has set completely before storing the pop tarts in an airtight container. Place a layer of parchment paper in between the pop tarts if you want to stack them on top of one another or wrap each individual pop tart in plastic wrap.
They will keep for up to 4 days in the fridge or a couple of days out on the counter. I like to enjoy them chilled but if you want to heat them up, I recommend toasting them to get the edges nice and crispy.
Expert Tips
- Cook the apples long enough so they become soft. This can take anywhere from 10 - 15 minutes. This is what will ensure a nice thick apple butter spread.
- Whatever type of dough you choose to use, roll both pieces out on a piece of parchment paper on a flat floured surface. This will make assembling the pop tart easier.
- Make sure to seal the edges of the pop tart well so the filling doesn't ooze out when baked and poke a few holes in the top so allow air to escape in the oven.
Frequently Asked Questions
Yes, I used store bought pie dough to make things easy. If you use store bought dough, make sure you have two pieces that you can roll out into a rectangles.
Use a vegan pie dough and vegan butter to make this recipe entirely dairy free.
Yes, use a gluten free pie dough to make this recipe gluten free.
Check out these recipes for more fall fun:
More From The Fit Peach
PS : If you make this recipe, be sure to leave a star review and comment below! Also be sure to follow along with me on Instagram and Pinterest to stay up to date on all tasty recipes here at The Fit Peach!
Recipe

Apple Pop Tarts
Ingredients
- 3 apples - diced
- 1 tablespoon butter - sub. dairy free butter if needed
- 2 tablespoon apple cider - or apple juice
- 2 teaspoon cinnamon
- ½ teaspoon nutmeg
- ½ teaspoon cloves
- 2 sheets pie dough - use gluten free if needed
- 1 egg - optional, for egg wash
For the icing
- 1 cup powdered sugar
- 1 teaspoon cinnamon
- 1 - 2 tablespoon apple cider
Instructions
- Preheat oven to 400F. In a pot or large skillet, heat the diced apples along with the butter, apple cider, cinnamon, nutmeg, and cloves over medium-low heat until the apples are soft and tender. This will take about 10 minutes. Stir the apples occasionally to make sure they are all cooking evenly.
- Once the apples have cooked, add them to a food processor or high speed blender and blend until they reach a jam like consistency. This is the “apple butter” filling inside the pop tart!
- Next roll out both of the pie dough sheets on a lightly floured surface to about 8 x 16 inches. Transfer one of the pieces of dough to a baking sheet lined with parchment paper. Spoon the apple butter onto the dough, leaving about an inch of space around the edges. Lay the other piece of dough over top of the filling. Use the back of a fork to crimp the edges to “seal” the pop tart.
- Use a fork to poke a few holes into the top of the pop tart. This gives air a place to escape in the oven. Brush the top of the pop tart with an egg wash or melted butter, if using, and bake in the oven for 15 - 20 minutes until golden brown on top. Let cool before icing.
- Once cooled, add the powdered sugar, cinnamon, and apple cider to a bowl and whisk well until no clumps remain. The icing should be runny but slightly thick.
- Spread the icing over top of the pop tart. Let the icing set for a few minutes and then slice into pieces with a sharp knife and enjoy!


I made this last night and just had it for breakfast! Tastes really good. I have a question however, the pop tart had a 'soggy' sort of feel to it. It didn't hold so that I could lift it easily with one hand. I had to lift it with two hands so it didnt fall apart (think soggy pizza).
I used store bought 'Pie dough". Maybe that was the thing...
I made these two days ago, they were all gone in one day because my family loved them! and now I’m making more today!!! Great recipe (though I opted out of the clove and just did cinnamon and nutmeg)
Have you tried making any part of this recipe ahead of time? Would love to make it for a breakfast, but save some time by doing some prep ahead of time of possible.
Made this for a family party & it was a hit. Will definitely make again. Thank you for the great idea!
Yay! I'm so glad to hear you enjoyed the recipe!
Pretty tasty but definitely a bit heavy on the cloves. If I make again, I’d substitute the spices in the apples with just straight up pumpkin pie spice. The icing also needs considerably more juice or water to make it work. I had to add an additional 2 1/2 tbsps of water to get mine to look like the consistency of hers. I checked the recipe a million times and had my husband check to make sure I wasn’t missing something. But it definitely needs more liquid than what it calls for.