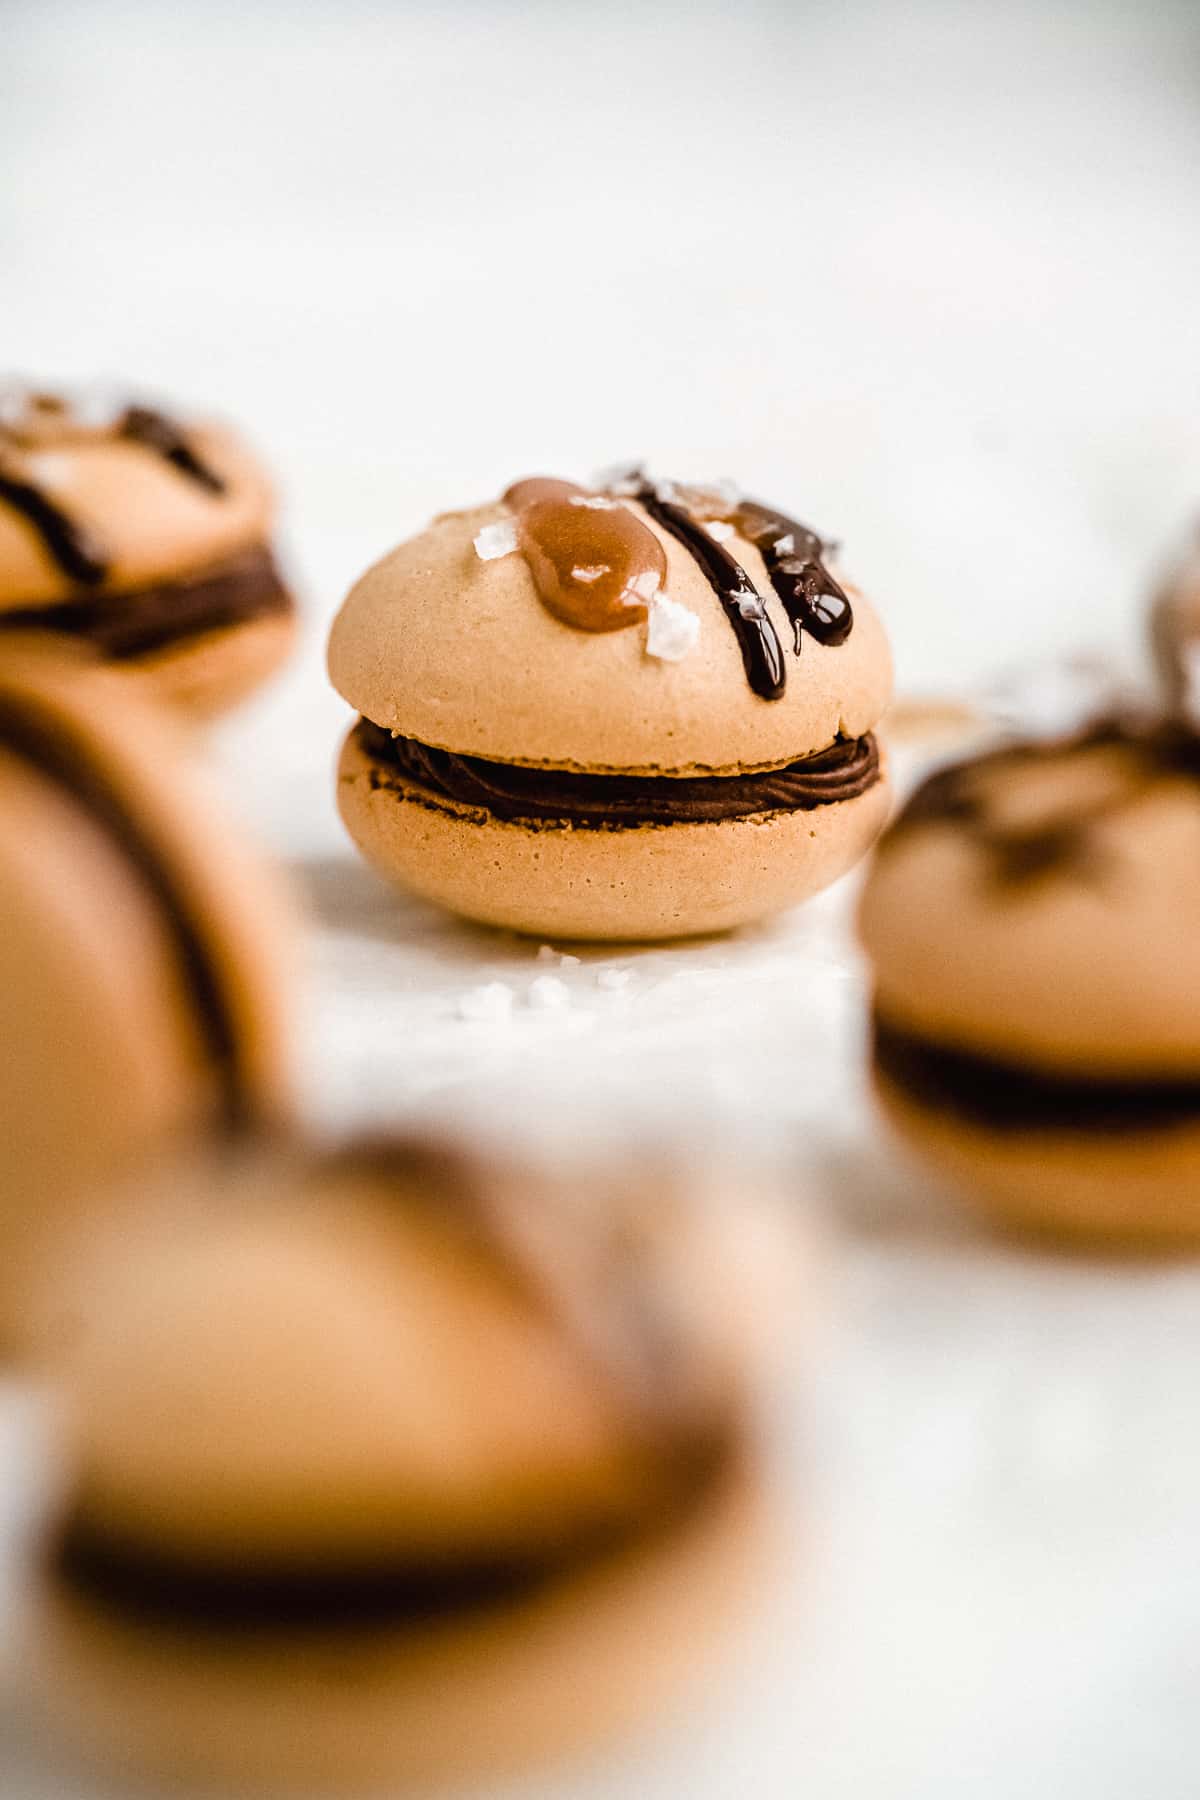
These dark chocolate caramel dairy-free macarons are not your average macaron. They're made with coconut sugar, giving them a delectable caramel-style flavor. With a vegan chocolate ganache filling and caramel in the center, these handheld treats are sure to go fast!
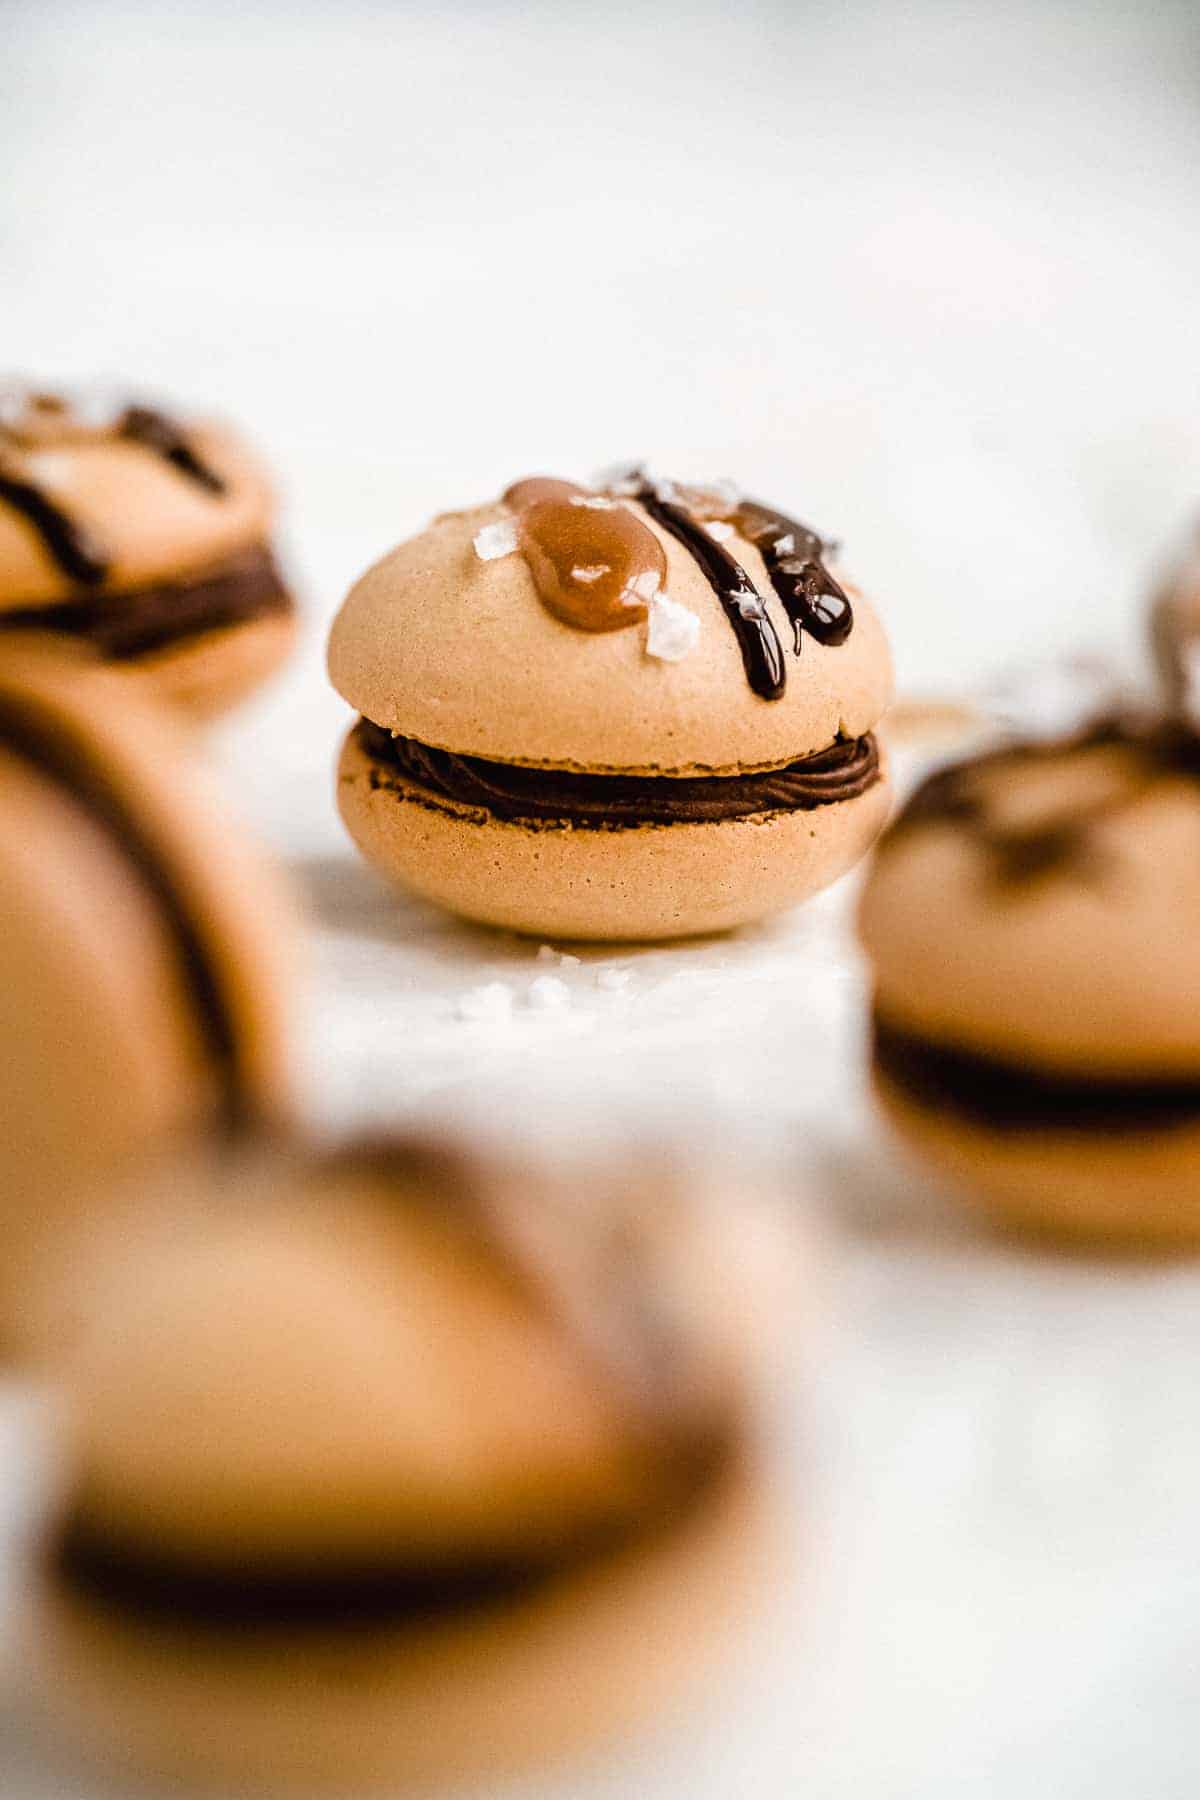
You don't have to go to Paris to enjoy delicious macarons! You can make them right at home and these dark chocolate caramel dairy-free macarons do not disappoint! With my step by step directions, you'll have beautiful macaron shells in no time.
If you're more of a fruity fan though, be sure to check out my pink lemonade macarons.
Jump to:
- Dark Chocolate Caramel Dairy-free Macarons
- Homemade Macarons
- Caramel Dark Chocolate Macaron Components
- French Macarons vs Italian Macarons vs Swiss Macarons
- How to Make Dark Chocolate Caramel Macarons at Home
- Tips and Tricks for Dairy-free Macarons
- Frequently asked questions
- More From The Fit Peach
- Recipe
- Reviews
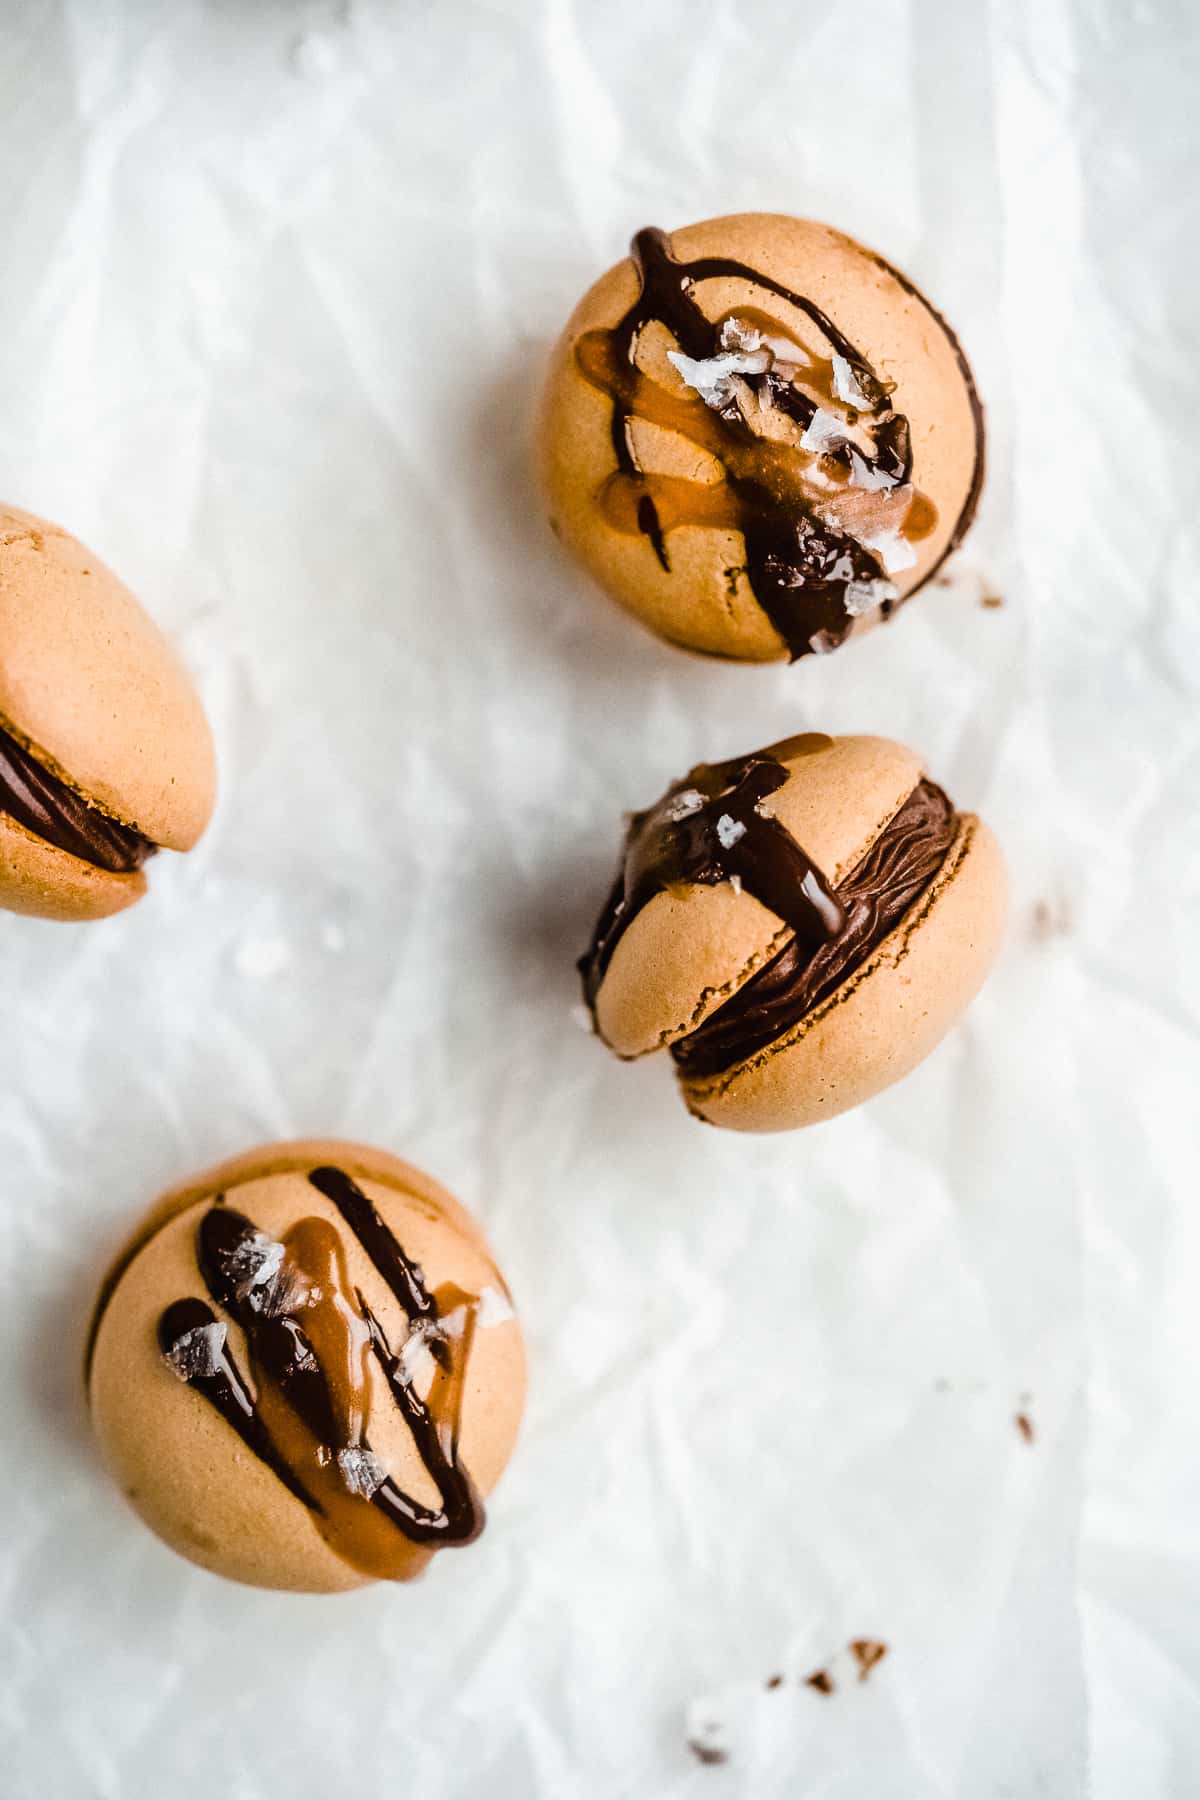
Dark Chocolate Caramel Dairy-free Macarons
These dark chocolate caramel macarons are made with coconut sugar. Yes, coconut sugar. I know, the macaron Gods are probably shaking their fists at me. But you know, I have a batch of these delicious caramel macarons so I'm okay with it.
Macrons are typically made with granulated white sugar. That's how the top pastry chefs in the world do it. So why did I decide to deviate away from the experts? Well, for one I was curious as to if it would work. And two, the coconut sugar gives these macarons a glorious toasted caramel flavor you just can't beat. But honestly it also just sounds cool to say these macarons are made with coconut sugar 🙂 .
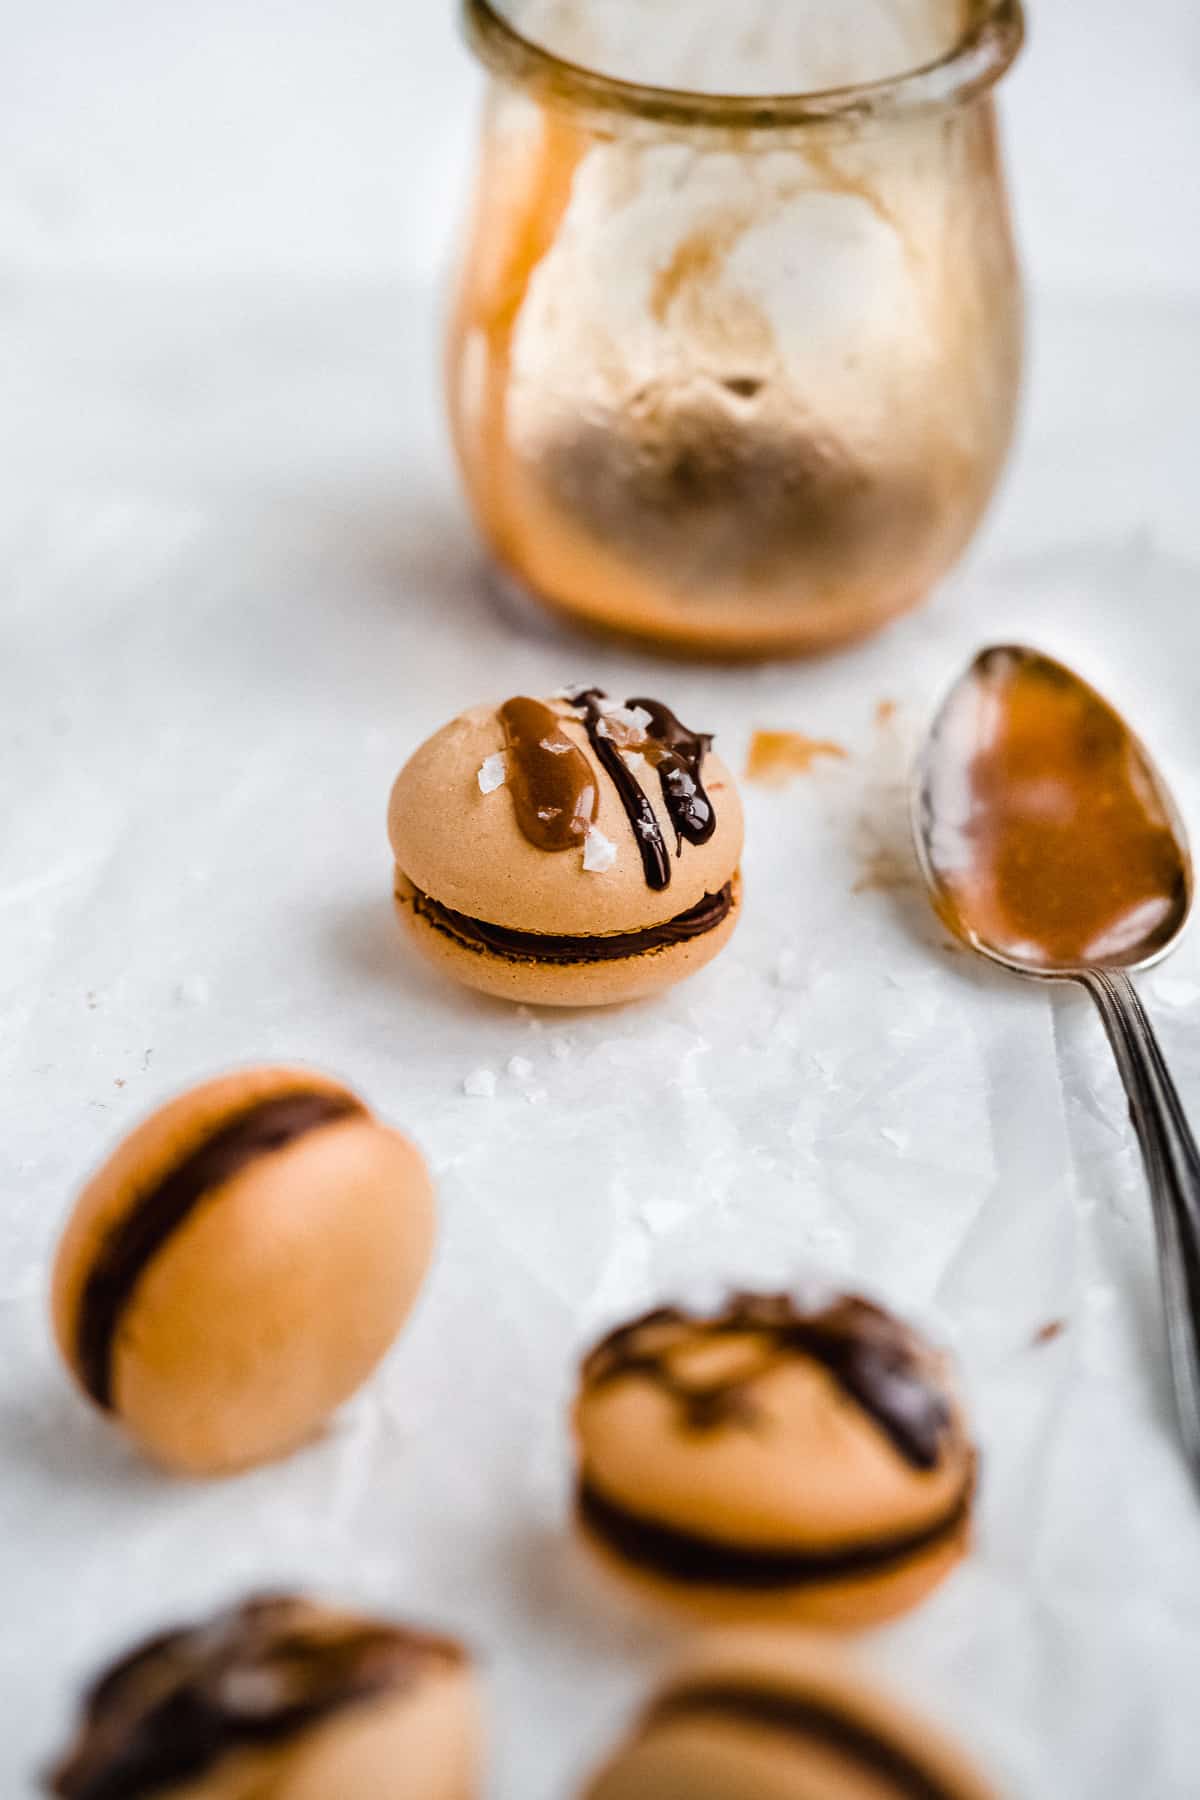
Homemade Macarons
If you've never made macarons at home before, welcome to the party! I had also never made them at home before until I got this urge to put a recipe up on the blog. It's safe to say my trash can was full of bad batches for a couple days before I finally nailed down the method. The good news for you is that I probably made every mistake in the book and landed on a simple and easy method that is perfect for beginners!
Caramel Dark Chocolate Macaron Components
To make homemade macarons, you will go through three different stage:
- Meringue - this is simply the batter with only the egg whites and the sugar. To make the meringue, whip the egg whites and sugar together until stiff peaks form. This could take a while. You want to end up with batter that sticks up straight on the tip of your mixer whisk. There are a couple ways to make the meringue. See the below section on the different methods and which one I recommend for beginners.
- Macronage - this stage occurs after you fold in the almond flour and sugar. There is an art to this. You want to fold the batter with a big rubber spatula into the center of your bowl. Keep folding until you can make a figure 8 with the batter without the batter breaking.
- Batter - I don't think this is the proper name for this stage but it's what I'm calling it. At this stage, you are ready to pipe your macarons! But not too fast. After you pipe them onto a baking sheet, you want to bang the pan against the counter to get any air bubbles out. This is best done by "dropping" the pan on the counter from about 6 inches high a couple times. Then, let the macarons dry out on the counter for about half an hour before they're oven-bound.
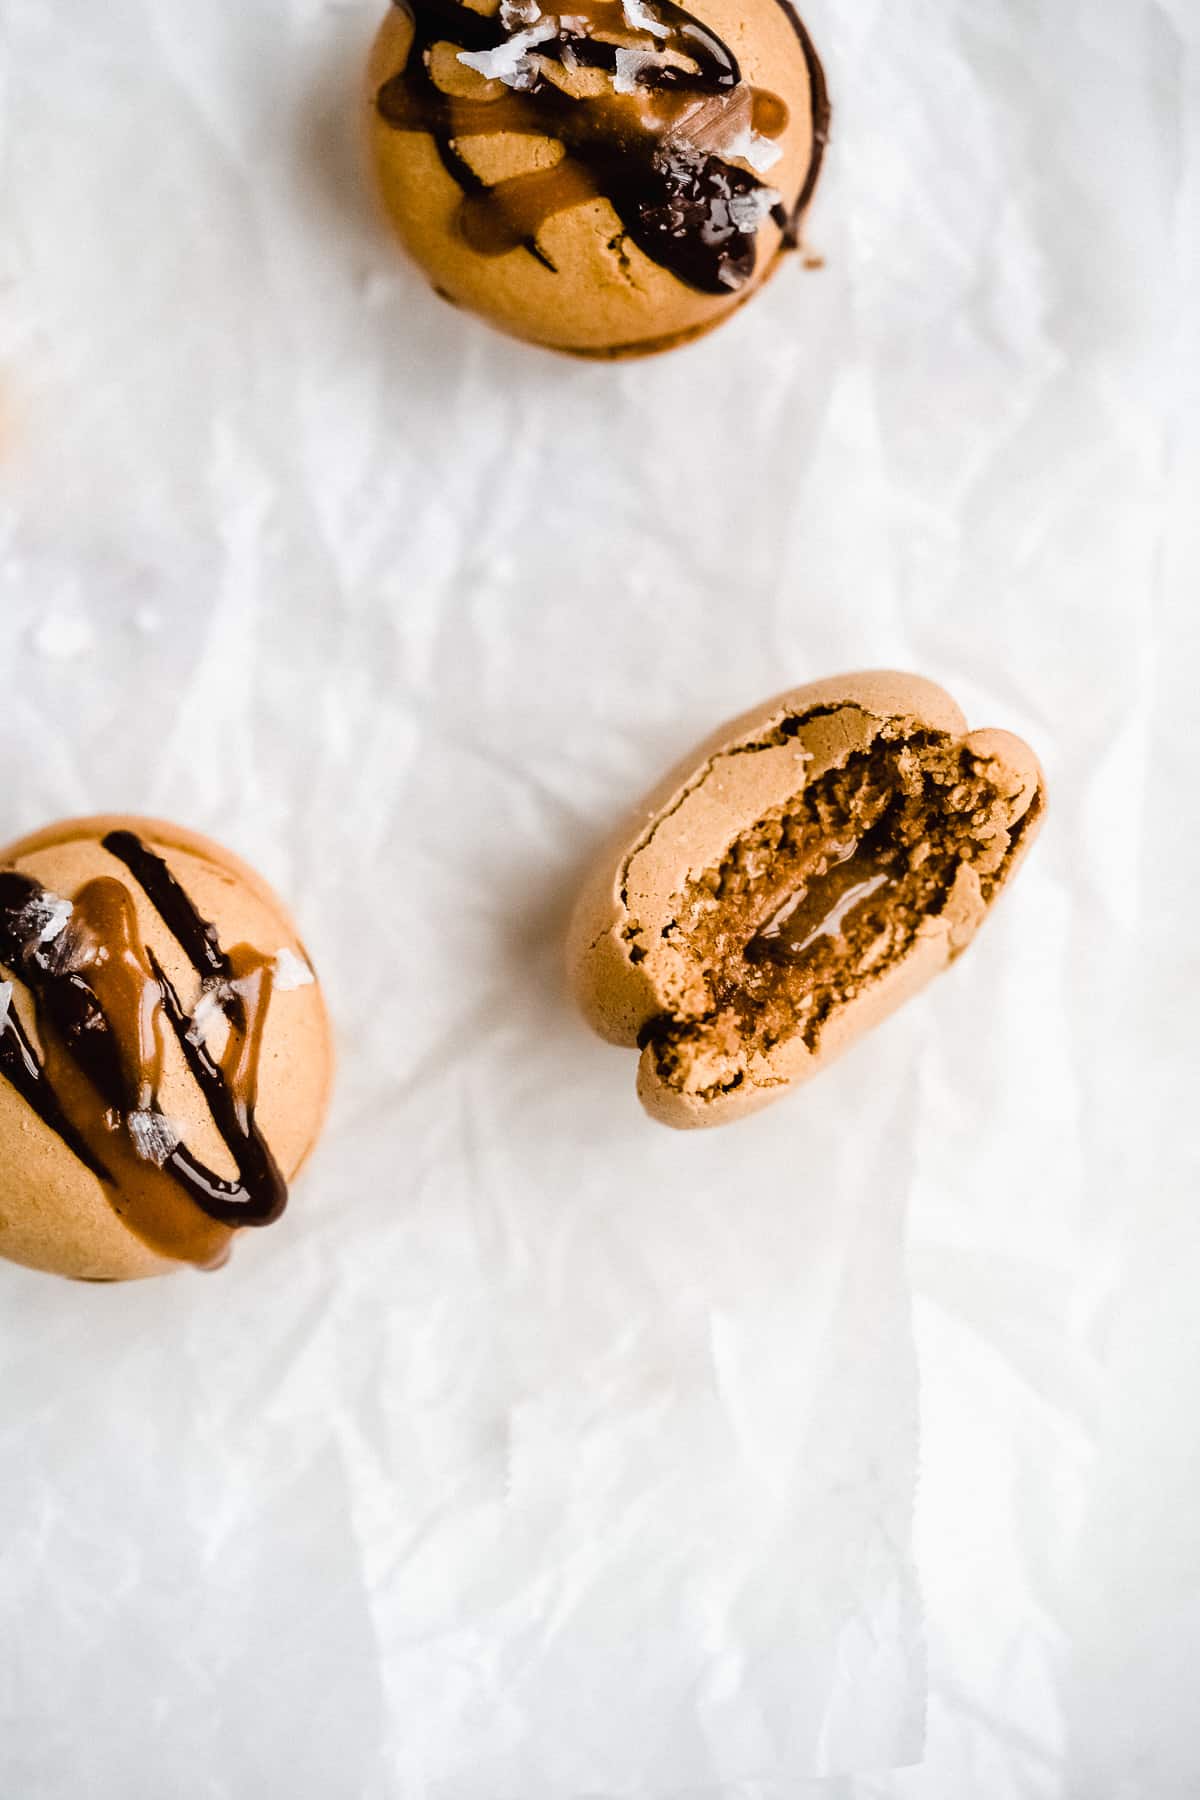
French Macarons vs Italian Macarons vs Swiss Macarons
Did you know there were so many styles of macarons? I didn't either until I set out on this quest to make macarons at home. The only difference is the method in which the meringue is made. Here's a quick breakdown:
- French Macaron - made by whipping together egg whites and granulated sugar. It's probably the easiest, no fuss method but can be hard to master
- Italian Macaron - this is the trickiest method and a little more high maintenance. In this method, the meringue uses a "sugar syrup" which is made by dissolving sugar in simmering water over a double boiler. The "sugar syrup" is then slowly whipped into the egg whites. This is supposed to create a stabilizer and therefore made the meringue a little easier to work with. However, I consider the entire method a little too much work in general
- Swiss Macaron - this method meets the French and Italian methods in the middle. The Swiss method involves whisking the sugar and egg whites over a double boiler until dissolved. The egg white and sugar mixture is then whipped to create the meringue.
For this recipe, I used the Swiss method and found it to be easy and simple to use. Especially if you've never made homemade macarons before.
How to Make Dark Chocolate Caramel Macarons at Home
So let's get into it! Refer to the images above for each step. Trust me, having a visual really helps!


Step 1 - Make the Meringue
First, make the meringue. Like I said above, I prefer the Swiss method and recommend that method if you're a beginner. To do this, whisk together the egg whites and coconut sugar in a double boiler until the sugar is dissolved. You will know that it's dissolved when you can rub your fingers in the mixture and you can't feel any sugar crystals. To make the double boiler, simply simmer a pot with a little water on the stove over medium-low. Place your mixing bowl on top carefully and whisk. Be sure not to let the bottom of your bowl touch the water.
Step 2 - Whip the Meringue
Once the sugar is dissolved, transfer your mixture to the bowl of a stand mixer or a. separate mixing bowl. I found using a different bowl than the one used over the double boiler to be key.
Whip the egg white and coconut sugar on LOW SPEED for about 30 seconds. The speed is crucial. Whip them on low until you get a frothy consistency, then increase you speed a tad (about a 4 on a KitchenAid) and continue to whip until the mixture begins to look like soupy milk (about 1 - 2 minutes). After this stage, increase your mixing speed to high (about a 6 - 8 on a KitchenAid) until stiff peaks form. This can take anywhere from 6 - 12 minutes. To make sure your meringue is perfect, pick up the whisk or beater and hold it upside down. The batter should stick up straight and not bend. If it bends, continue mixing.


Step 3 - Sift the Almond Flour and Powdered Sugar
Next, sift together the almond flour and powdered sugar. Even though we use finely ground almond flour, it's still important to sift them together. You can also do this in a food processor by pulsing the two ingredients together a couple times.
Step 4 - The Macronage
Then, make the macronage by folding in the flour and powdered sugar mixture into the meringue. You want to do big scooping motions with the batter, folding the edges into the center, repeat. Do this until you can make a figure 8 with the batter using the end of the spatula without the batter breaking. Another way to tell if the batter is done mixing is to let it flow off your spatula. It should flow like "lava", aka it's thick and moves slowly but effortlessly.

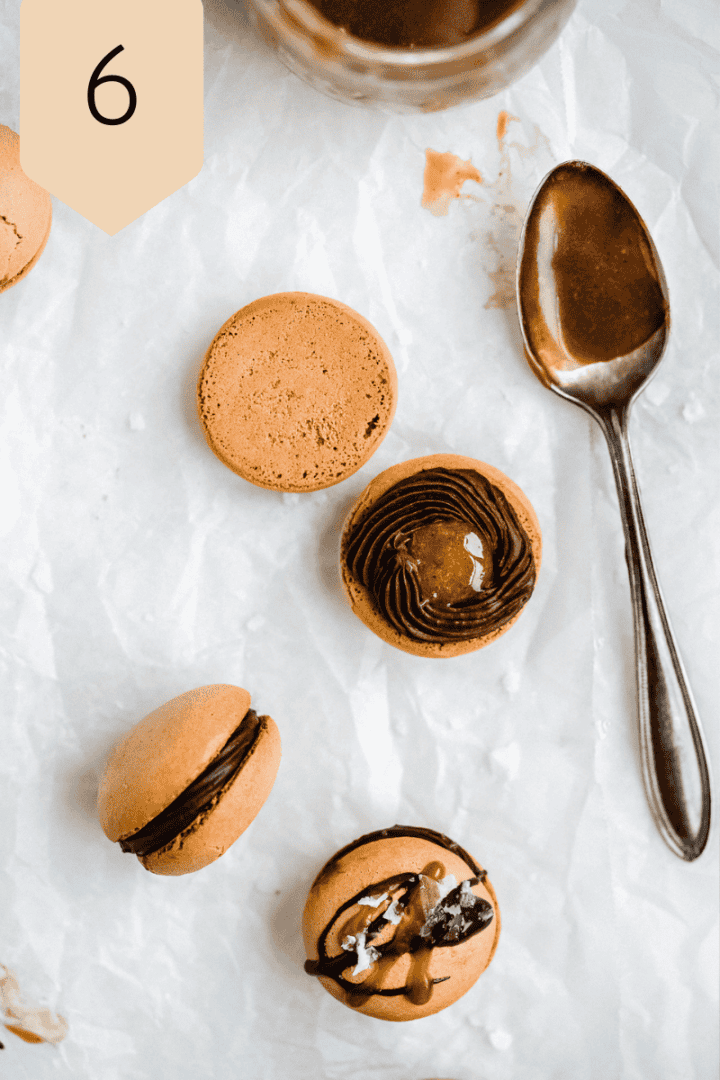
Step 5 - Pipe onto a Baking Sheet
When the batter is ready, transfer it to a pipping bag fitted with a circular tip. Pipe small silver dollar sized circles on the baking sheet (about 1.5 - 2 inches in diameter). You can also use one of these baking mats with the circles lined out for you. Then pick up the baking pan and "drop" it on the counter from about 6 inches high a couple times to get the air bubbles out. If there are still air bubbles visible, you can pop them with a toothpick gently. Let the batter dry out for at least 30 minutes before baking. You'll know they are dry when you can gently brush your finger over the tops and it's semi-smooth.
Step 6 - Pipe with Filling
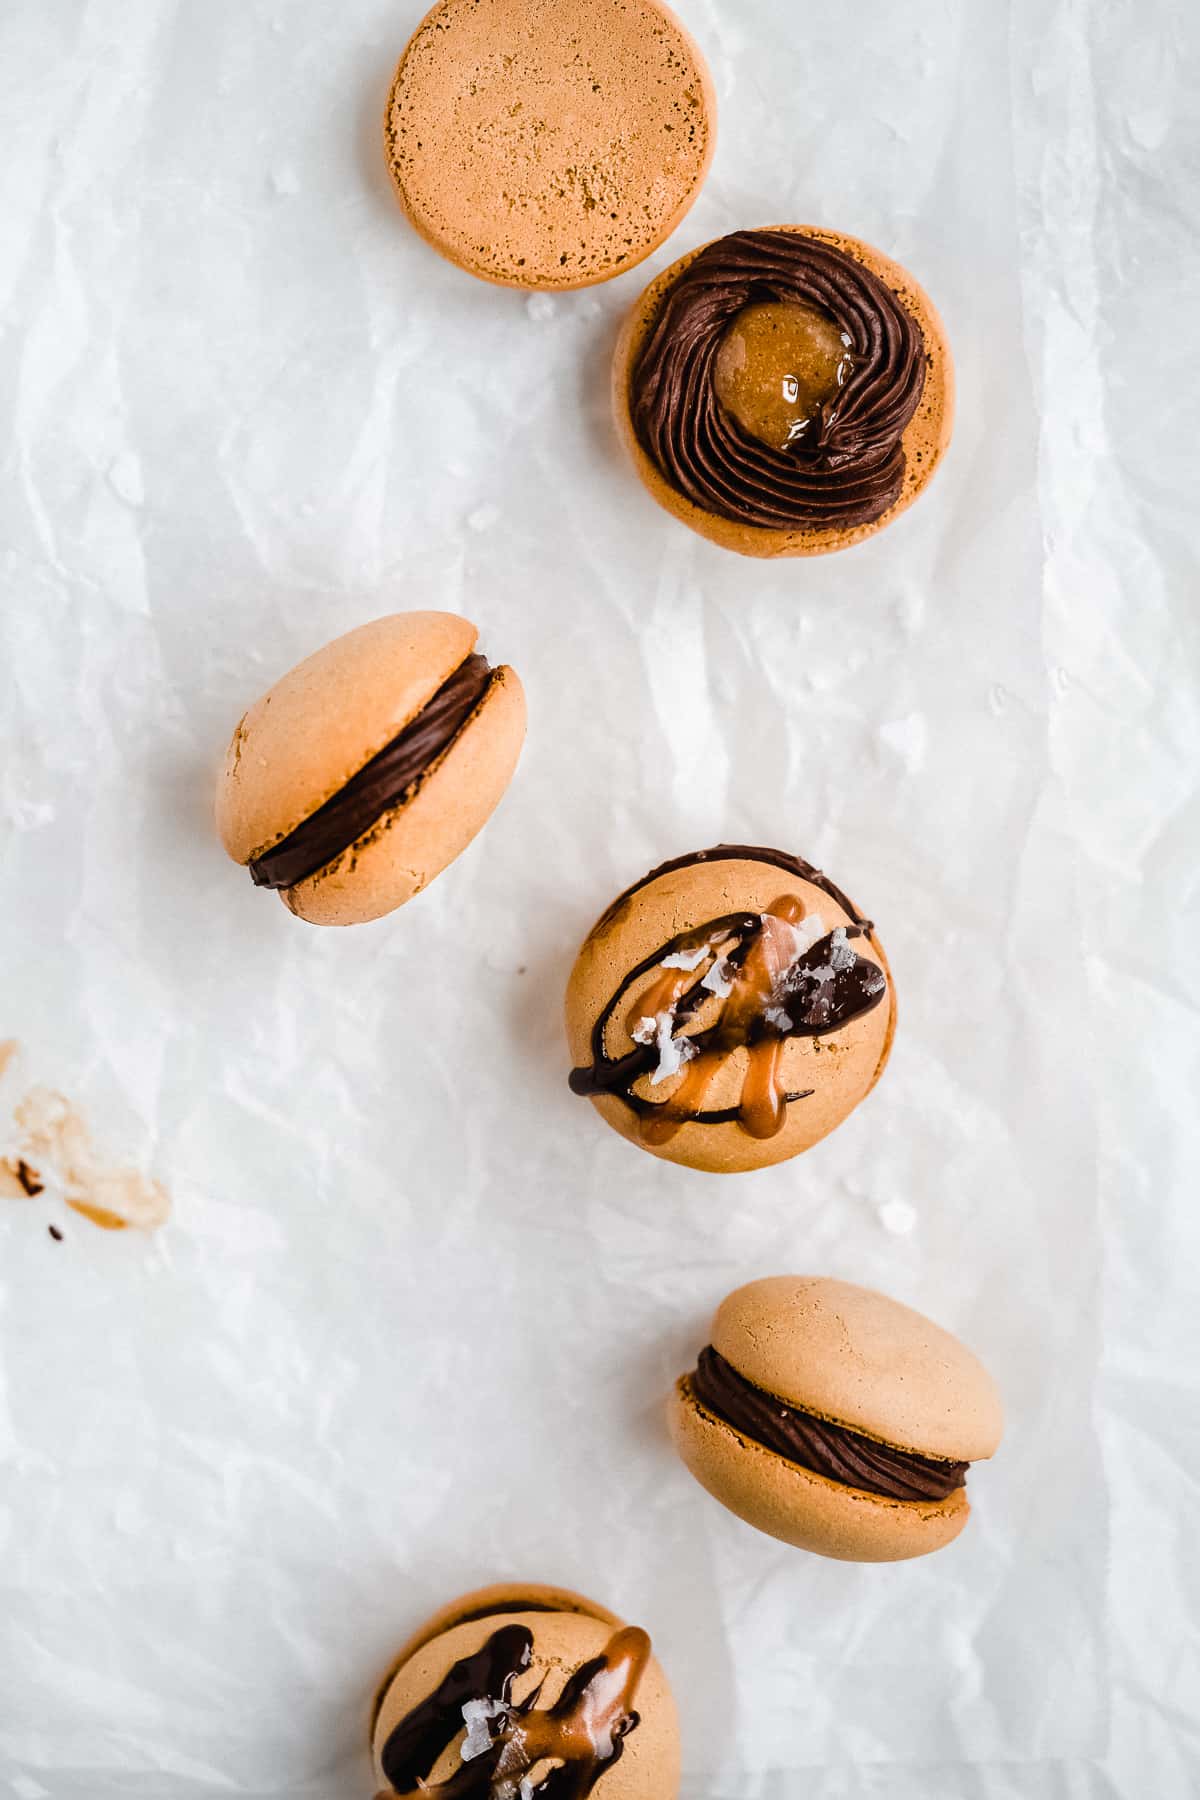
Let the macarons cool down before removing them from the baking sheet. If desired, drizzle melted dark chocolate and caramel over half of them and sprinkle with sea salt (these will be the tops). Pipe the bottoms with vegan dark chocolate ganache filling and a dollop of dairy free caramel in the center and place a half on top to seal.

Tips and Tricks for Dairy-free Macarons
Making macarons is hard, there's no doubt. I probably made every mistake out there at first which is great news for you because I'm here to tell you all my tips and tricks so you can make perfectly cute macarons every time!
- Measure your ingredients. This is critical. Use a kitchen scale to measure all of the ingredients to the gram. This is really non-negotiable in the world of macarons.
- Watch your mixer speed when whipping the meringue. You want to start off slow (think speed 2 on a KitchenAid) until you see bubbles and it looks frothy. Then increase the speed slightly (a 4 or so on a KitchenAid) until it looks like soupy milk. Only then do you increase the speed to high (a 6 - 8 on a KitchenAid) and whip until stiff peaks form. You will be surprised how long it takes to get the stiff peaks. Since we're using coconut sugar, it may take at least 10 minutes on high speed.
- Don't over mix the macronage. This was the hardest part for me. Probably because I kept reading that the batter should look like lava and I've never personally seen lava. The figure 8 test did it for me. It's simple - make the shape using the end of your spatula. Once you can make the shape effortlessly without the batter breaking, you're done.
- Turn your baking sheet half way through. This is also super important for beginners as you may not really know how your oven works. The back of my oven is stronger than the front, which I found out while macaron testing ;). The best way to ensure an evenly baked batch is to rotate the baking sheet half way through the baking time.
- Wait until the macarons are cool before taking them off the baking sheet. If you try to pull them off the baking sheet while they're still warm, you risk the bottoms sticking to the parchment paper.
Frequently asked questions
Most macarons are not dairy-free due to the filling. The good news though is you can make your own macarons at home with a dairy-free filling! Try to find a recipe with a filling made specifically dairy-free for optimal results. However, in a pinch you can probably substitute the butter with vegan butter in most recipes.
This can happen if the batter is over mixed. Only fold the macronage until you can easily draw a figure 8 in the batter with a spatula.
These macarons are best stored in an airtight container in the fridge. This allows the filling to stay chilled and firm. They will keep for up to a week when stored in the fridge.
More dairy-free treats you're bound to love
More From The Fit Peach
PS : If you make this recipe, be sure to leave a star review and comment below! Also be sure to follow along with me on Instagram and Pinterest to stay up to date on all tasty recipes here at The Fit Peach!
Recipe

Dark Chocolate Caramel Dairy-free Macarons
Ingredients
For the Dark Chocolate Filling
- 1 cup coconut cream
- 1 cup dark chocolate chips
For the Caramel
- ⅓ cup dairy free caramel*
For the Macarons
- 100 g egg whites - approx. 3 large eggs
- 100 g coconut sugar
- 100 g finely ground almond flour - I love Bob's Red Mill
- 100 g organic powdered sugar
- Optional toppings - melted dark chocolate, extra caramel sauce, sea salt flakes
Instructions
- Prepare the vegan dark chocolate ganache filling first. Heat the coconut cream and dark chocolate in a skillet over medium-low heat. Stir occasionally until the chocolate is melted. Pour the mixture into a bowl and place in the fridge to set up while you make the macarons.1 cup coconut cream, 1 cup dark chocolate chips
- Next, make the homemade caramel sauce and allow time to set in the fridge with the chocolate filling.⅓ cup dairy free caramel*
- Prepare the meringue by whisking together the egg whites and coconut sugar in a bowl over a double boiler. If you don't have a double boiler, simply hold the bowl over a small pot of simmering water and allow the steam to heat the mixture. Whisk until the sugar is dissolved. You'll know it's done when you can rub the mixture in between your fingers and not feel any sugar crystals.100 g egg whites, 100 g coconut sugar
- Transfer the meringue into a the bowl of a stand mixer or a separate large mixing bowl. Mix the meringue on LOW speed (speed 2 on KitchenAid) until the mixture develops little bubbles and looks frothy (about 30 seconds). Then increase your mixing speed slightly (speed 4 on KitchenAid) and mix until the mixture resembles soupy milk (about 1 -2 mins). Finally, increase the mixing speed to high (speed 6 - 8 on KitchenAid) and whip until stiff peaks form (anywhere from 6 - 12 minutes). To test if it's done, flip the beater or whisk upside down. If the batter stands up straight and doesn't bend, it's done.
- Next, sift together the almond flour and powdered sugar. Fold into the meringue with big scooping motions. You want to fold the outer sides into the middle. Continue to fold until you can make a figure 8 with the end of your spatula and the batter doesn't break.100 g finely ground almond flour, 100 g organic powdered sugar
- Transfer the batter into a pipping bag fitted with a circular tip and pipe silver dollar sized circles onto a baking sheet. Leave about 2 inches of room in between the circles. "Drop" the baking pan a couple times on the counter to remove any air bubbles. Set the baking pan aside for at least 30 minutes to dry out.
- Preheat oven to 325 F. Bake the macarons for 12 - 14 minutes, turning the baking sheet half way through. Let cool before icing.
- Once cool, drizzle melted dark chocolate and extra caramel sauce over top half the macarons if desired. Sprinkle with sea salt flakes. Next, fill a piping bag with the dark chocolate ganache fitted with a star tip and pipe a circle around the bottom of the macarons. Fill the center of the circle with a dollop of caramel. Place the other half of the macaron over top to seal.Optional toppings
- These macarons are best enjoyed fresh. If needed, store in an air-tight container in the fridge for up to 3 days.


I've tried making macarons a few times, but I could never get the consistency of the wafers correct. I can honestly say these are the lightest macaron wafers I've made so far. I brought them to my family's house for a gathering and they were a major hit! My grandma, who prides herself on her own desserts, paid me a major compliment for my macarons. Thanks for the help!