Cheerio Bars with Peanut Butter
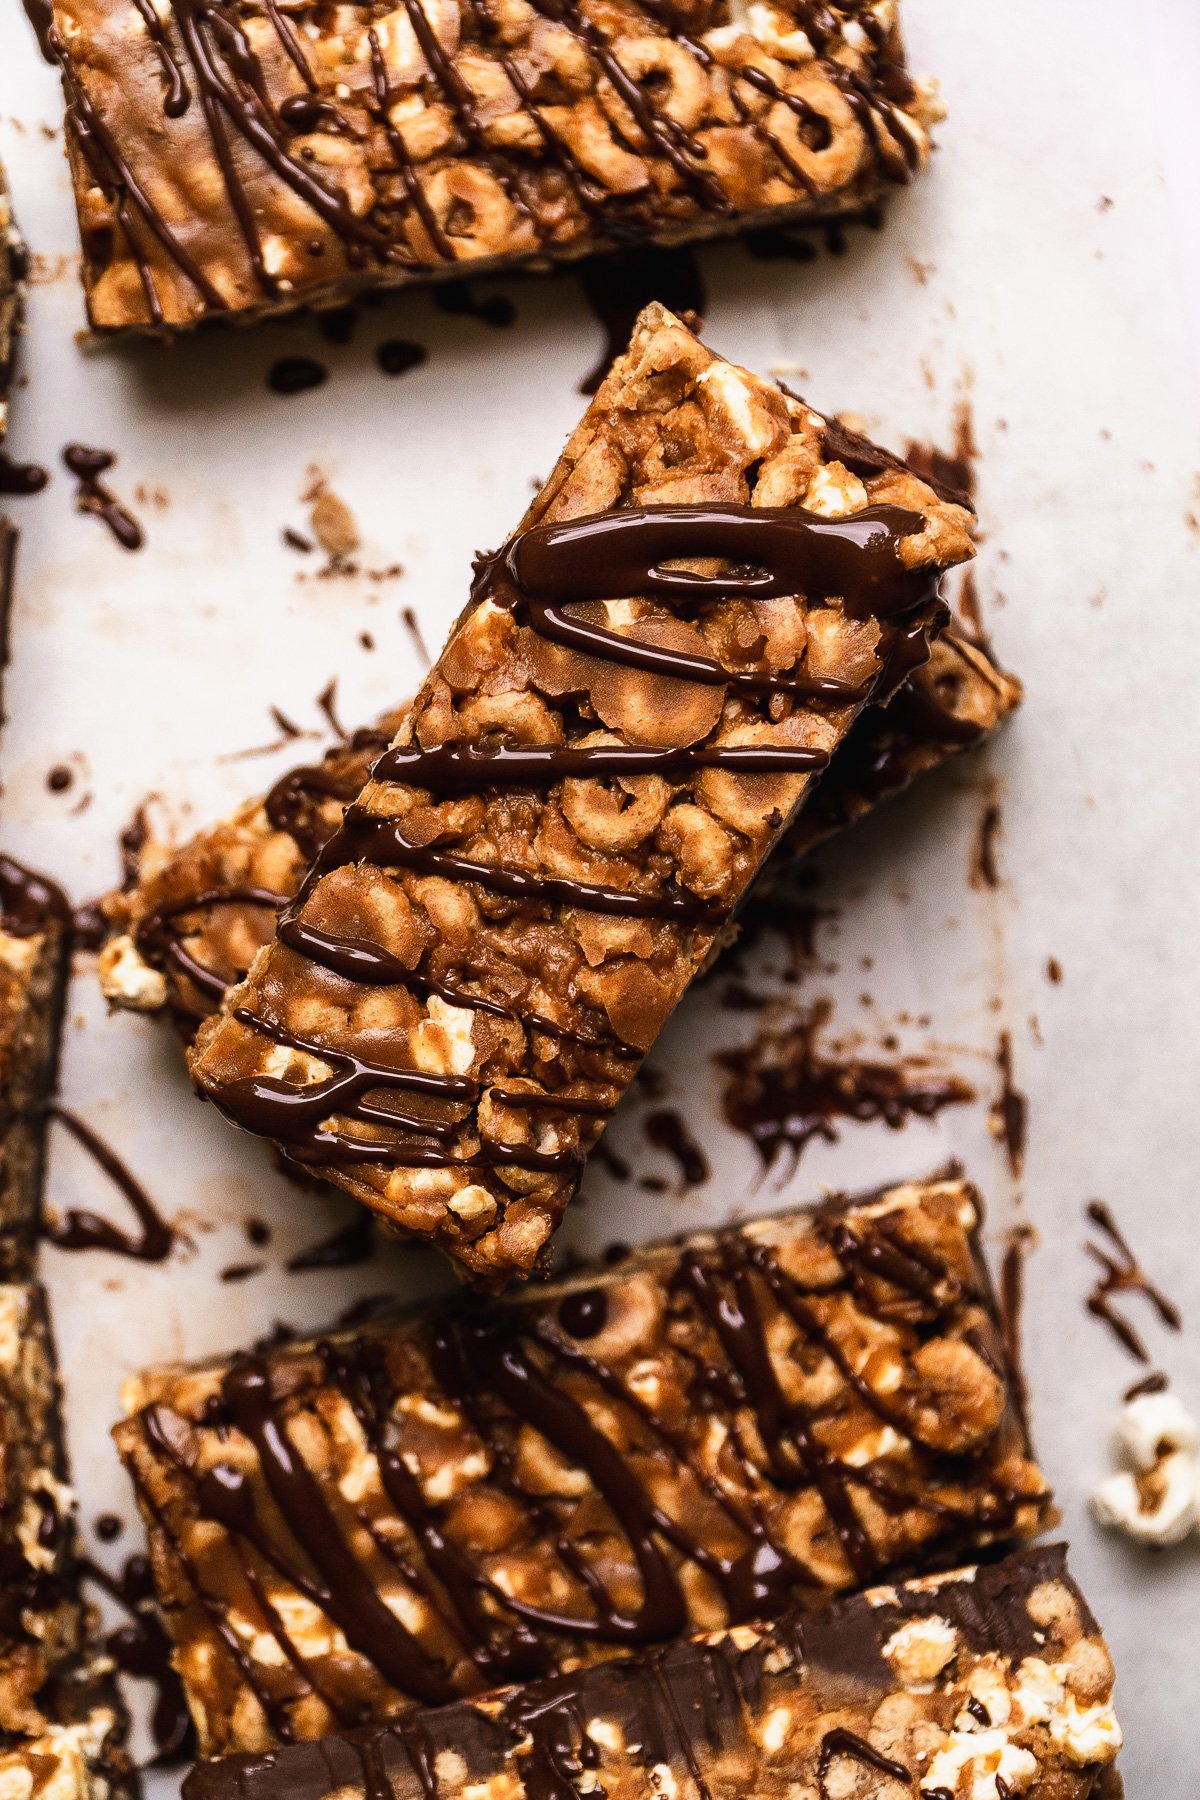
Kids and adults alike will love these ooey gooey peanut butter cheerio bars! They have a dark chocolate base with a crispy layer of nutty cheerios and popcorn. Made with simple ingredients, they're the perfect salty and sweet on the go snack!
Jump to:
- Cheerio Bars Recipe characteristics
- Why I love Peanut Butter Cheerio Bars
- Cheerio Peanut Butter Bars ingredients
- How to make Cheerio Bars with Peanut Butter
- Tips for Making Cheerios Bars
- Peanut Butter Cheerio Treats Recipe Variations
- How to Store Cheerio Bars with Peanut Butter
- Peanut Butter Cheerio Bars FAQs
- Recipe
- Reviews
Cheerio Bars Recipe characteristics
- Made gluten free and dairy free
- Crunchy crispy texture
- Layer of chocolate on the bottom
- Can be made nut free
Why I love Peanut Butter Cheerio Bars
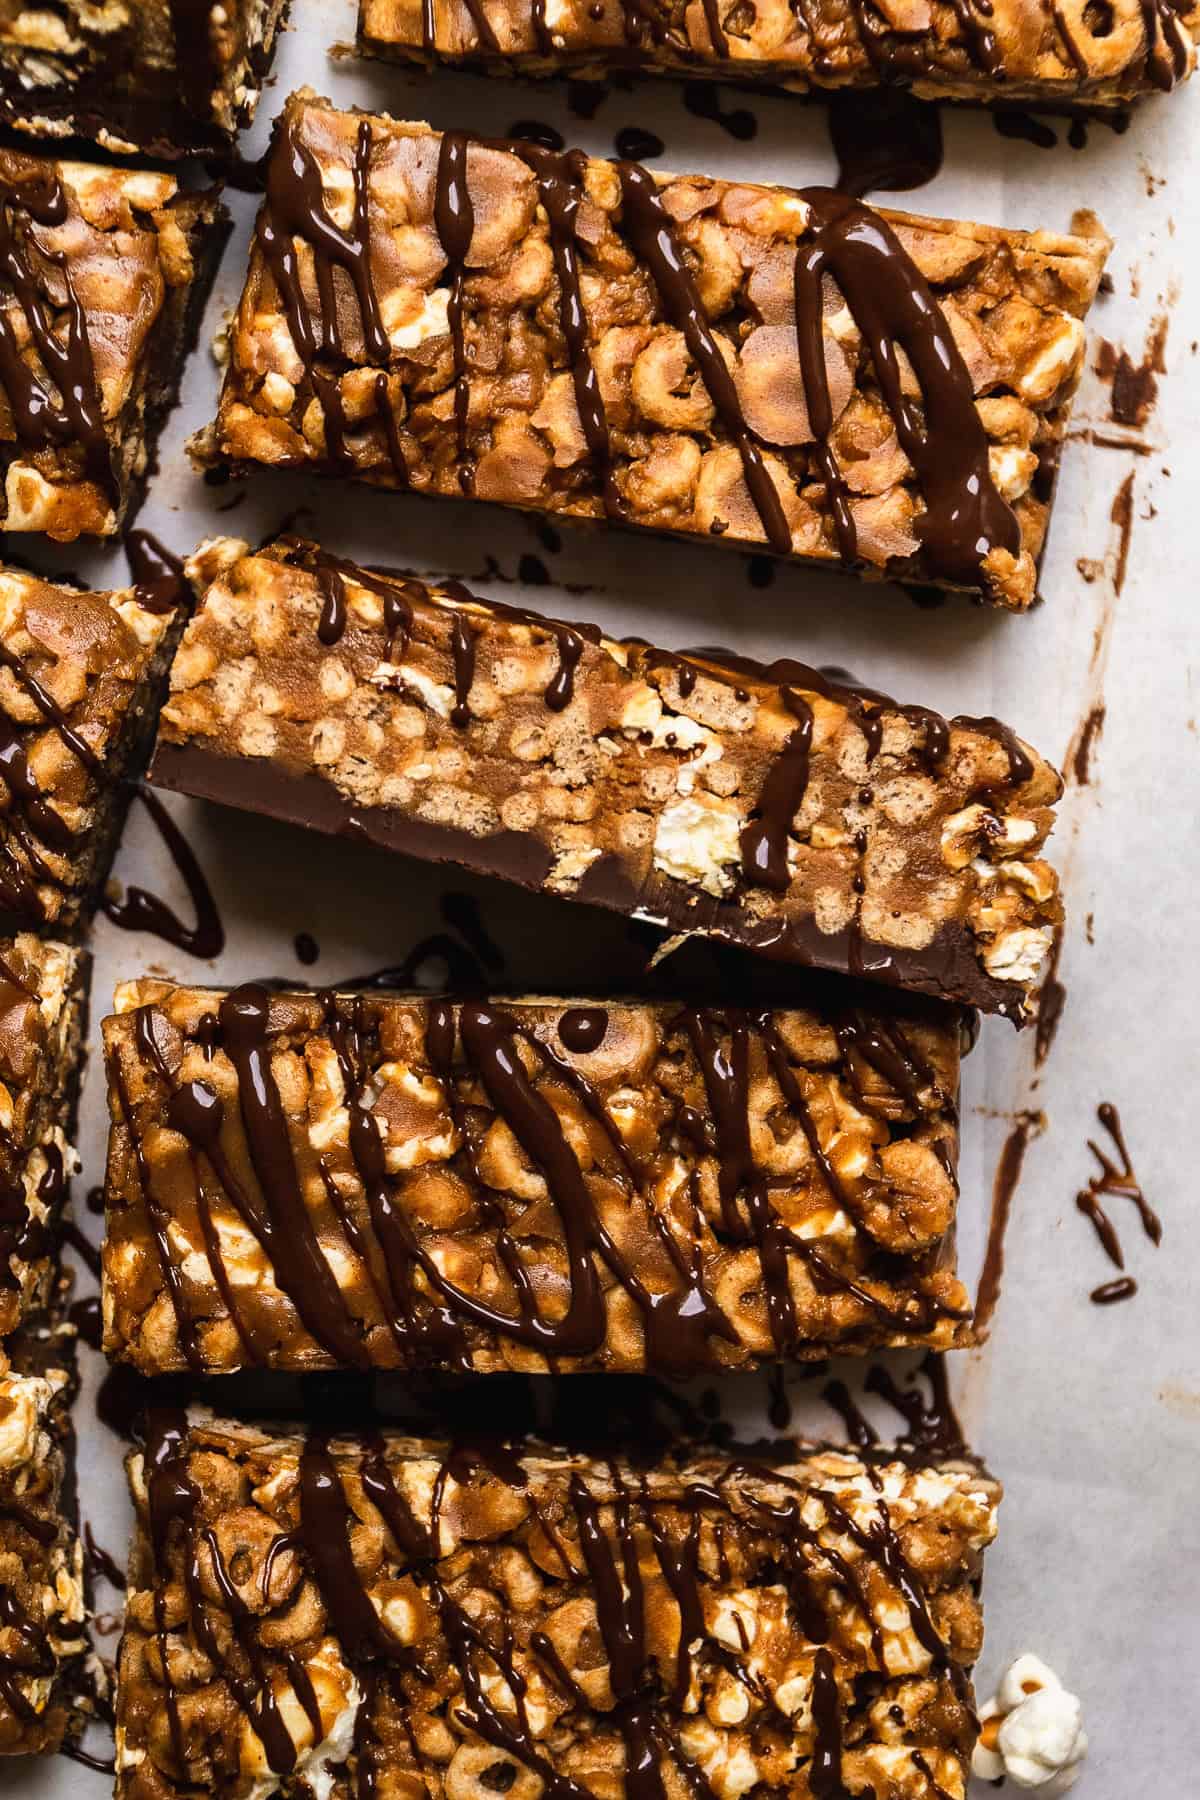
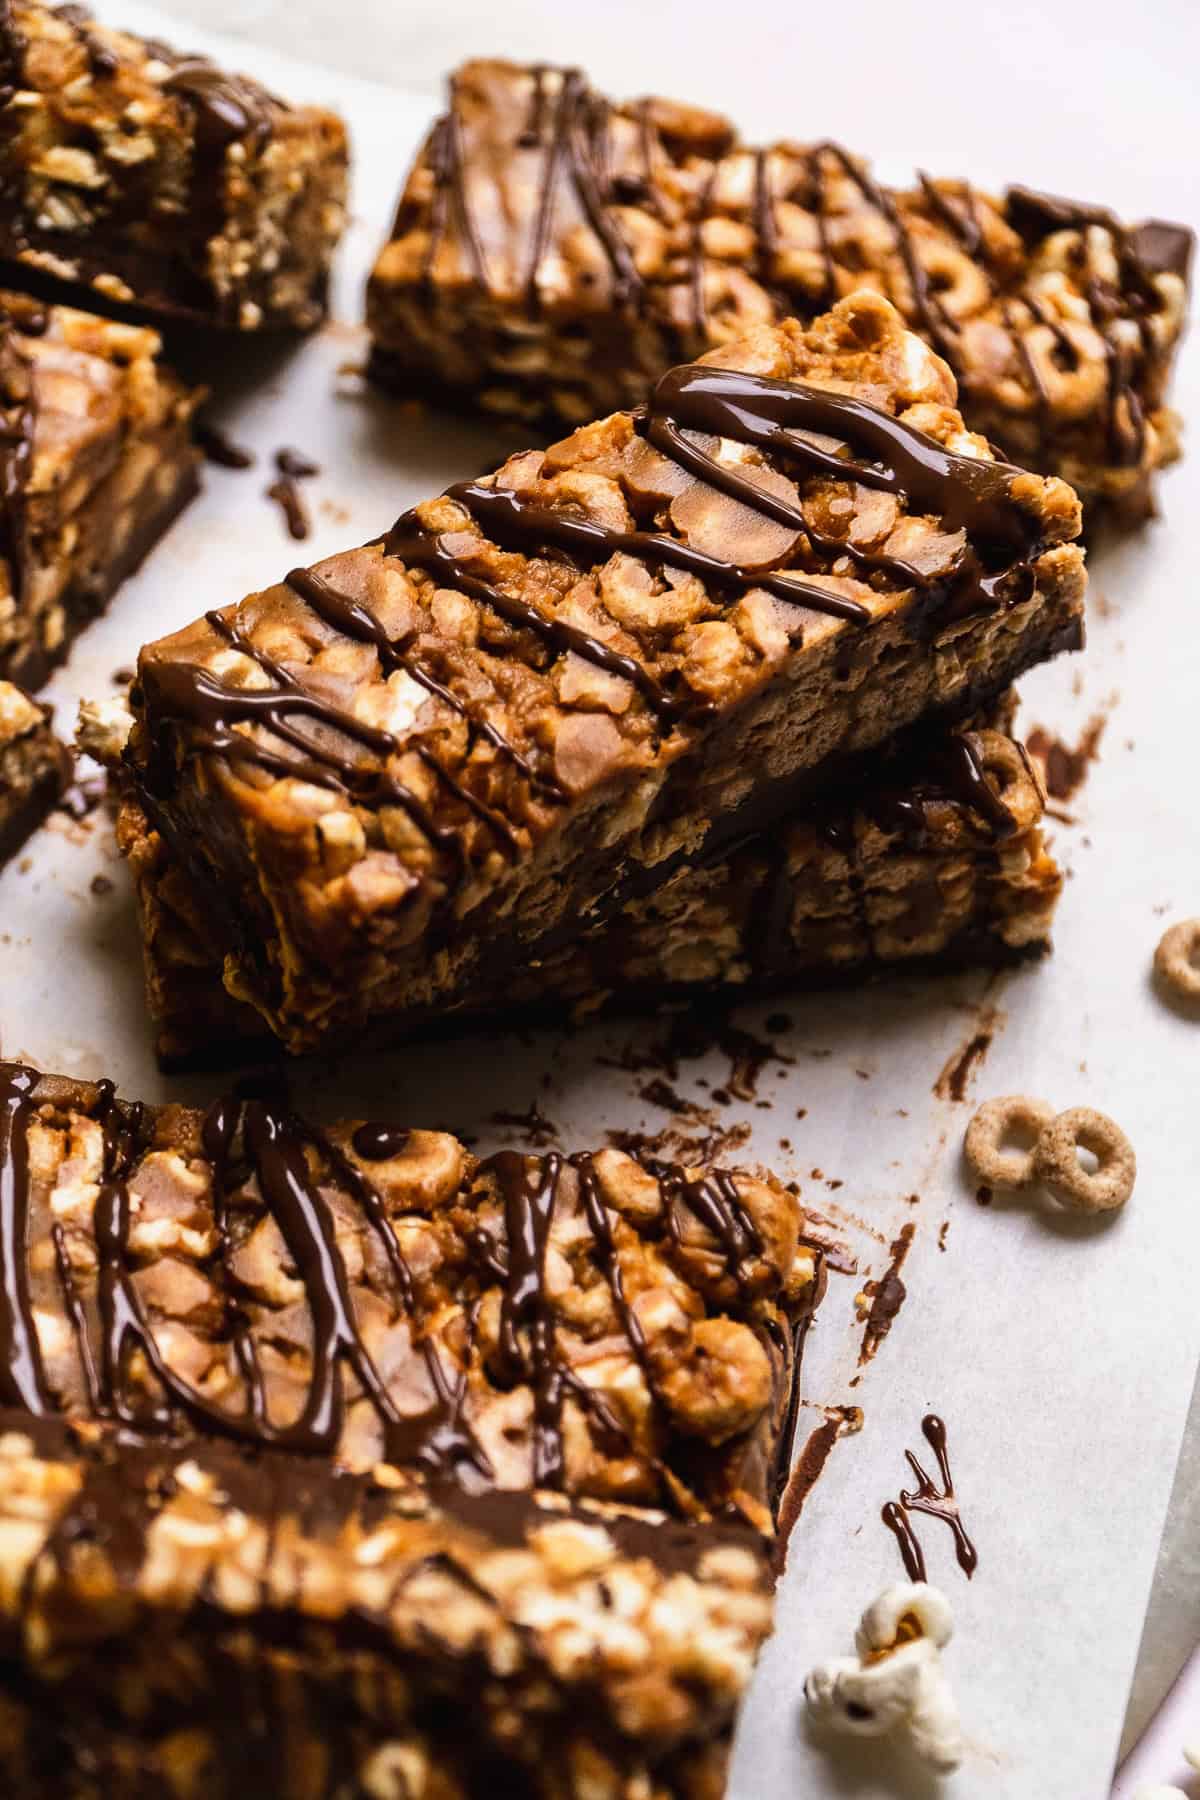
While peanut butter cheerio bars are nothing new, these handheld bars boast a layer of chilled chocolate along the bottom to complement the rich peanut butter flavor. The crunchy layer on top is a mixture of both cheerios AND popcorn for an extra salty combo. Not to mention the crunch factor. These bars have the perfect amount of crunchiness you can literally hear when you take a bite but the bar will stay intact in your hand.
Now let's talk about the utter simplicity of this recipe. It's SO easy to make! My healthy no-bake chocolate peanut butter oat bars are super popular because of one, how delicious they are, but also two, how simple they are to make. These peanut butter cheerio bars are no different. They only require a few simple ingredients (no corn syrup) like a box of cheerios and some peanut butter and you can easily customize them to make them your own.
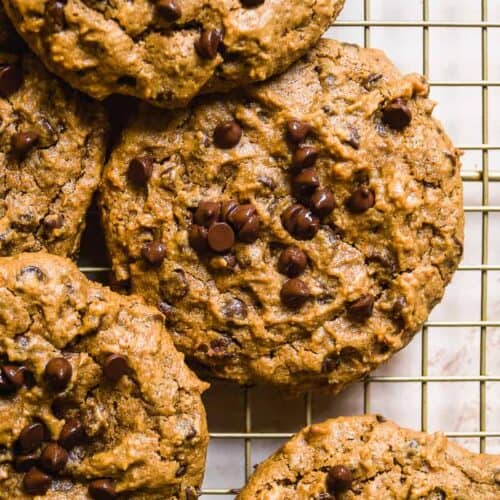
For more healthy snack recipes, check out my mini chocolate chip banana muffins, nut-free chocolate granola bars, or funfetti rice krispie treats.
Cheerio Peanut Butter Bars ingredients
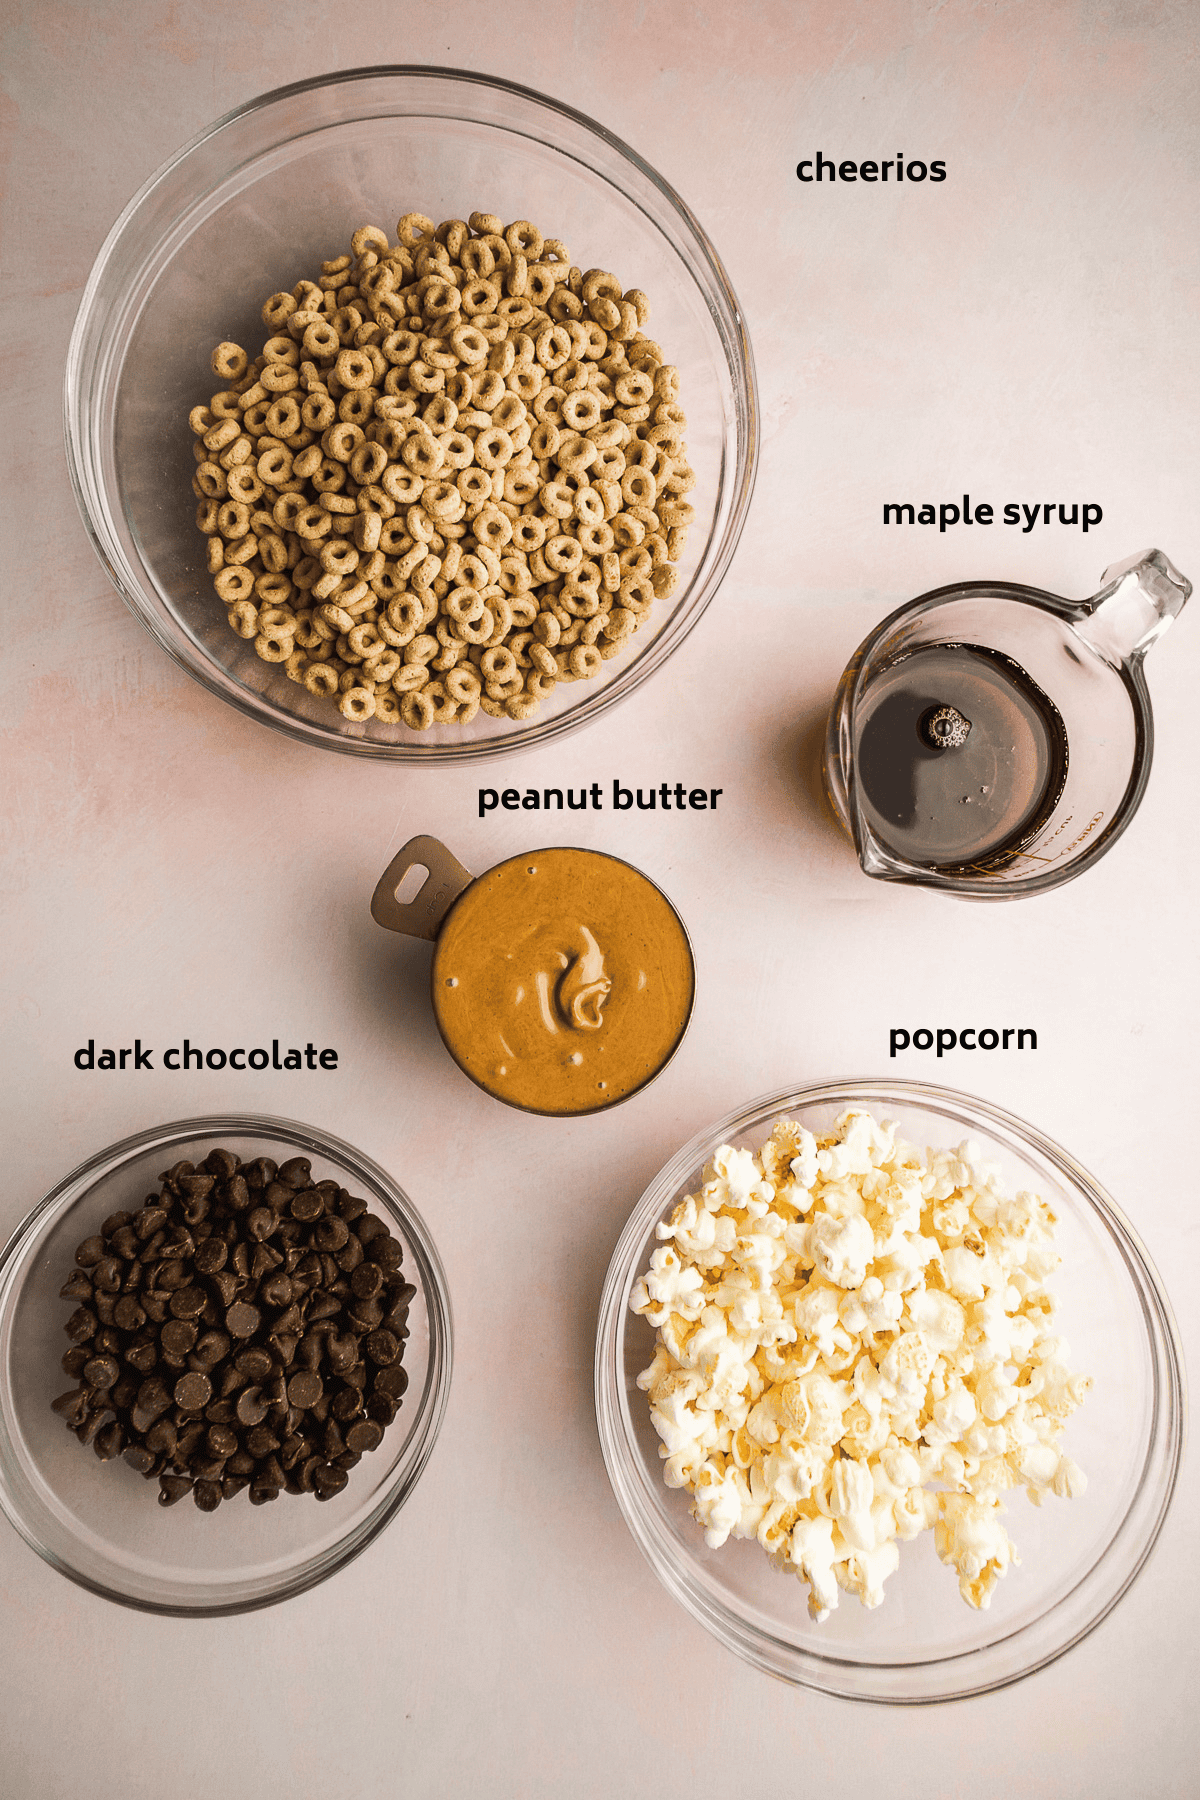
- Cheerios - Plain cheerios or multigrain are best. You can also use honey nut cheerios but your bars will be a little more sweet. A few of the mild flavors like maple or chocolate will work as well.
- Popcorn - This is mixed in with the cheerios and adds some more salty crunchy flavor. I used plain popcorn like Skinny Pop. I would not recommend using any of the flavored popcorn as you want the peanut butter flavor to shine through.
- Peanut butter - Natural peanut butter works best. You want the kind that you have to stir before using. If you do use no stir peanut butter, add a tablespoon or two of coconut oil. I prefer to use creamy peanut butter but crunchy will work too. Most any nut or seed butter will work in this recipe. I also like to use cashew butter or almond butter or, for a nut free option, sunflower seed butter.
- Maple syrup - Used to sweeten the bars. Honey or agave will also work as substitutes.
- Dark chocolate - Melted and used as the base of the bars. This adds a touch of sweet chocolate flavor to the bars for the ultimate sweet treat. Feel free to omit this if you want.
How to make Cheerio Bars with Peanut Butter
This simple school snack is pretty straightforward to make. You will need an 8 X 8 or 9 X 9 inch baking dish and some parchment paper for easy clean up.
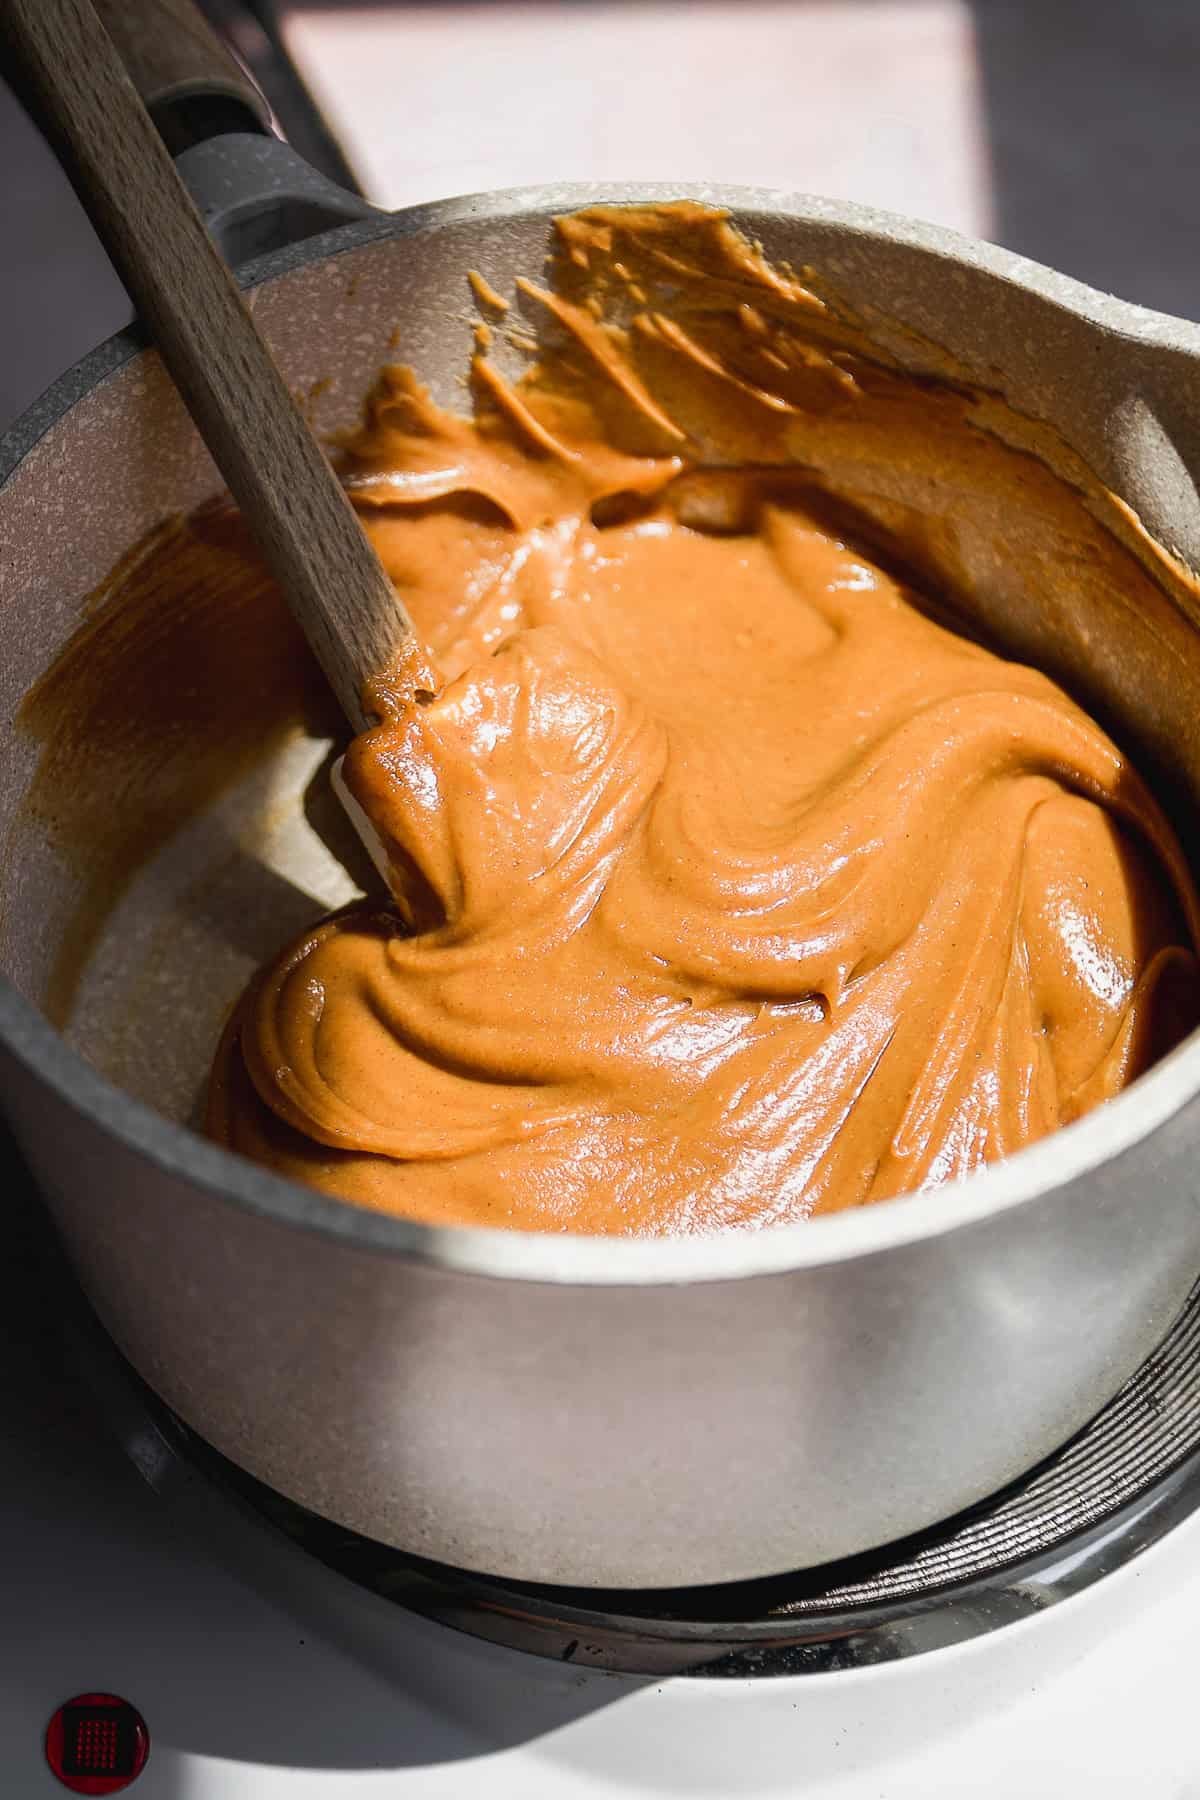
Step 1 : Melt the peanut butter. In a sauce pan, melt together the peanut butter and maple syrup until well combined over medium heat. The mixture will melt down slightly but still be semi-thick in consistency. If you use honey, the mixture will be a little thinner.
You can also use a microwave-safe bowl to melt these ingredients together if you prefer. I recommend heating it up in 10 second intervals and stirring in between.
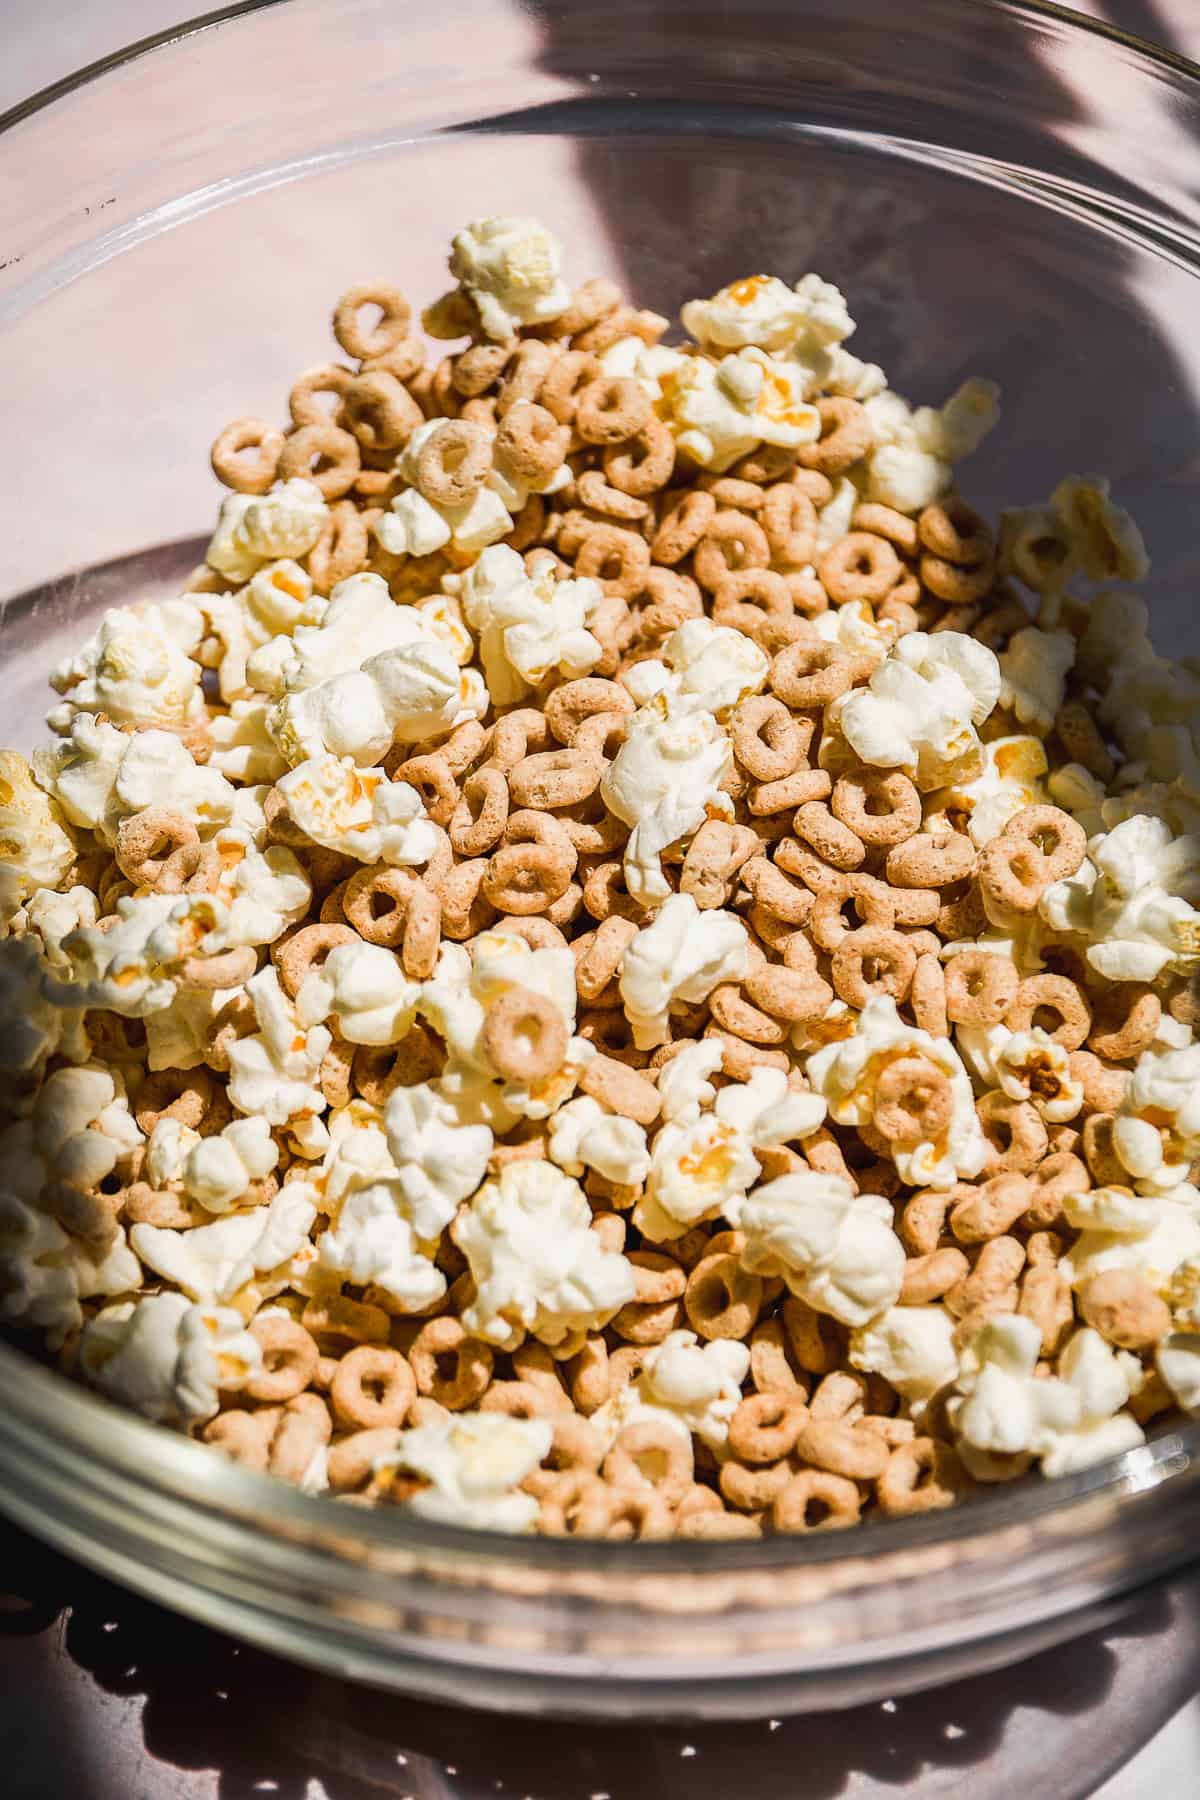
Step 2 : Add the cheerios and popcorn to a large bowl. Gently mix to distribute. Pour half of the peanut butter mixture into the bowl and use a rubber spatula to help mix everything up. Add the other half of the peanut butter mixture and mix again until the cheerios and popcorn are well coated. Ideally you want the peanut butter mixture on every piece of popcorn and cheerio.

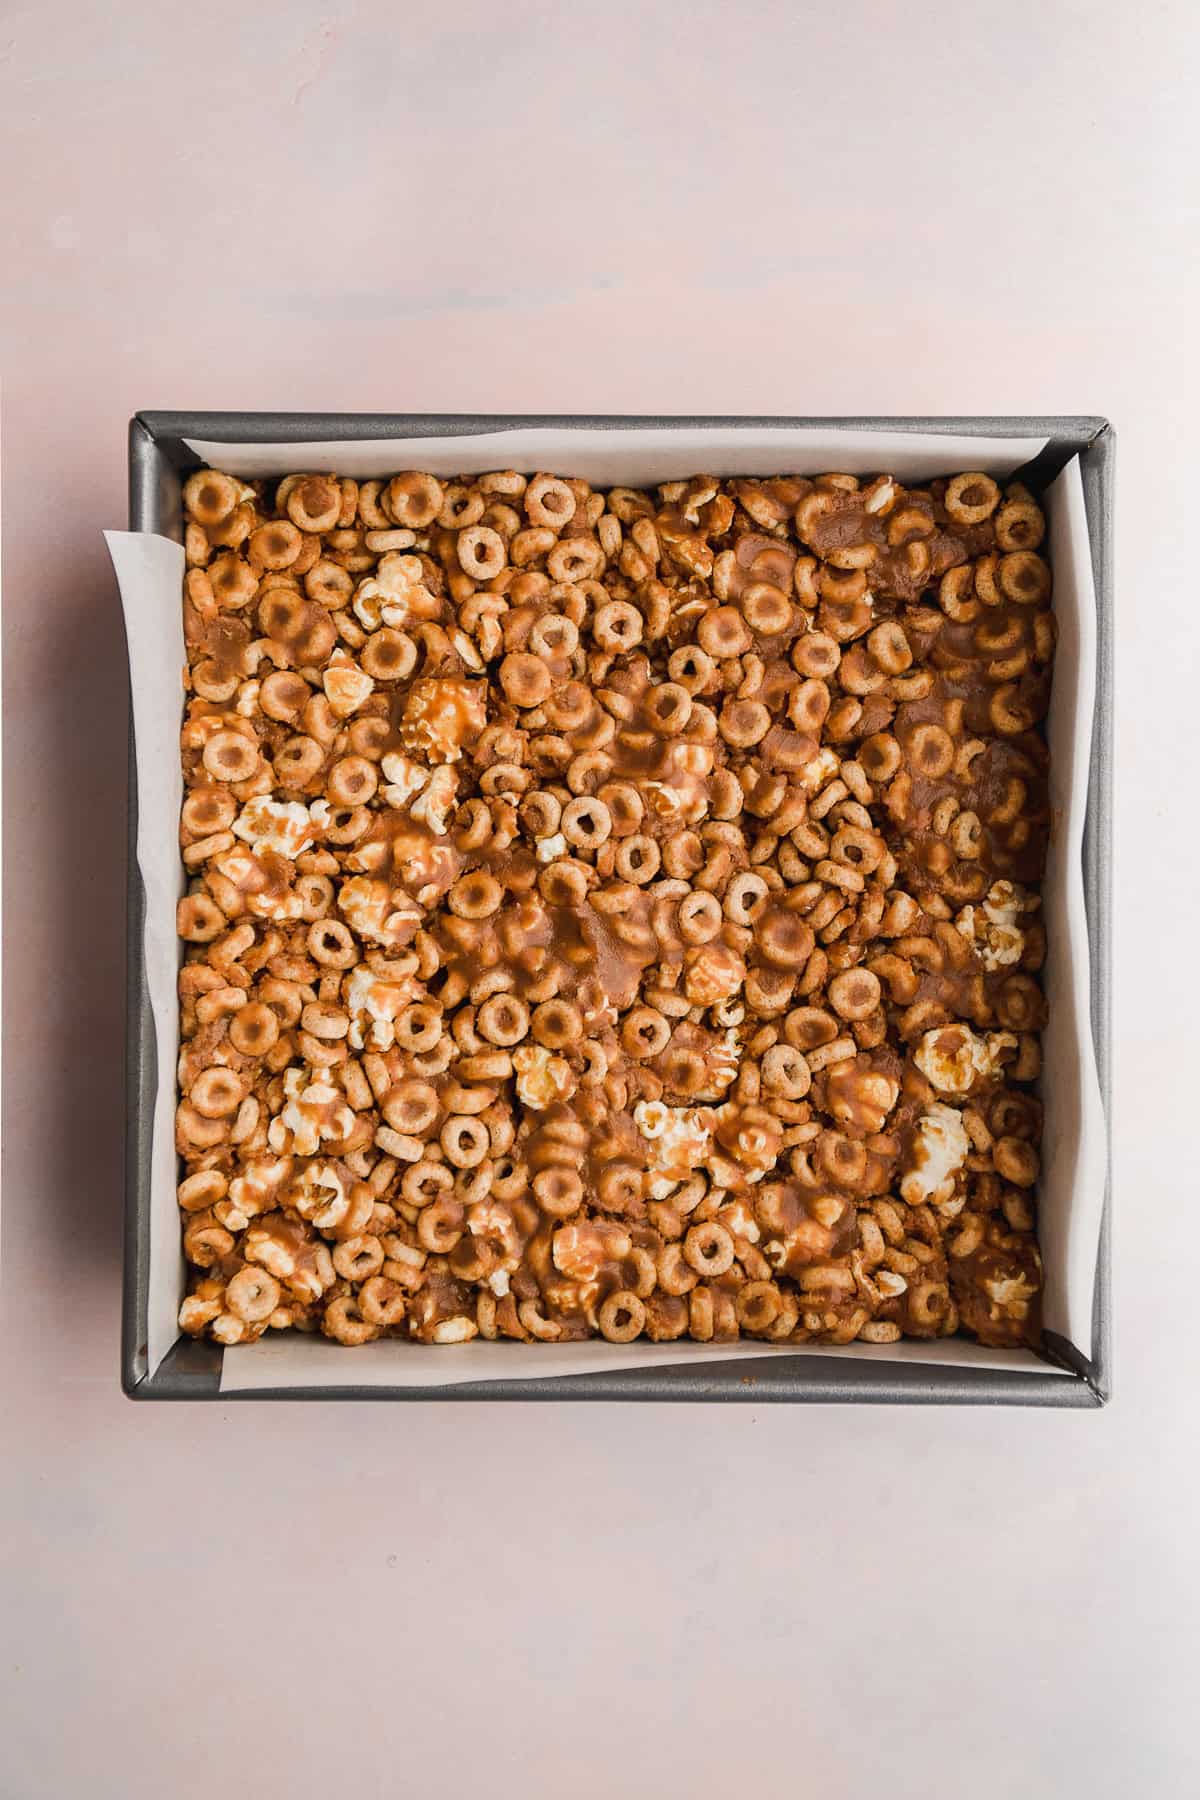
Step 3 : Press into a pan. Line a square baking pan with parchment paper and press the cheerio and popcorn mixture tightly into the pan. Make sure to really get the sides and corners well.
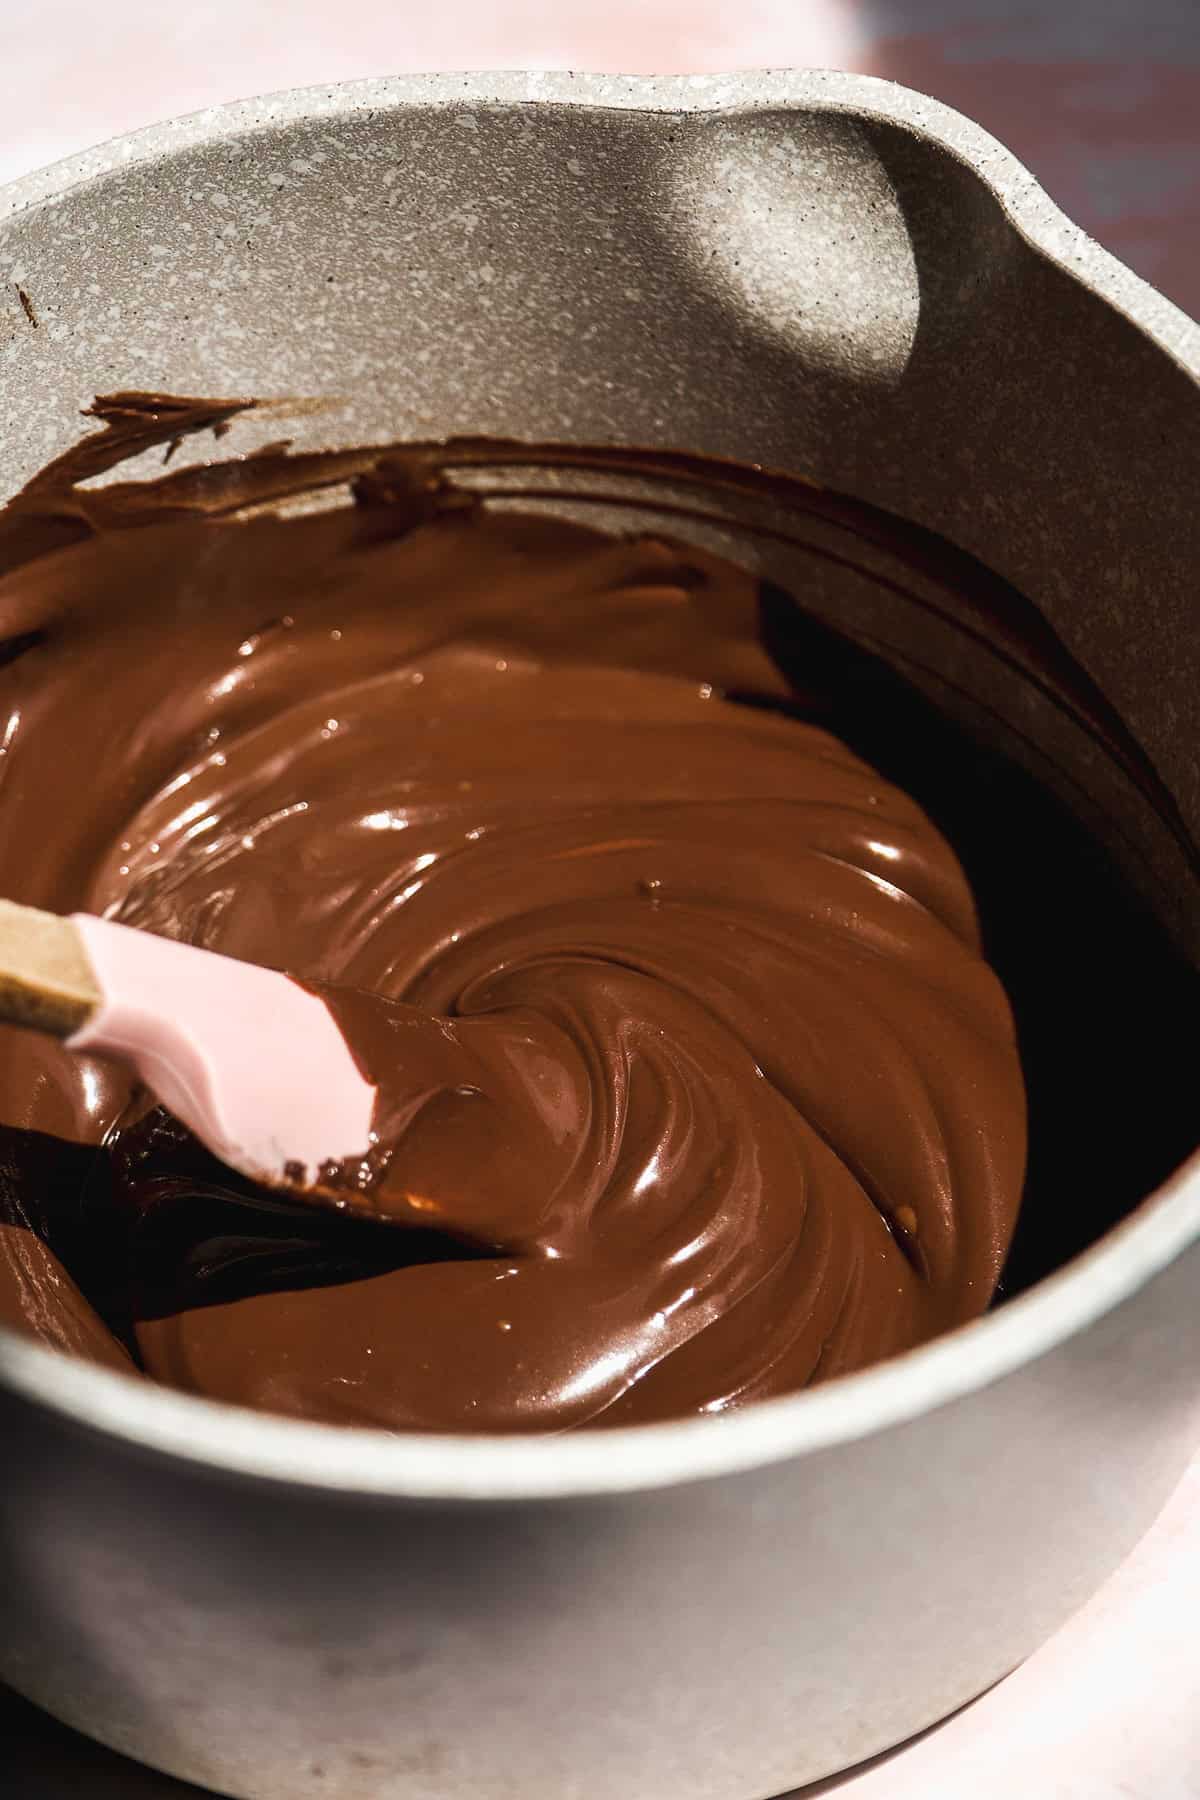
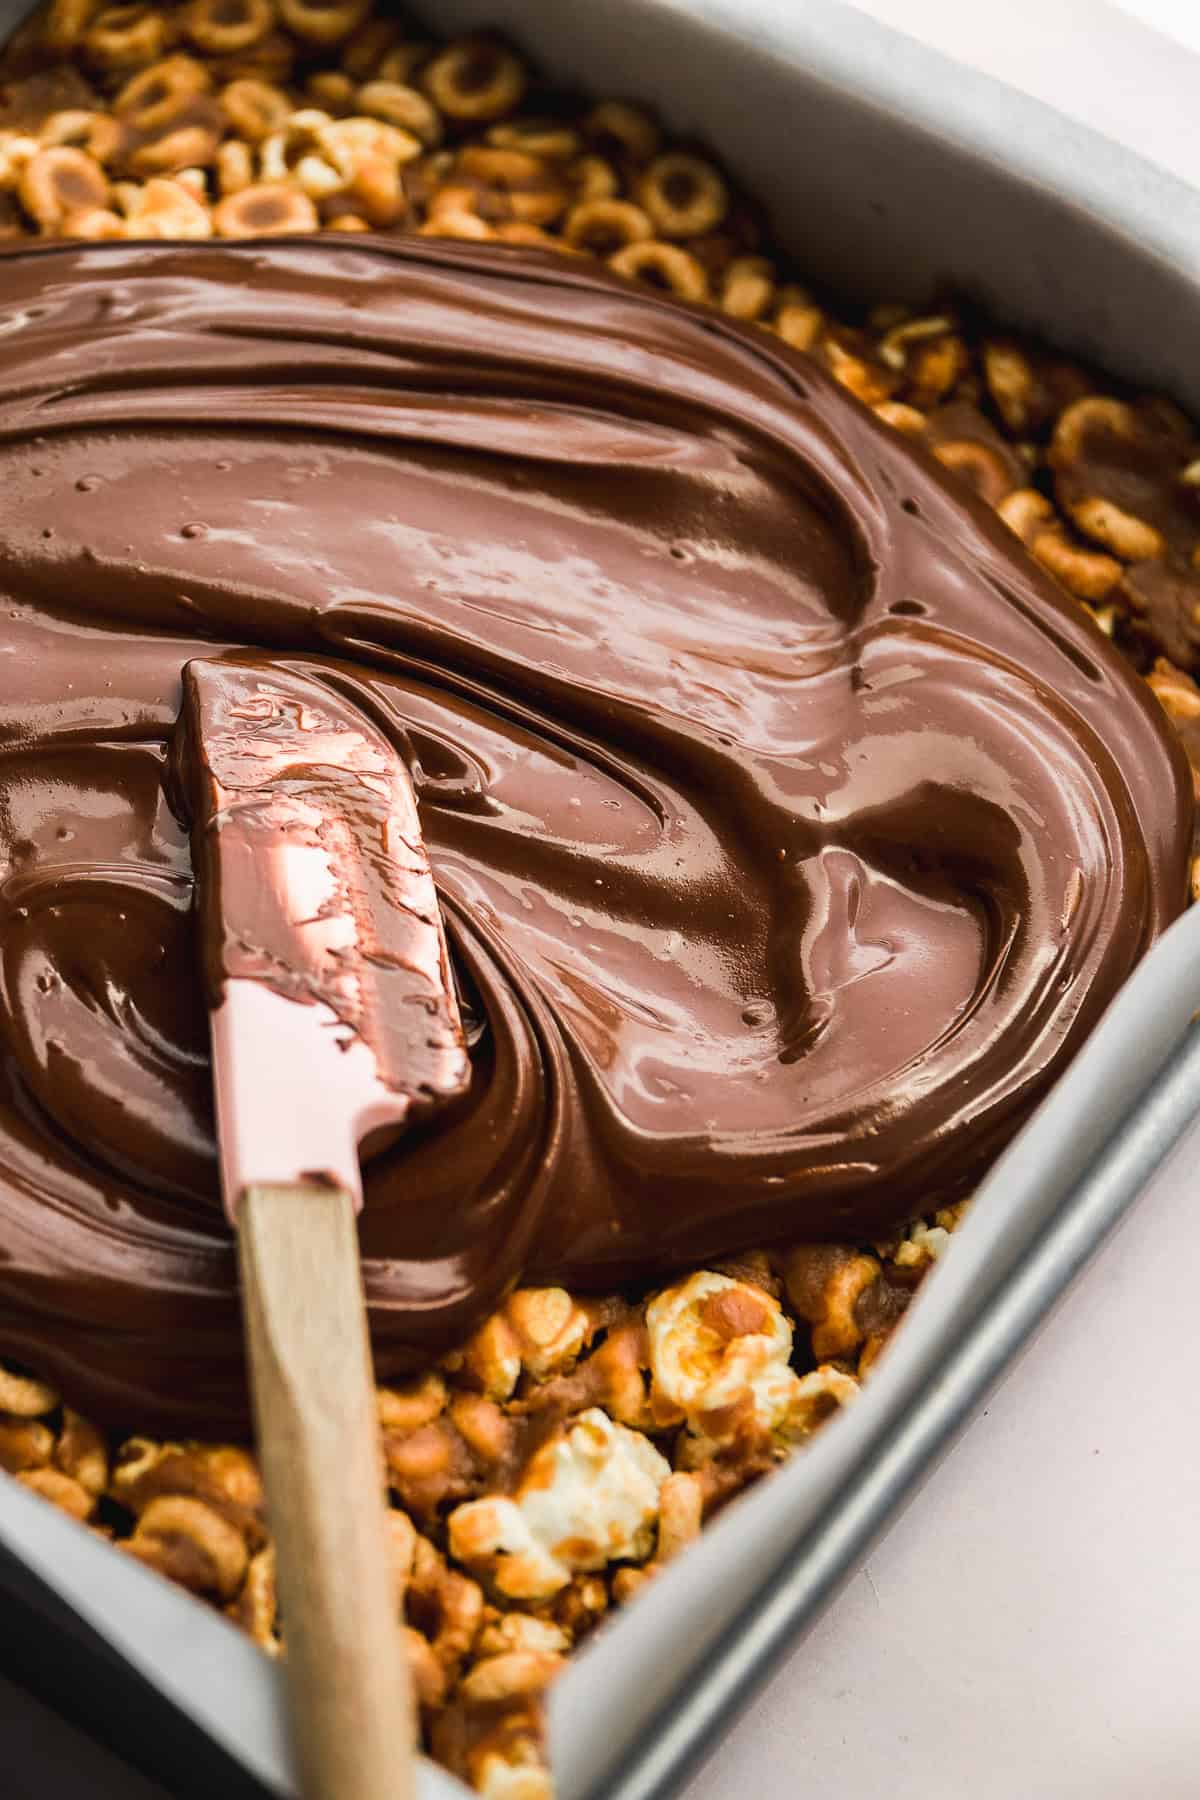
Step 4 : Pour melted chocolate over top. In a skillet, melt the dark chocolate until it's smooth and thin. If needed, you can add a tablespoon of coconut oil to help thin it out. Pour the melted chocolate over the cheerio mixture in an even layer. Tap the pan on the counter a few time to level out the chocolate and then place the pan in the fridge to set.
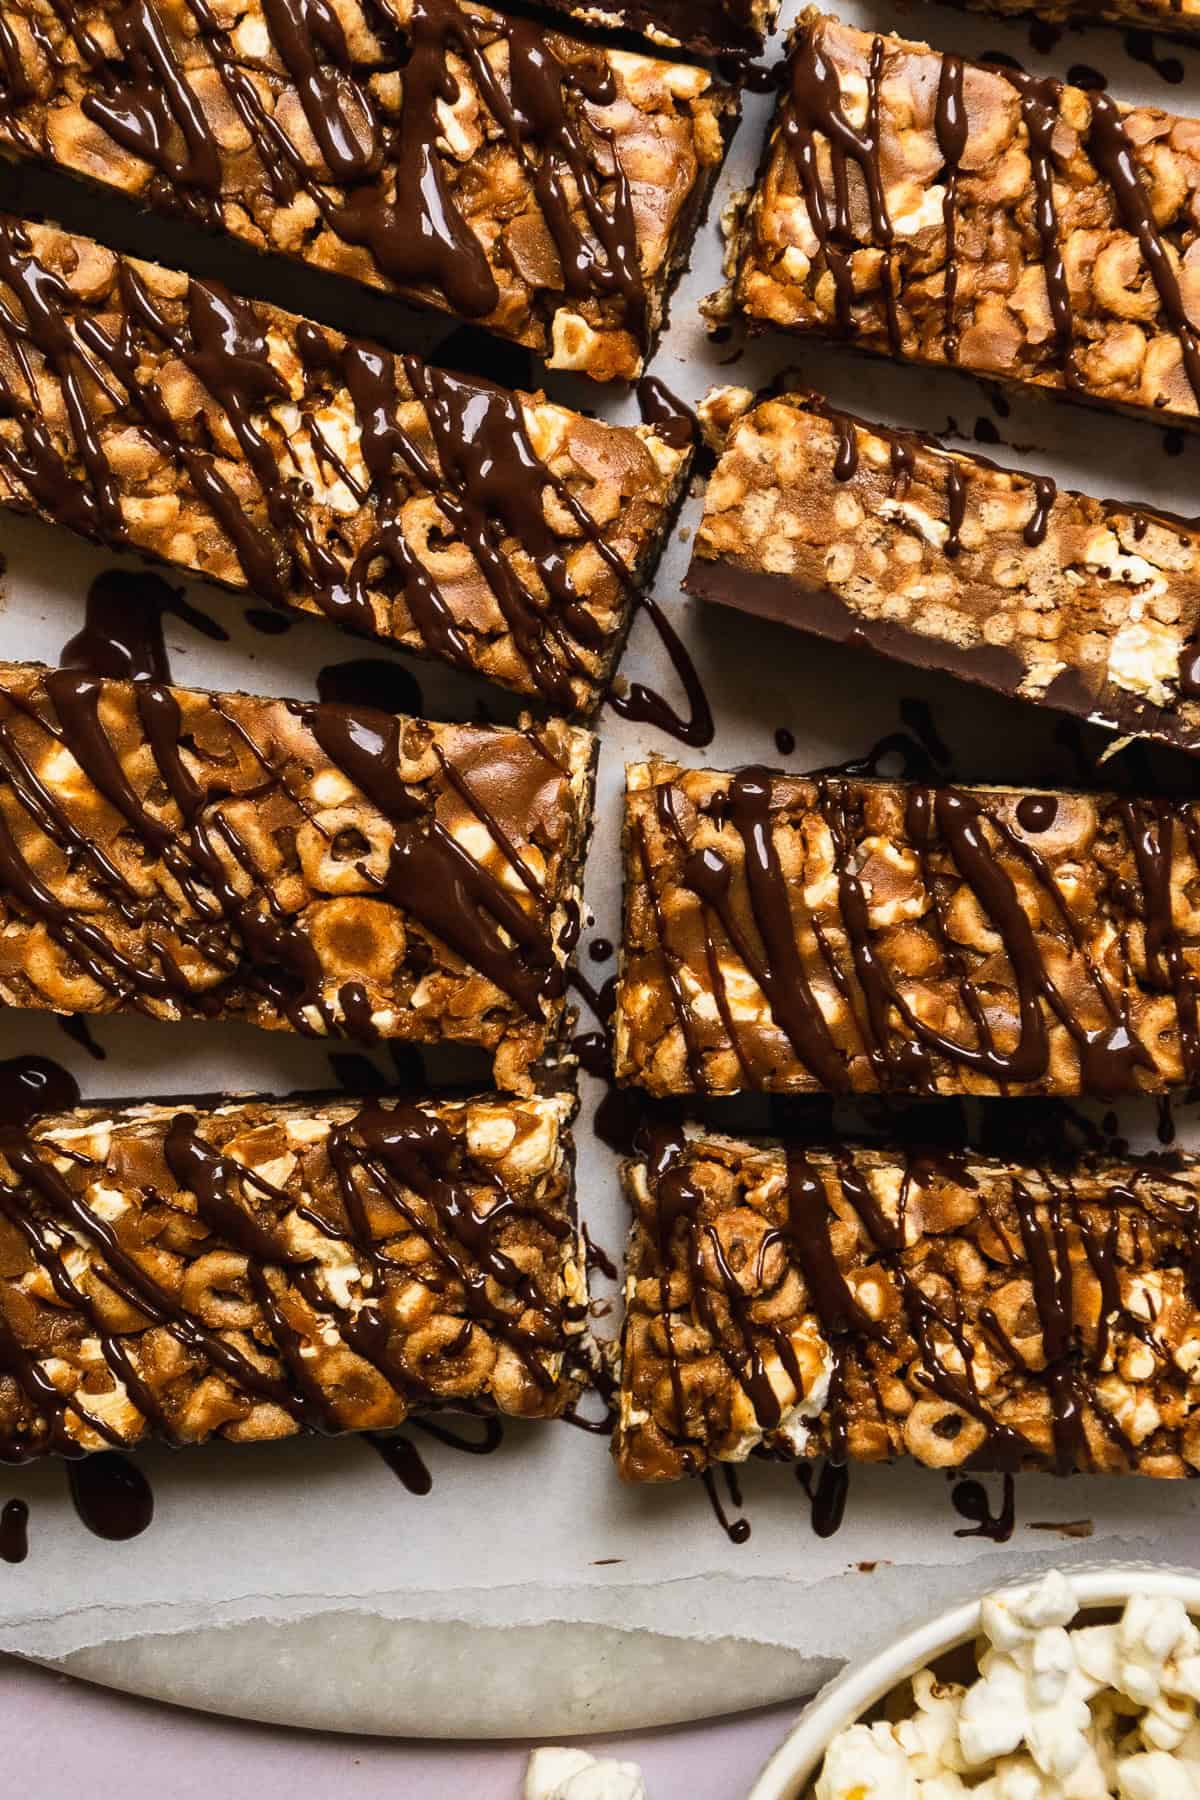
Step 5 : Slice into bars. Once the chocolate is just set, take the pan out of the fridge. Use the parchment paper to flip the cheerio bars upside down onto a cutting board (so the chocolate side is on the bottom). Take a sharp knife and slice into 8 rectangular bars. This is optional, but I like to take a little extra melted chocolate and drizzle it over top of each bar too.
Tips for Making Cheerios Bars
- Make sure to coat every cheerio and piece of popcorn with the peanut butter mixture. If there are extra pieces at the bottom of the bowl, either take them out or add some more peanut butter.
- Use parchment paper in the pan. This will help to remove the bars and allow you to flip the entire thing over so the chocolate is on the bottom of the bars.
- Take the bars out of the fridge when the chocolate is just barely set (this is my pro tip for any type of chocolate bar). This should only take about 20 mins in the fridge. Your knife will be able to effortlessly glide through the chocolate when it's a little softer as opposed to rock hard if you leave the bars in the fridge for too long.
Peanut Butter Cheerio Treats Recipe Variations
Cereal bars are a classic breakfast idea or quick snack and can easily be made your own. Here are a few variations I love:
- Add some oats to the cheerios and popcorn to make these similar to granola bars. Only use 1 ½ cup of both cheerios and popcorn and then use a cup of rolled oats.
- Instead of adding a layer of chocolate along the bottom of the bars, sprinkle in some chocolate chips for an easy way to add some chocolaty flavor.
- Throw in some chopped nuts in with the cheerios and popcorn to add some more bulk.
How to Store Cheerio Bars with Peanut Butter
Place each bar in an airtight container with a lid and store in the fridge. They will keep for up to 3 weeks.
You can freeze these bars but I recommend thawing them out in the fridge or at room temperature to soften the chocolate before biting into one.
Peanut Butter Cheerio Bars FAQs
Yes, cheerios are naturally gluten free. As always read the labels on the back of all ingredients you use.
Use a dairy free chocolate (like this one) to make these bars dairy free.
For more peanut butter treats, check out my:


PS : If you make this recipe, be sure to leave a star review and comment below! Also be sure to follow along with me on Instagram and Pinterest to stay up to date on all tasty recipes here at The Fit Peach!
Recipe
Cheerio Peanut Butter Bars
Ingredients
- 1 cup peanut butter - natural
- ½ cup maple syrup - or honey
- 2 cups Cheerios
- 2 cups popcorn
- 1 ½ cup dark chocolate chips
Instructions
- Add the peanut butter and maple syrup to a saucepan and heat over medium heat on the stove. Stir well until the maple syrup has melted into the peanut butter. The mixture will be thick but smooth. Remove from the heat and set aside.
- In a large bowl, toss together the Cheerios and popcorn. Pour half of the peanut butter mixture over top and mix to distribute with a spoon or spatula. Pour the other half of the peanut butter mixture into the bowl and mix again until all of the Cheerios and popcorn are coated.
- Line an 8 X 8 inch baking pan with parchment paper and press the Cheerio mixture into the pan tightly. Make sure to press it into the sides and corners well. Set aside.
- In a sauce pan, melt the dark chocolate chips. If needed, add a tablespoon of coconut oil to thin it out. Pour the chocolate over the peanut butter Cheerio bars. Tap the pan on the counter a few times to even out the chocolate. Place the pan in the fridge until the chocolate is just set (about 20 minutes). Try not to leave the pan in the fridge for too long or the chocolate will become too hard to slice. You want the chocolate to be slightly soft.
- Once the chocolate has set, remove the peanut butter Cheerio bars from the pan and flip the entire thing upside down on a cutting board so the chocolate is on the bottom. Use a thin sharp knife to slice 8 bars out of the square and enjoy!

Comments
No Comments